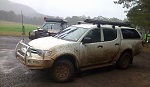
So as mentioned earlier I raised my side steps to gain a little more ramp over angle, lessen the chance of snagging and damaging the side steps and last but not least make the Triton look higher

For anyone thinking of doing the same you will need to make sure you carefully measure the distance between the top of your treadboard and the very bottom of the sill. This distance will be the limiting factor in raising your steps. On mine I found that I had 47mm gap the entire distance on the passenger side but on the drivers side it varied from 47mm at the front to 44mm at the rear. Wanting to have a final gap of about 5-6mm I opted to lift them 40mm.
The amount you remove is up to you but just keep in mind your final spacing between the treadboard and the sill
Obviously the first step is to remove the side steps, a simple matter of undoing the 6 x 12mm nuts and bolts on each side of the vehicle.
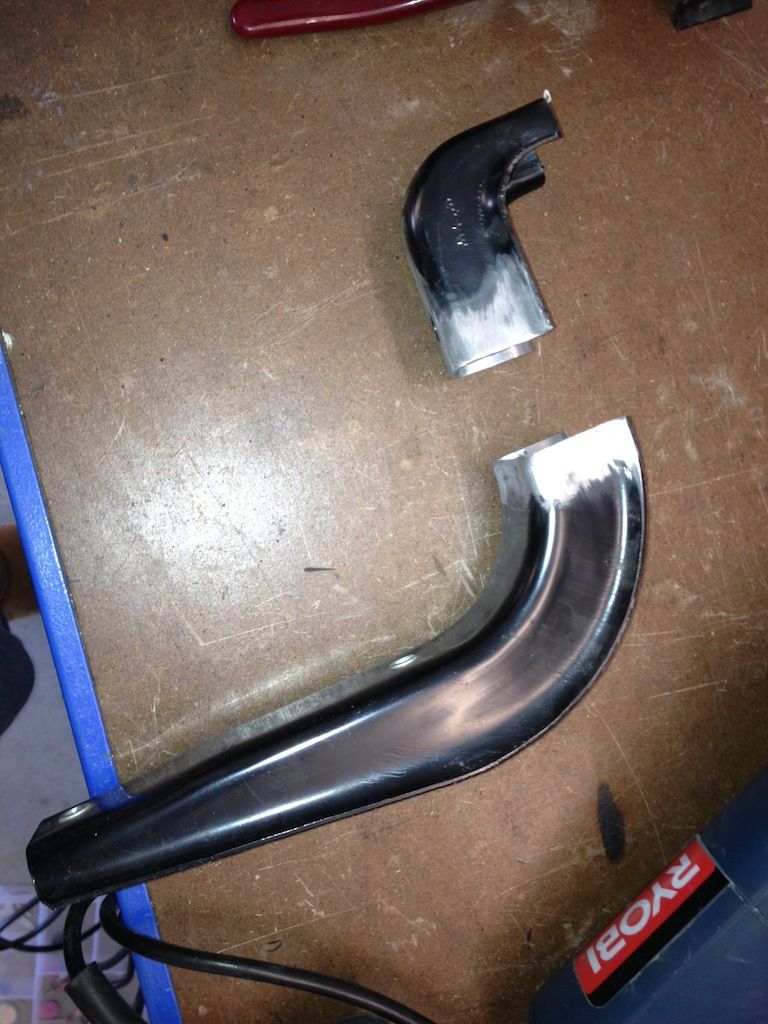
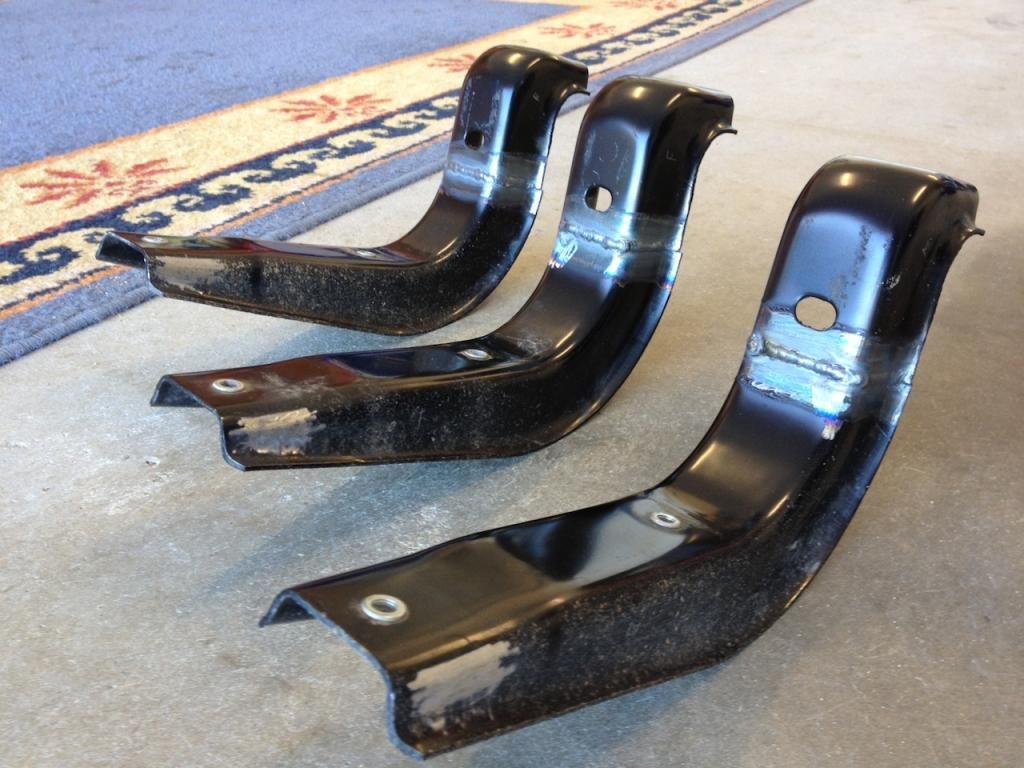
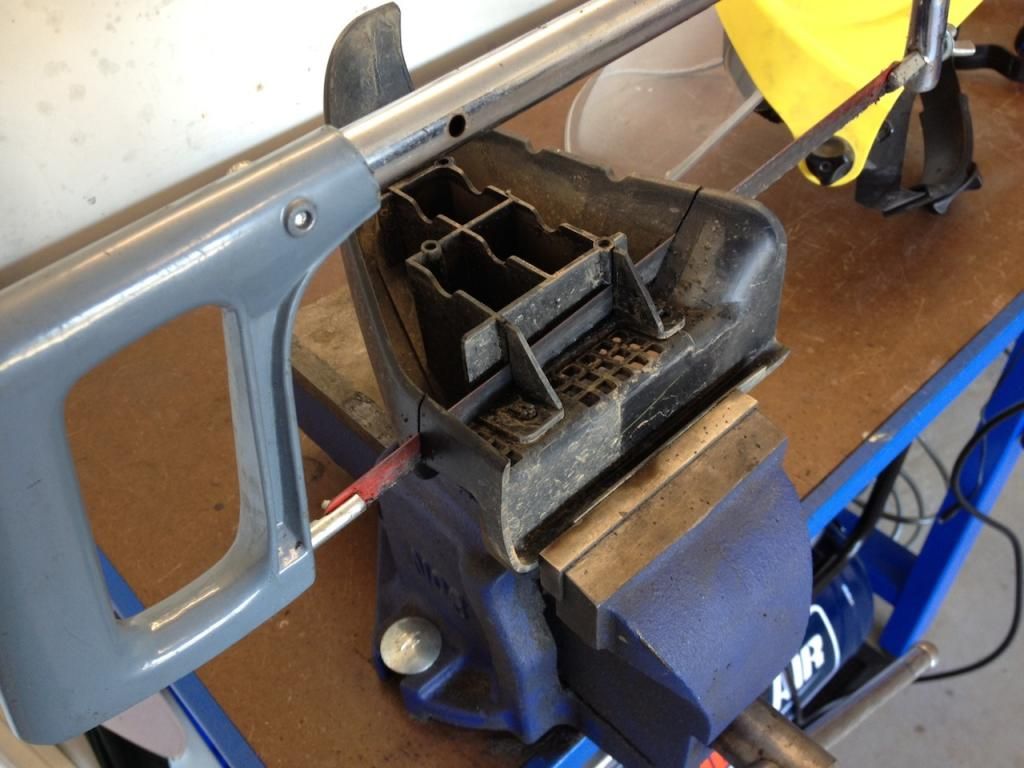
Once removed you can take the plastic ends off and slide the rubber strip out to reveal the 3 hidden screws for the brackets. Now unscrew the brackets. I marked all three brackets from each side step so I knew there original positions (not particularly crucial but I've been caught out before with things that all "appeared to be the same"). More important than marking whether they were front, middle or rear positioned is to mark each end with an identifier so that when you cut them you won't mix a top and bottom of a cut pair up - this will become clear as to why later.
Now that the brackets are off and clean it's time to scribe the lines in where you will cut them. I scribed the top line 13mm below the bottom of the lower mounting bolt hole, this means the weld won't interfere with the mounting face on the vehicle. Once this line is scribed squarely around the outside the next line is scribed 40mm around directly below as shown in the following pics:
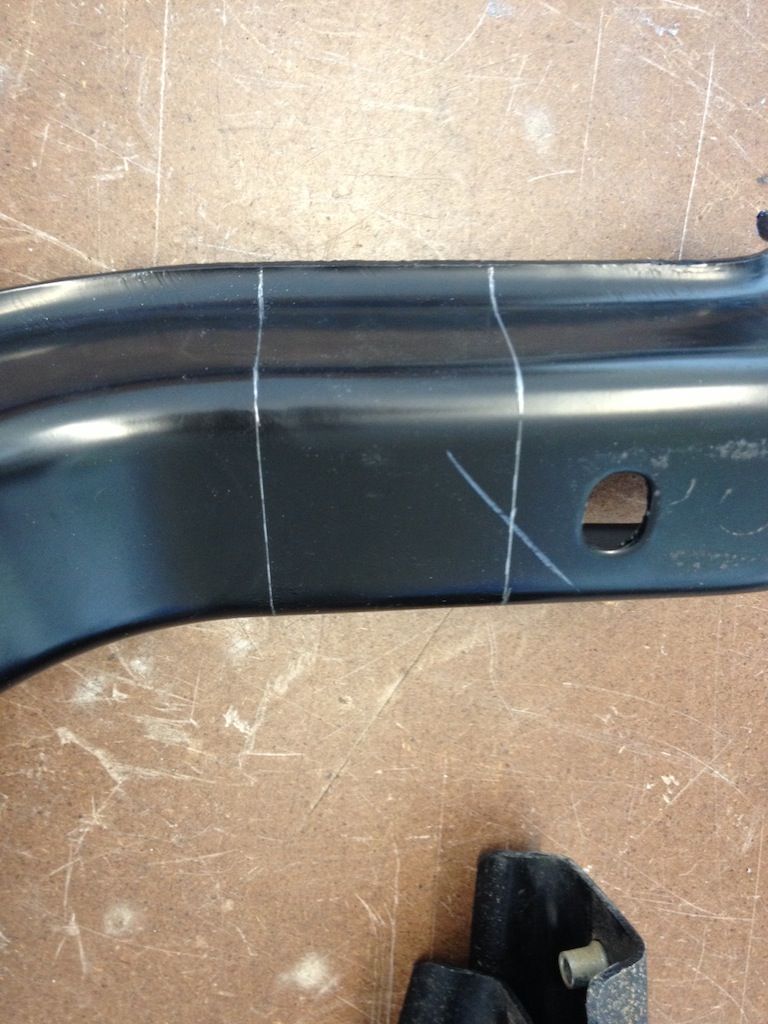
To get the lines square with the body of the bracket I used a small set-square. More important than being exactly square though is that both scribed lines are identical. This is so that when you cut out the middle sections they marry up well. This is also why the parts all need to be marked so that nothing gets mixed up
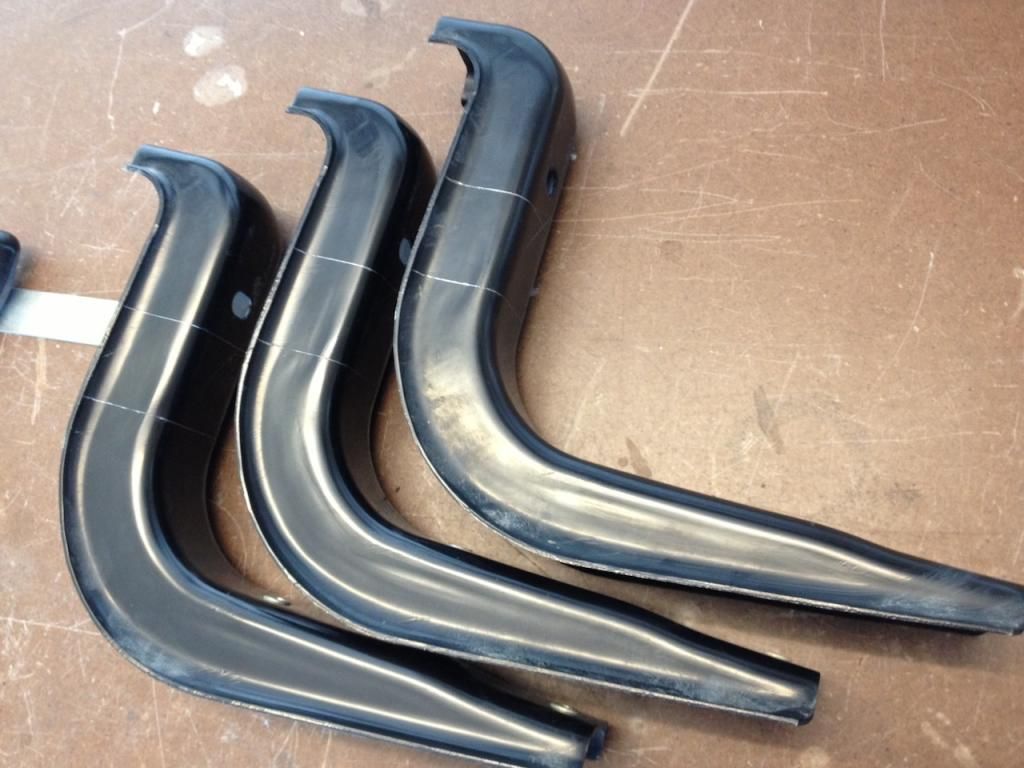
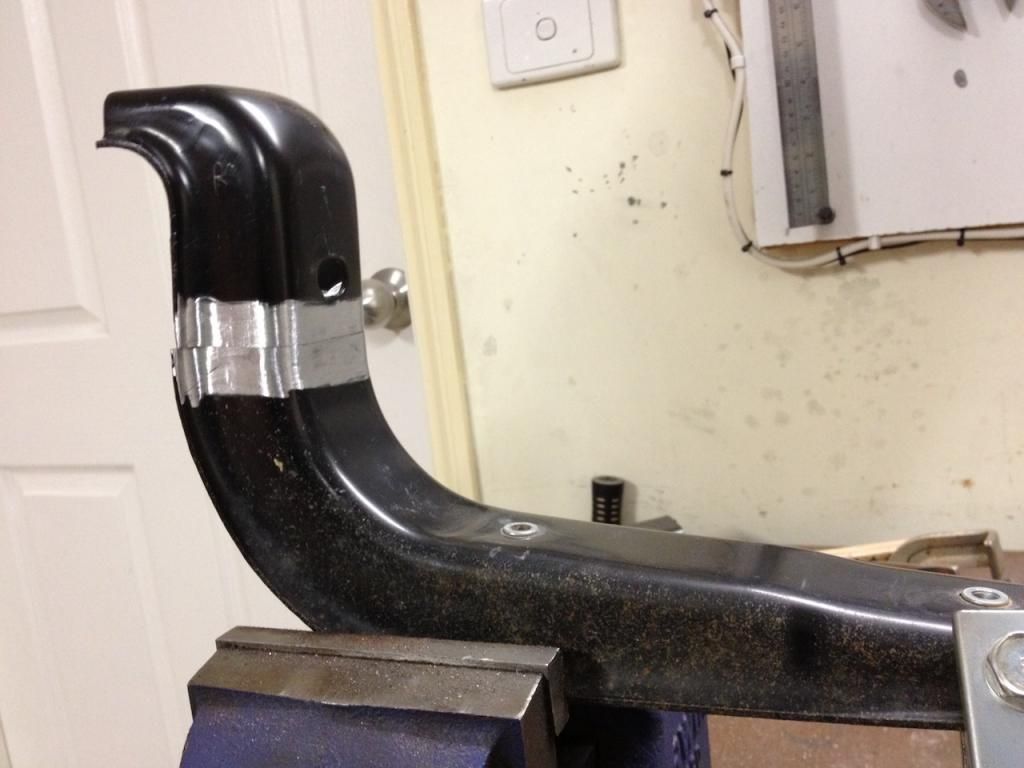
The two cut halves should match up perfectly if you took care cutting and marking:
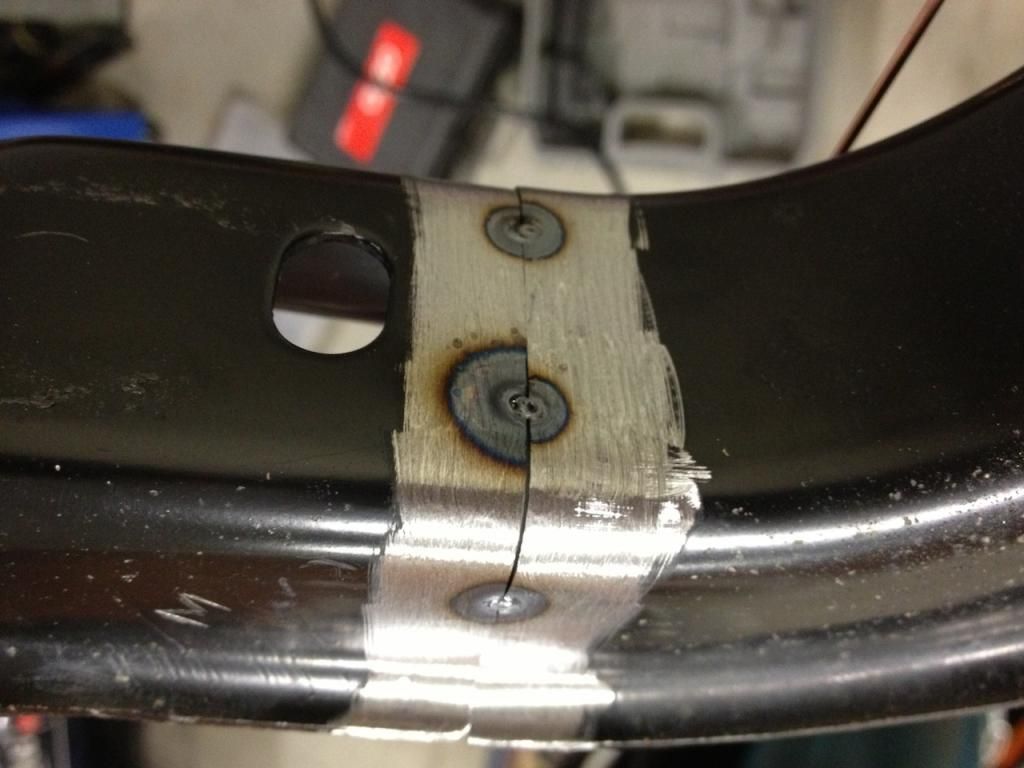
Once aligned I tacked them together and then welded them all:
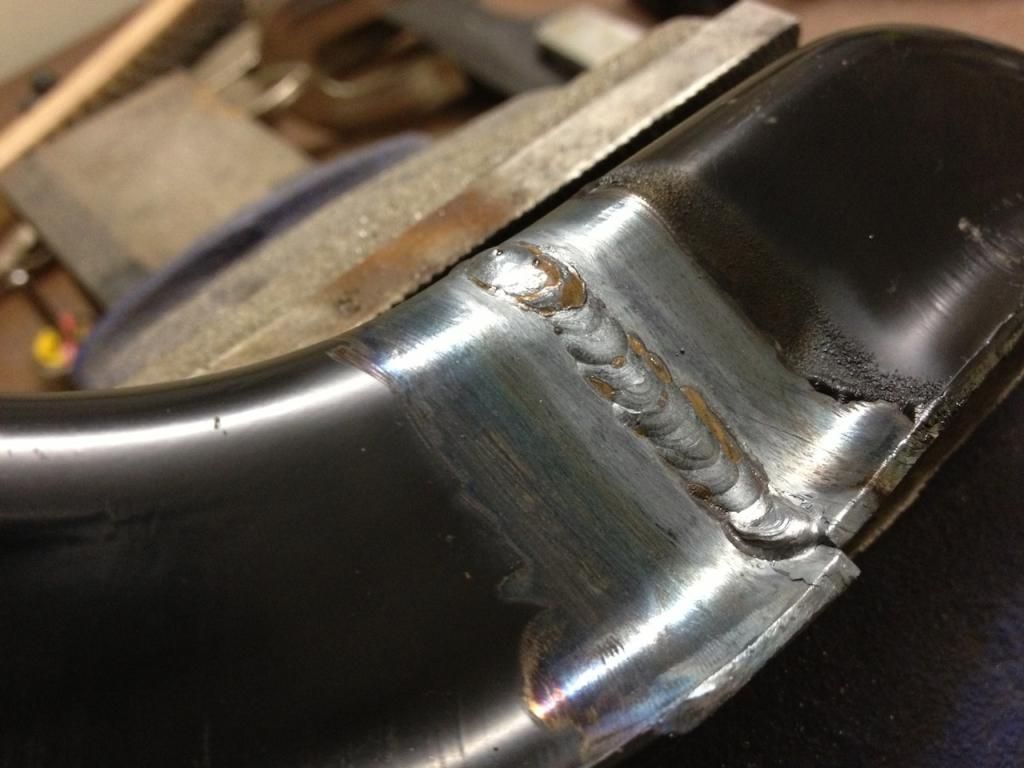
I let them cool off and then gave them a lick of black paint.
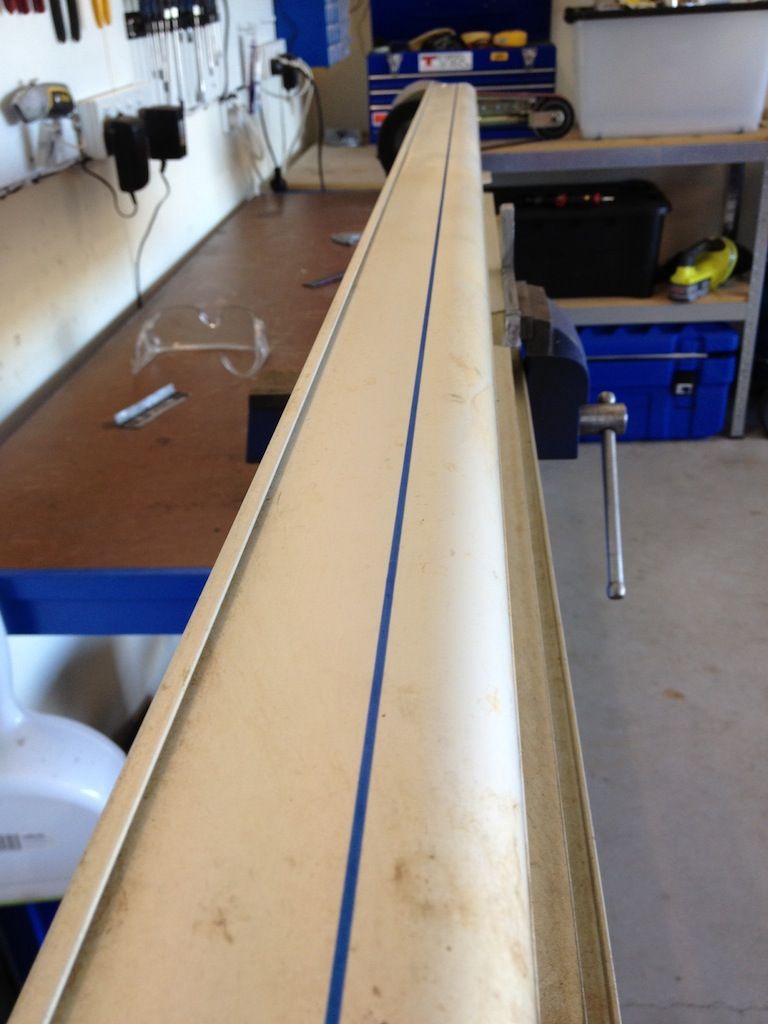
Next was to take 40mm off the back of the treadboard where it sits up behind the sill. You just take off whatever amount you take off the length of the brackets, I took 40mm off them and wished to retain the factory clearances so took 40mm off the treadboard too.
Mark a line the length of the tread board to guide the cut. I just used an adjustable set-square to hold the texta in the correct position and then ran it down the length of the board:
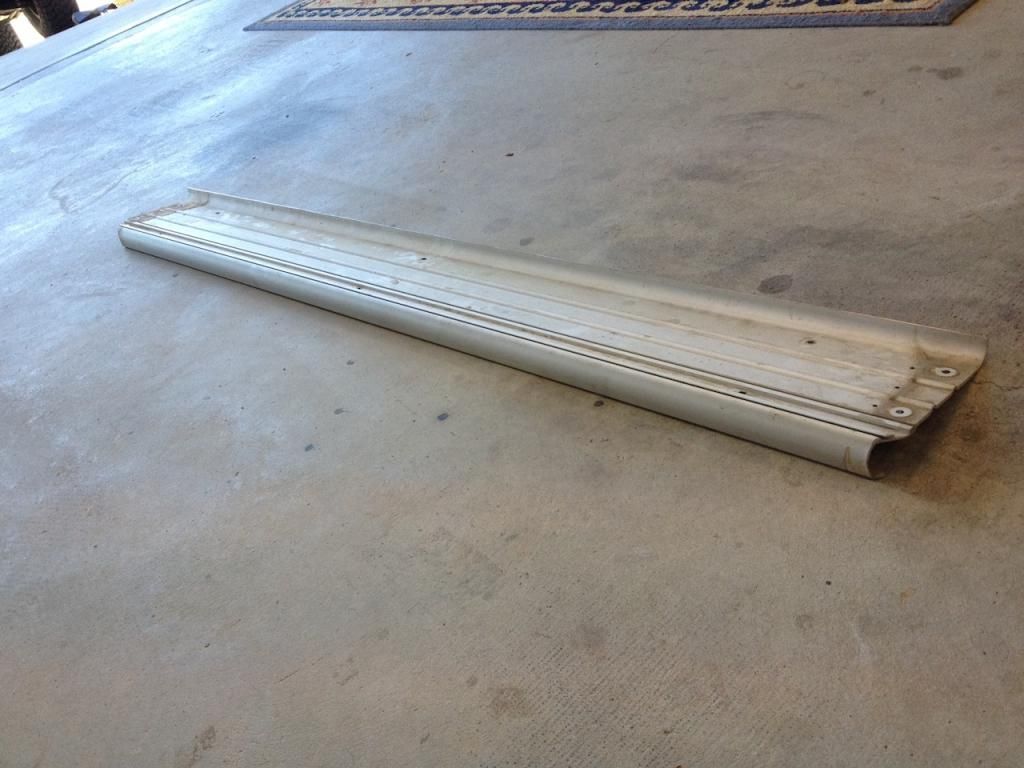
Then cut it off with the appropriate cutting tool. I just used a 100mm angle grinder with a cutting blade. All cut:
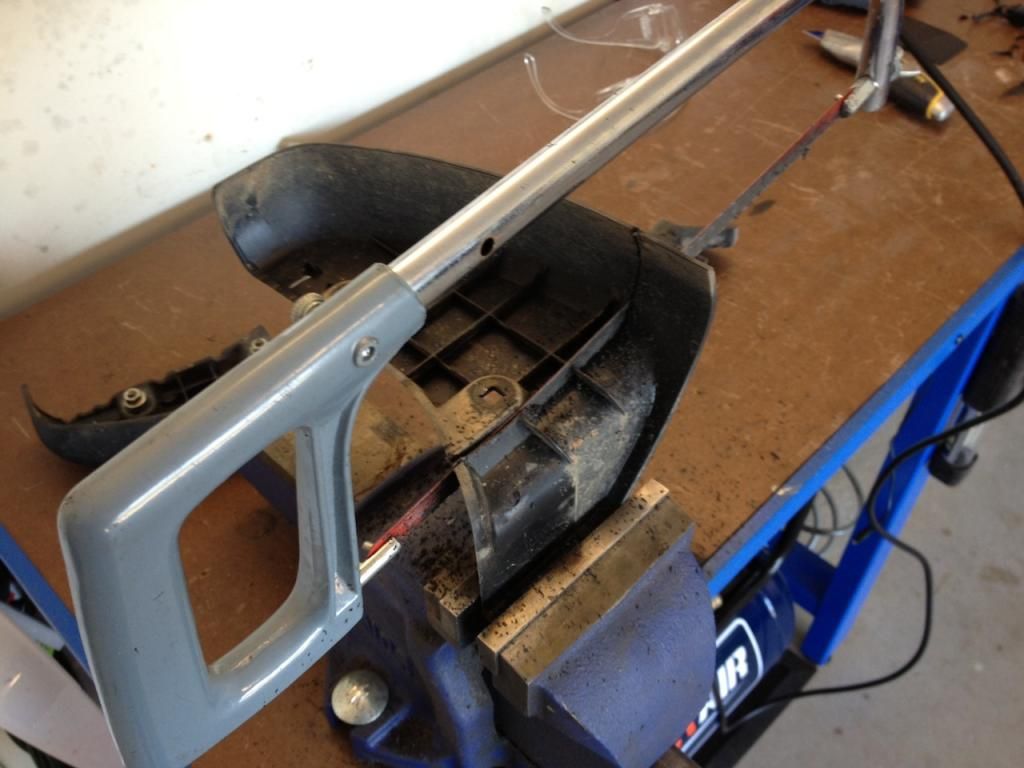
The final job is the cut the plastic end caps so they don't foul on the sills. These photos give a guide for where I cut mine but giving an actual measurement is more difficult. The rear one may need some filing to suit the stamped shape of the sill at the rear end. It's very easy to cut and from all viewing angles mine looks completely factory when reinstalled.
Front cut:
Rear cut:
Then it's just a matter of reassembling them and fitting them to the car. I did find that fitting the plastic end caps after bolting the sidesteps to the car was the easiest way to fit them.
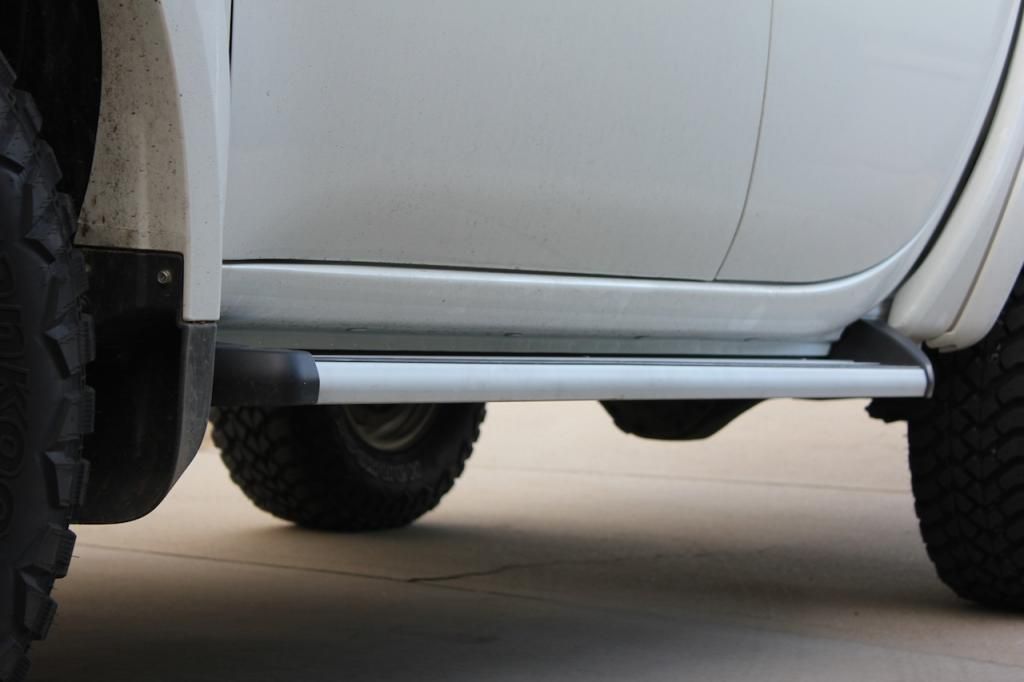
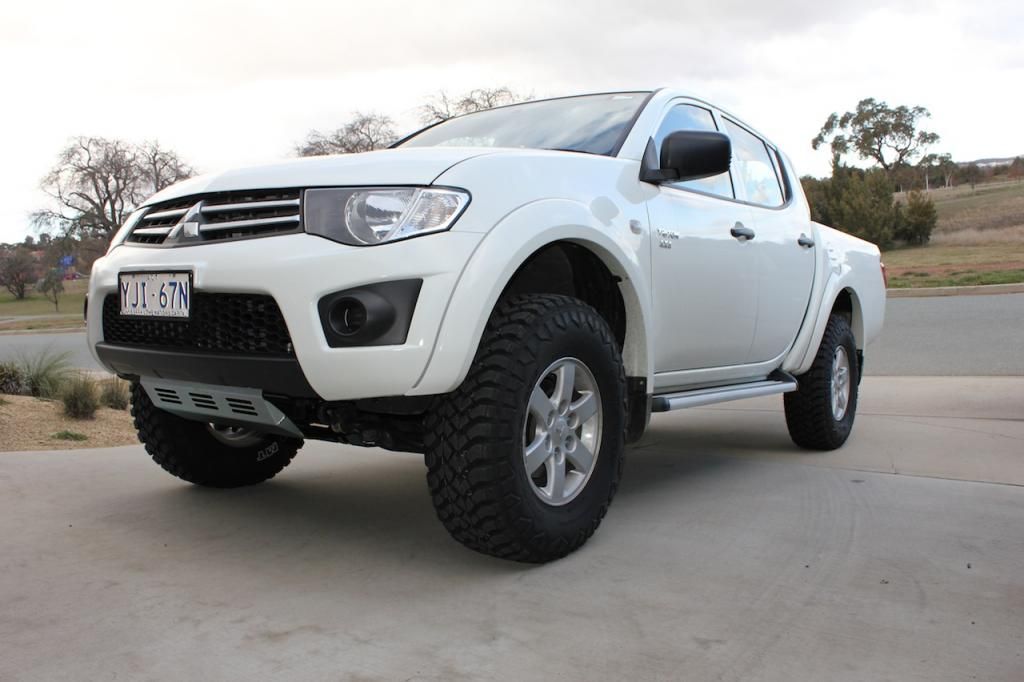
Final fitment:
Hope that little writeup is useful to someone