OUT WITH THE OLD AND IN WITH THE NEW.
I have just been doing a read through my old Triton build and it has brought back quite a few memories. I didn’t get much of a chance to do too much more to it after we moved to Cowra. We have been busy working on the new house and land; it’s been a big job, not without a few setbacks due to a bit of bad health.
Now a few years later….the projects around the house are done and fixing up the paddocks is just about finished, so I decided it was time for a holiday and upgrade for the triton.
The old ML served me well and it was a lot of fun doing mods and adding things, but all things considered it was 10 years old this year.
(08/12/16) So what to get ?? I started looking at the runout 2016 models in November hoping to save a few dollars. After taking a new Exceed for a test drive I decided to spend the extra dollars and go with that.
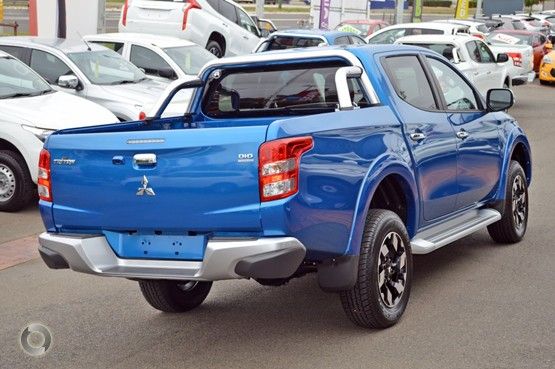
The run out model was just that…. run out, I had my mind set on a blue one, and there was none to be found so I had to wait for the new 17 models (MY 2016 build) to be released.
That took a bit longer that I liked… talk about a kid waiting for Christmas. It did get here just before Christmas, but I thought I would get the dealer to arrange to have the tub removed and replaced with a tray while they still had it and get the bullbar fitted.
(12/12/16) After talking to a few people on this site and looking at a few other sites the idea of replacing the tub with a tray suited my situation a lot better, and also having the property I thought that the tray would make the Triton a more useful vehicle.
So which tray ??? There are a lot of people out there making trays, and what would be the better material, lighter weight aluminium or heavier steel?? The material would end up being a personal preference. I have seen a few rather second hand looking aluminium trays after little use, to me they seem to dull and dint/mark very quickly and easy. So after chasing up a few manufacturers I decided on a local mob that makes some very nice looking steel trays,
Bronco trays in Bathurst.
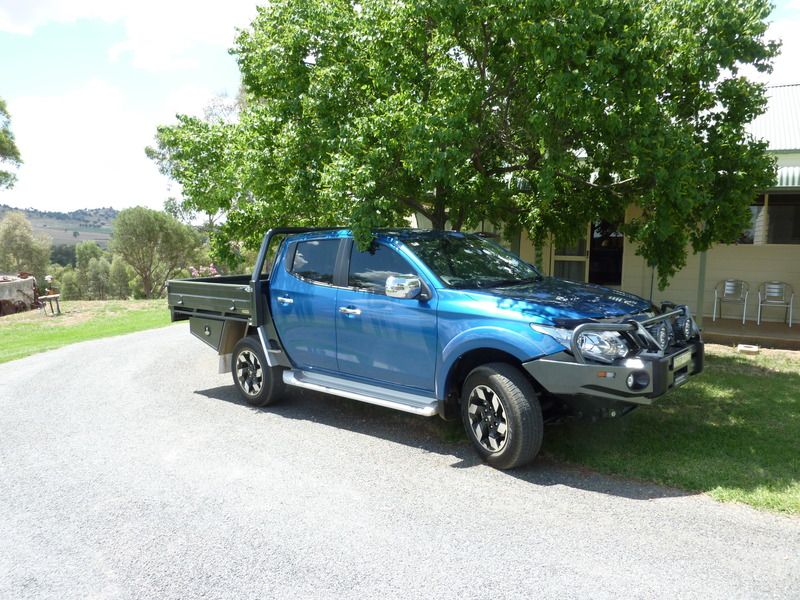
The brothers who own it are young guys that are very interested in producing a high quality item. All work is done in house from the welding, folding to the laser cutting of panels to the powder coating. From start to finish I was kept informed, and the delivery date was set from day one…..and delivered/installed on time. I think that a business that runs that well is a bit of a rare thing nowadays. My tray would include 2 under tray boxes, LED tail lights, chrome top edging and be finished in Aztec hammer tone powder coating.
(14/12/16) While I was wait for the Triton to be delivered, I had time to source a bullbar, I thought while the dealer was arranging the tray and having it installed they might as well install the bullbar as well. I liked the look of my old
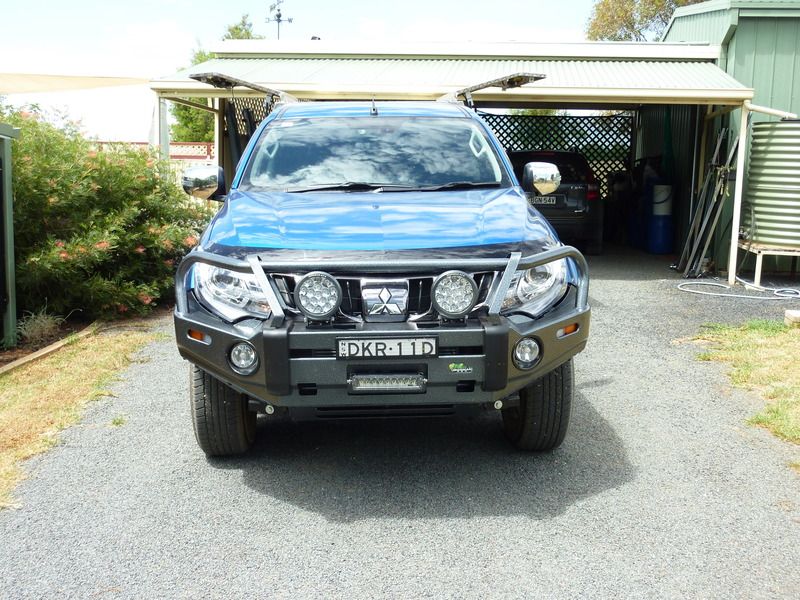
Ironman deluxe commercial bar so I arranged to have the same one, but this time it would be all steel (no chrome bits) and I had it power coated to match the tray in Aztec hammer tone. While I was ordering the bull bar I splashed out on some new
Ironman 7 in round LED spotties and a 8 in light bar (to fill in where the winch should be) and just told them to send them to the dealer when it was all ready.
(03/01/17) While all this was going on I advertised my ML for sale. As a trade in, it was only worth 8 grand regardless of how many km’s were on it, or what extras were left on it. I was able to sell it quite easy, and for a better price that what they offered me as a trade in!
(06/01/17) Finally, after they had their Christmas break, New Year’s break and got back to work…. I finally got my new Triton. It was all done, tray was fitted, bullbar was on, towbar and the lights were wired up and working at no extra costs to me.
It was a totally different triton to drive, especially because this one was an automatic with column paddle shift as well. It feels nice to drive and a lot quieter than the old girl.
So, now what else do I need to do to it…….
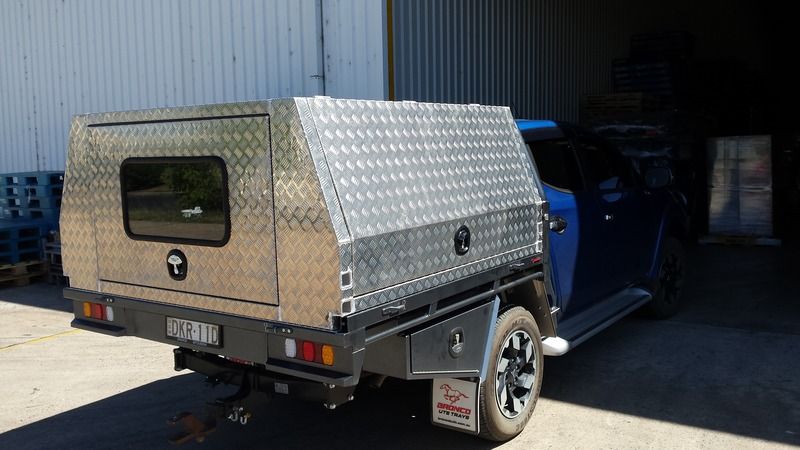
(09/01/17) The next big thing was the pod for the tray. After asking a few guys on here what they had done for a pod I had a few ideas just what I wanted to do with mine. Nothing too flash, but practical. I decided to go with an aluminium pod with 3 doors; front and back windows, central locking whale tail locks and jack off system (wind up legs) so if I am not travelling it can stay at home. Deciding what I wanted was the easy bit; it turned out the hardest part was getting someone to build it! A lot of the people that I contacted were snowed under with orders and had back orders for months, not good news for me; I was trying to get the new Triton set up for a trip in March to Tasmania. I looked into second hand units, and a few on Ebay but they were not the size that would fit neatly on the tray, so I had to have one made to fit.
I was lucky enough to contact a company the day they were returning to work after their Christmas break. The bad bit was that they were in Queensland
MY TOOLBOX , a long way to go just to place an order, but they could build it for me just the way I wanted it and get it delivered to me by the end of January. This would give me a bit of time to do a “fit out” in the pod before I went to Tassie. As per usual all good plans go astray, they had a few hold ups at their factory one guy (there main welder) broke his arm (dropped my pod on it!) and the backup welder dropped a grinder in his lap (ouch!) BUGGER! There was an extra fortnight’s wait after that, by this time I was getting a bit anxious if it would get to me in time….do I still get it freighted? Or do I take the new Triton for a big drive and get it to save time??
(10/02/17) It all worked out for me, I ended up getting it to Bathurst almost overnight and I drove up and got it from there. I was really worried about the fit; all they worked from was a few photos of the tray, my photos of some main measurements, and me telling them over the phone just what I wanted. It was a great relieve when the courier mob loaded it onto the Triton…… it fitted like a glove! Woo hoo !! The first thing I did was snap a photo and sent it to the misses (she was as worried as I was!)
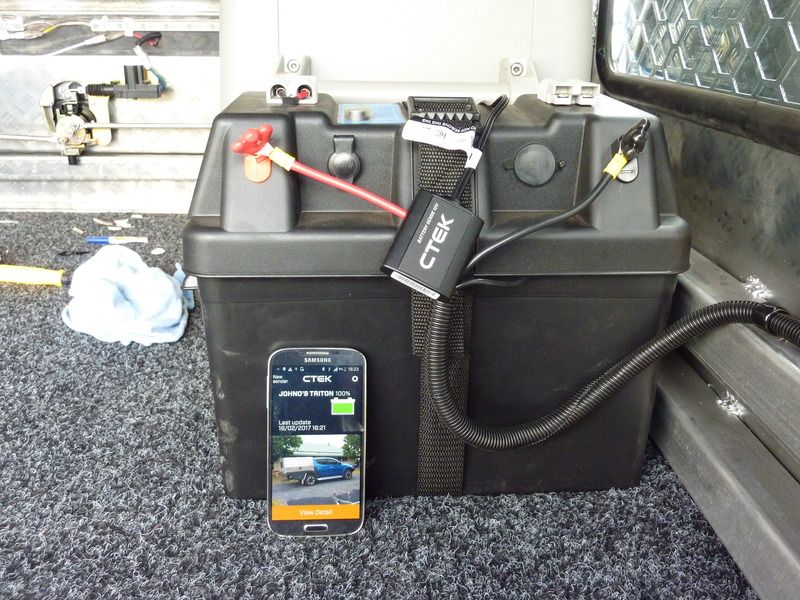
(11/02/17) Got it home and started to plan of how to put things into it straight away. First thing I will need to do is work out how to get some power into it. That bit won’t be hard, but what to use as a battery and charging system?? Easy just ask the .com of knowledge (newtriton) someone has worked this out before me, thanks again guys. With the advice received I decide what I would do is go with a larger storage battery (120 amp) and a dc-dc charging system.
(04/02/17) I was able to source a battery,
projector battery box, Ctek dc-dc charger with a Ctek blue tooth battery monitor through Ebay all delivered in a week (way cheaper that I could buy it all locally)
(13/02/17) With all my new bits in my possession I looked at the lay out and just how to place them in the back and now, what do I do to stop them from sliding all over the back ??
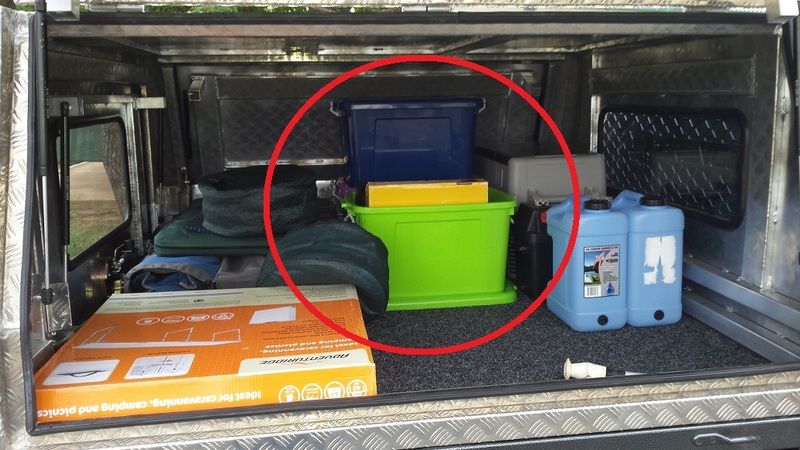
Something on the floor was first, 2 square metres of marine carpet, then just sit and ponder with a beer!! I came up with a plan of attack and decided to use the aluminium square section and joiners again (as I did for my draw system) the joiners are easy to get now from Bunnings, a 6mt length of 25.4mm aluminium from my local steel supplier… then I’ll be ready to start.
(16/02/17) But not today! The triton went into the auto sparkies to have all the electrics done. Even that bit had a small hitch, I had taken the electric brake controller out of the old triton and was going to put it into the new one. It was installed just in front of my right knee, just under the dash in the old one, but the new ones have an extra knee air bag so the sparkie tells me he can’t put anything there…BUGGER! Plus the relays for the central locking won’t be able to handle 3 extra locks so; he’ll put in a new remote head electric brake unit and add in an extra relay for the locks. After having a chat with the boss he tells me he has done a few pods now for different people and suggested a few extra wires for later on. As he said while I’m here I might as well run the extras now (mainly for some lighting)
(17/02/17) it took them a bit longer that they said, I thought it might! There was a bit for them to do, caravan wiring at the tow ball and
electric REDARC tow-pro brake controller on the dash, 12 volts into the pod for the extra battery, wire in the
Ctek D250S and power to the central locking and a few extras for some lights.
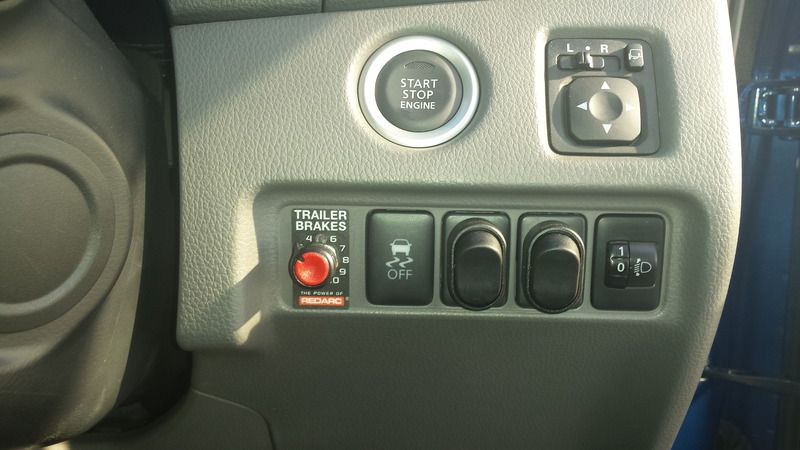
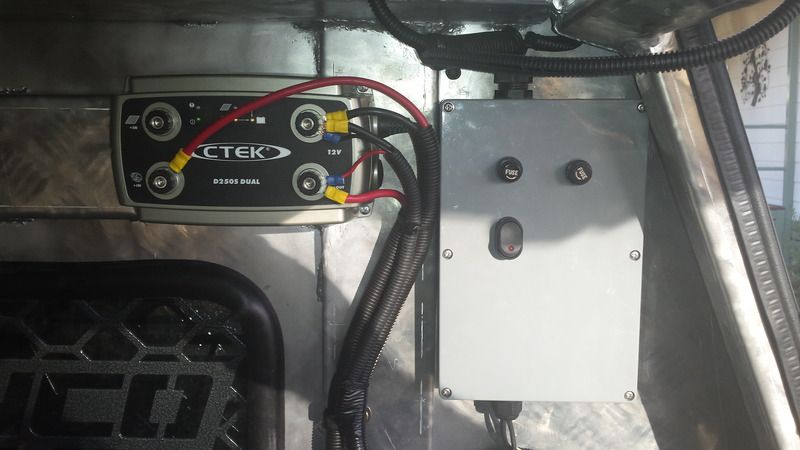
They did a real neat job of running the wires so I didn’t mind that they took a bit longer than they thought. All was good… until they shut the rear door when it was all done; they tell me it was the apprentice the poor apprentice gets blamed for ever stuff up. Broken rear window, just pulled it down and let it go…
BUGGER! Oh well s#&t happens!
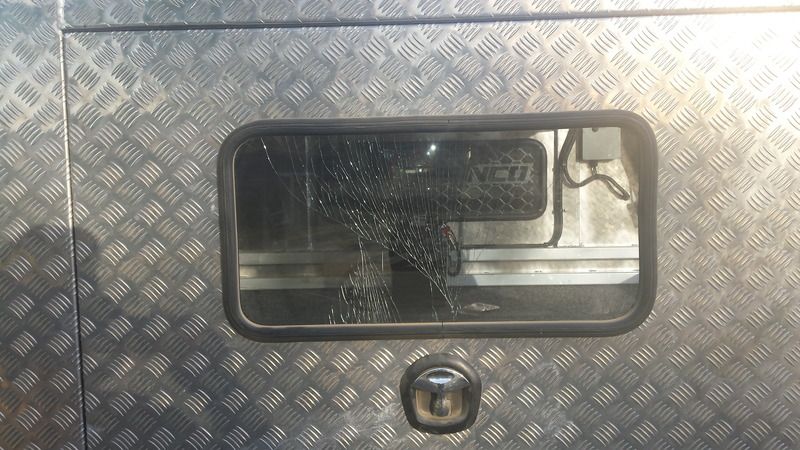
(18/02/17) I was going to take the pod off and store it and start packing a few things into it, but now it will have to go to the glass place on Monday to get another window fitted. I’m not sure at this time just what to use for some lighting in the pod so I fitted some led strips that I had for now and I’ll see how they go during the next trip.
I hope you enjoyed the read!

Cheers Johno
"Ham and eggs... A day's work for the chicken, a lifetime commitment for the pig."


