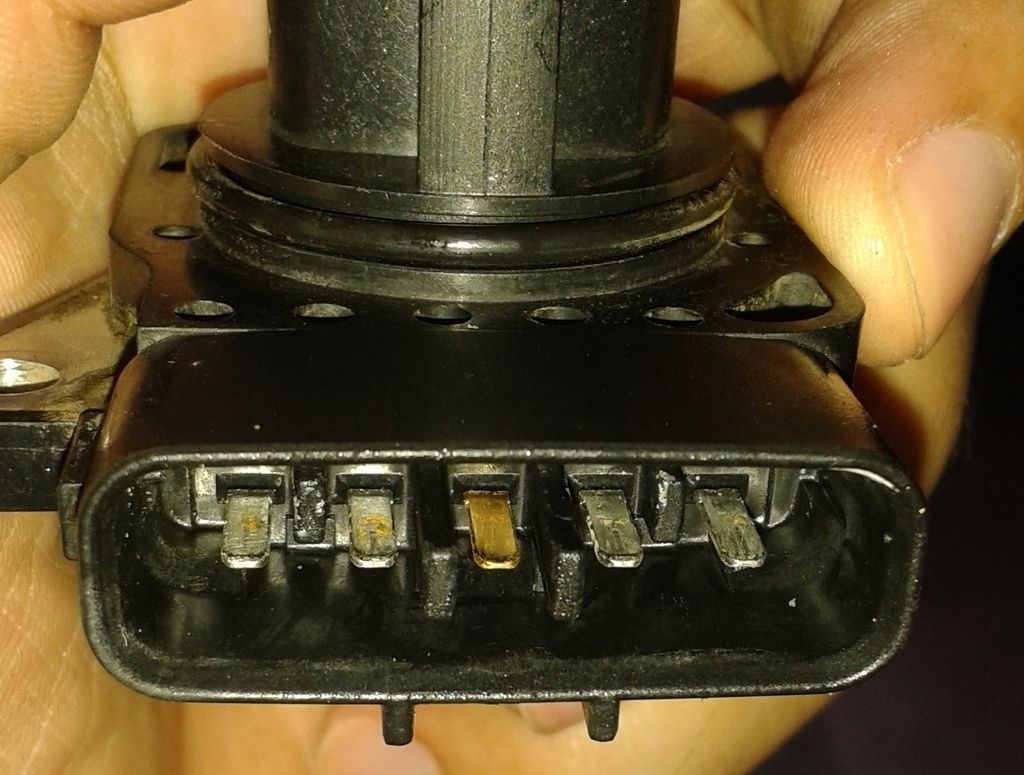
Once you've done all that then wash it / flush it well, with something like wd-40 or RP7 and then shake that all out (or preferably, blow it out with compressed air) so that there are no tiny "metal" dust / filings left inside of the connector housing from the "polishing" process.
When you're happy with the look of the cleanliness of the pins then I would spend just a couple of bucks at Soupycheep on buying a spray can of "LanoTec-GP" and give all the pins and sockets and all of the insides of the connector halves a good solid squirt of it.
The good thing about LanoTec-GP is that it not only cleans electrical connections but it also provides a fairly long-lived waterproofing of them as well, doing a far better job of that, than just WD-40 or RP7.
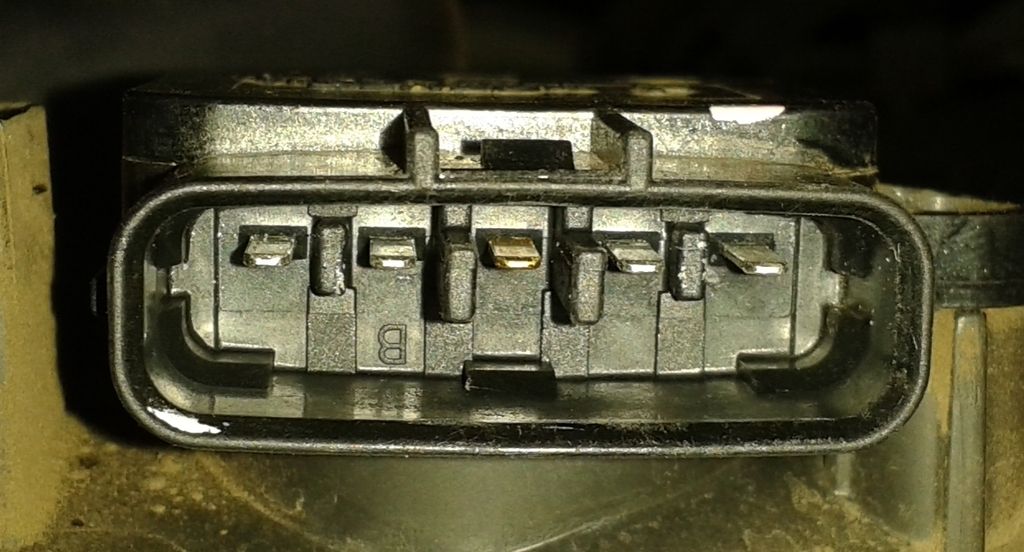
Finally, before re-assembling the connector have a close look at it to see if there is any obvious physical damage or trapped dirt that might compromise the effectiveness of the little "seal" located at the back edge (ie, closest to the wires) of the other half of the connector ie, the half with the 5 little sockets inside of it.....