It's time for a build thread!
I have been lurking around here for a while but the time has come for an actual build thread. I know half of these mods have been done to death and there are hundreds of people who have covered them but now it's my turn!
As I stated in my introduction I picked the car up at Beaudesert quite a few issues there and I would avoid this particular dealership at all costs!
(Introduction can be found here: viewtopic.php?f=15&t=17071)
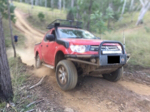
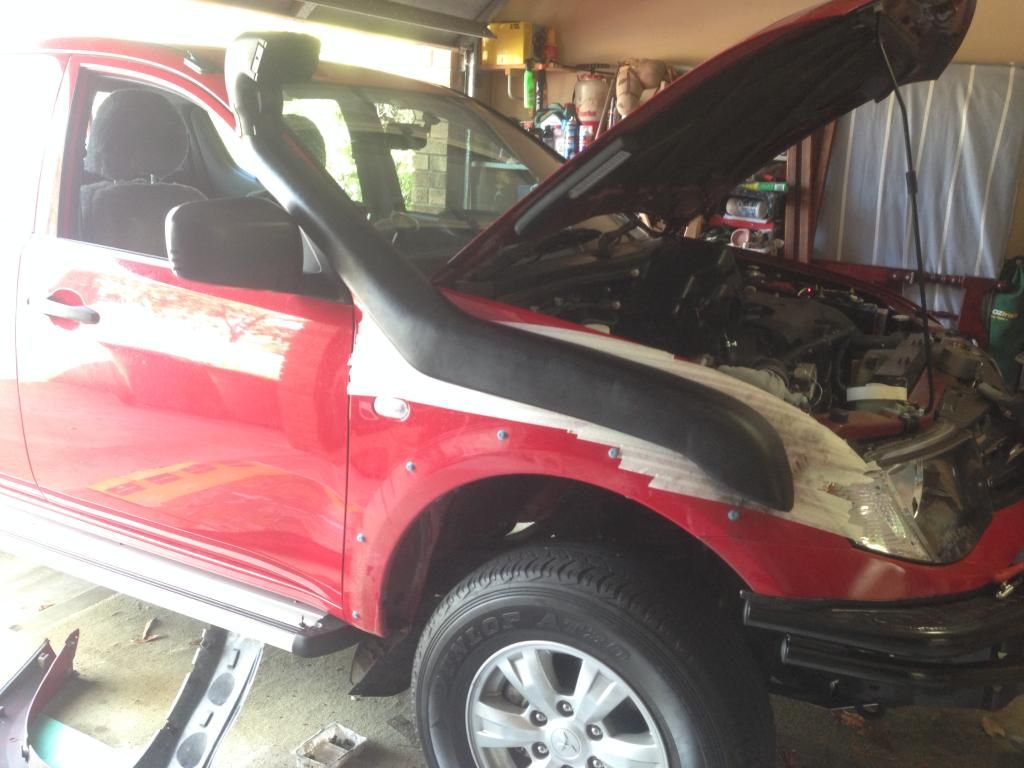
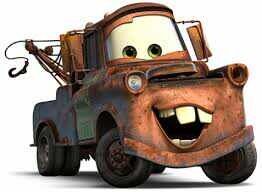
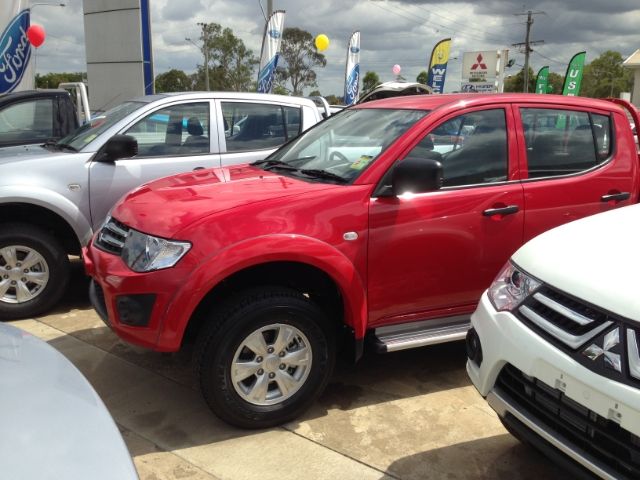
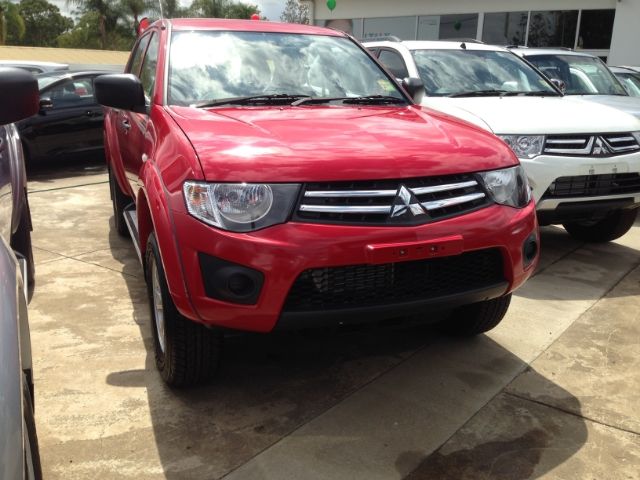
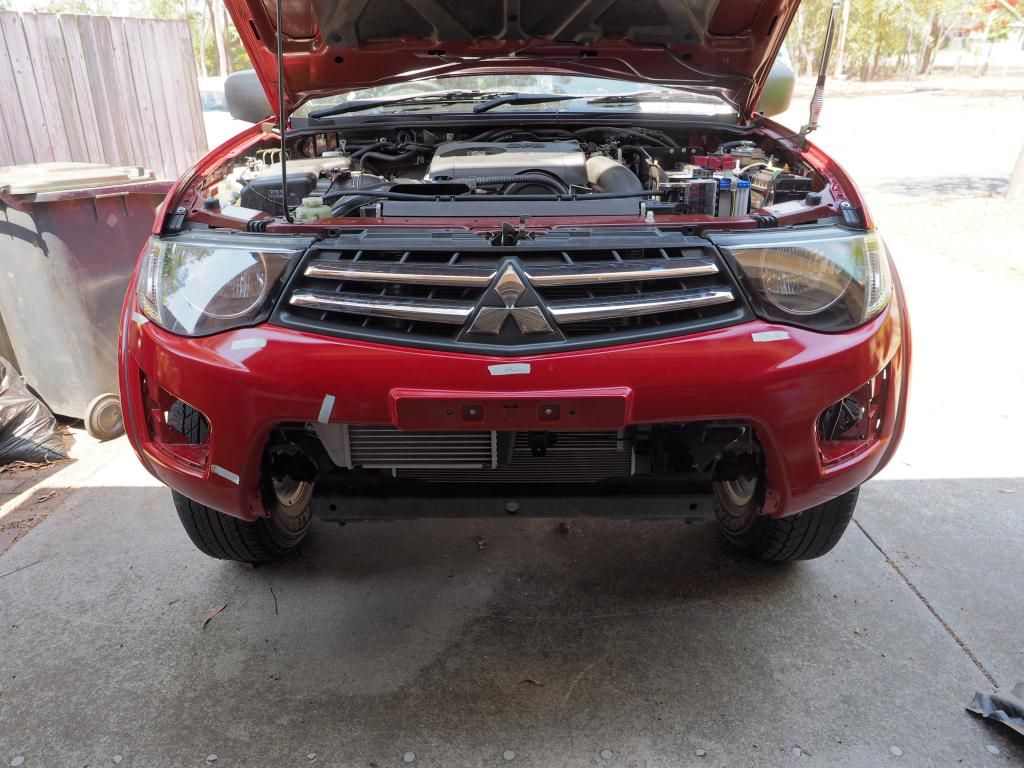
Mater before his mods started, still sitting in the stealers yard. Why Mater? My missus gave the nickname the first time she saw the car and it's sort of stuck
The first mod I did was source a reversing camera! I just bought a cheapie off ebay and it works quite well which I was surprised about!
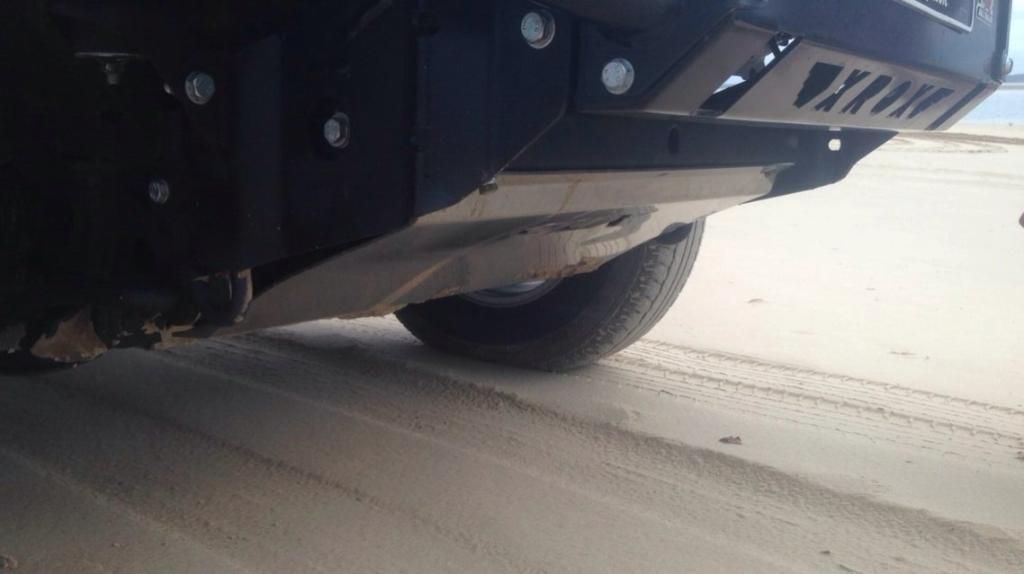
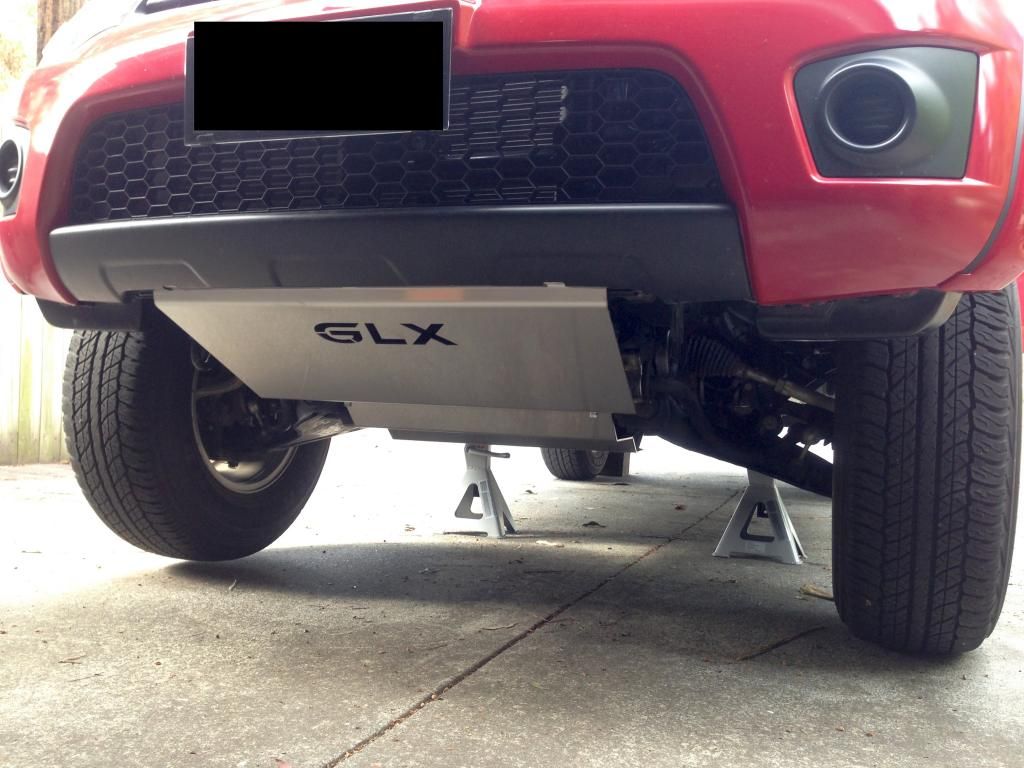
The second and most important mod I did was source some better bash plates! I can thank Buzzy for that one for providing the PDF of the bash plates which I had fabricated locally out of 3mm stainless steel! So much better than the poor excuse for bash plates that comes from the factory!
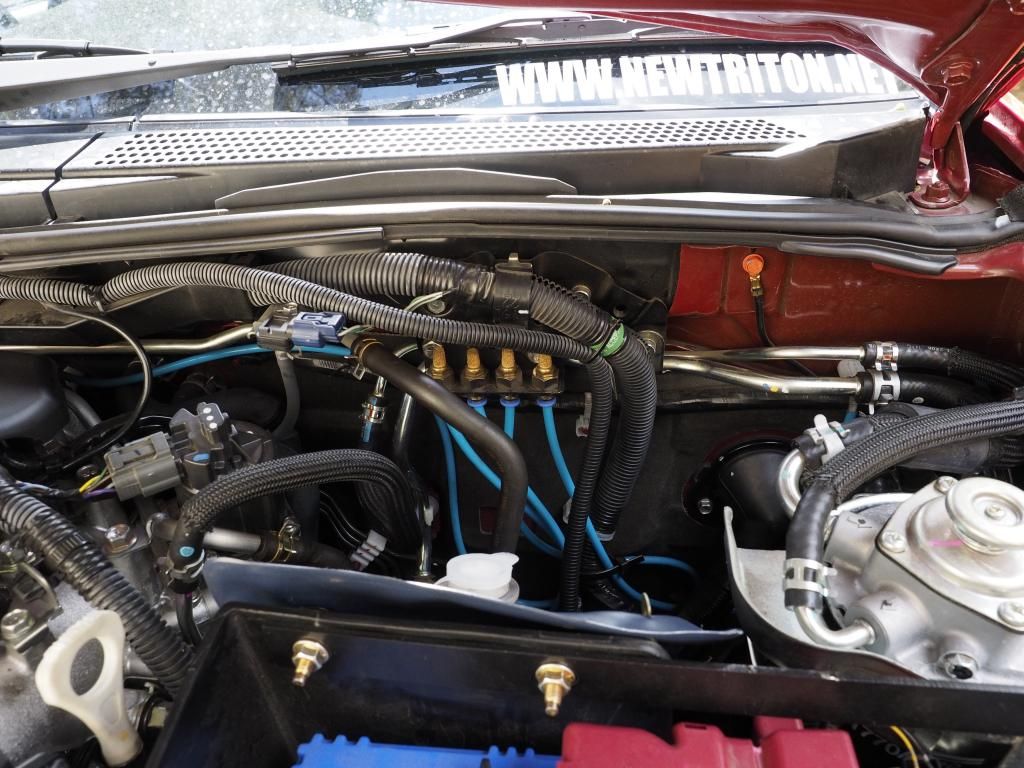
I then decided I should extend all the breathers (rear diff, gear box, transmission and front diff) and pipe them up to the engine bay just in the event of a rainy day
I actually got the idea from another member here: viewtopic.php?f=51&t=14097
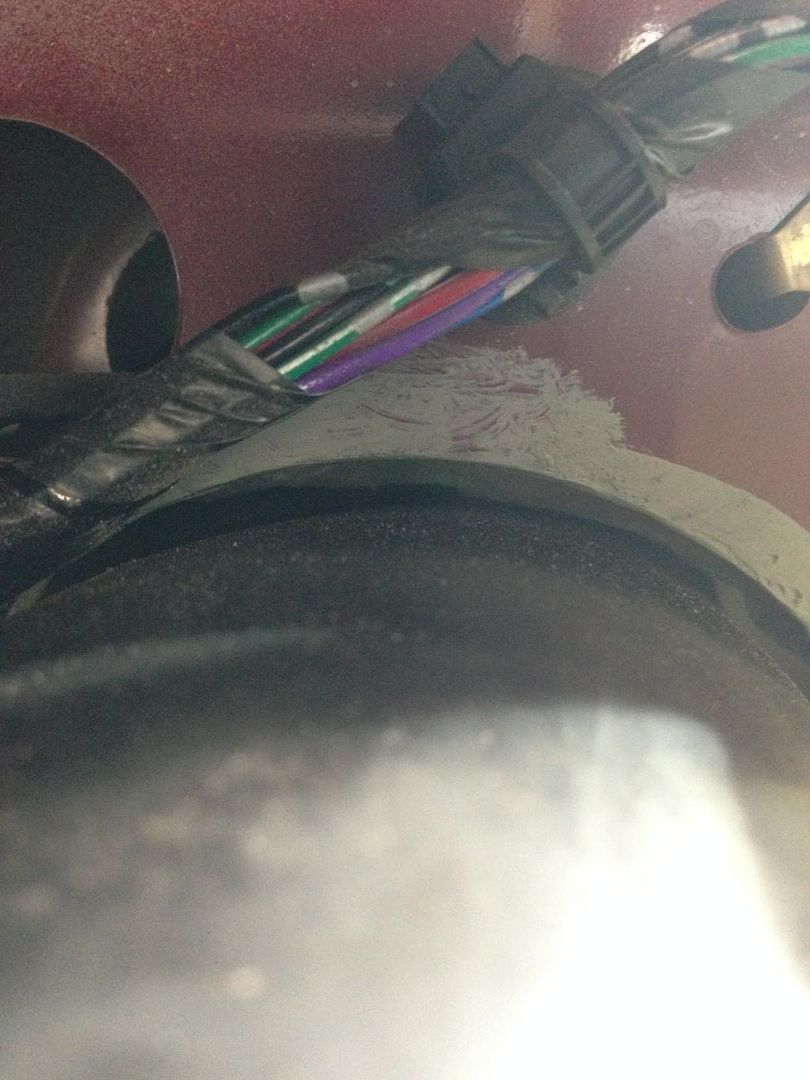
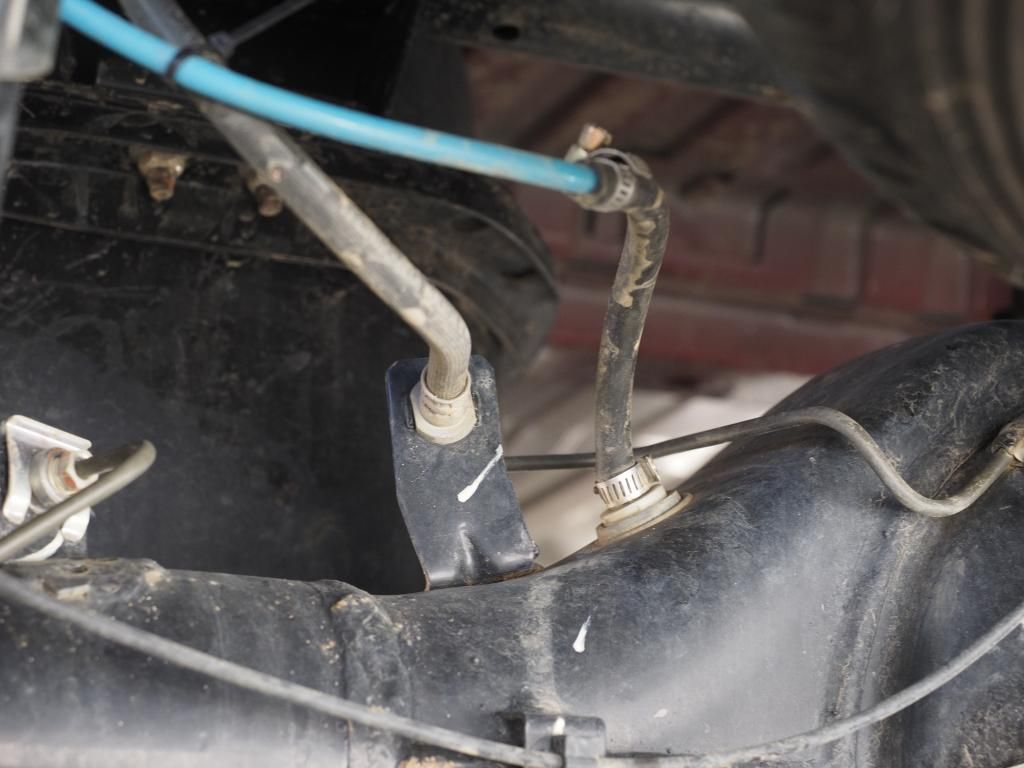
The rear breather I had to remove the white plastic cover, metal cap, spring and rubber seal, then just pushed blue pipe through the fuel hose just enough so the blue hose was poking out by about 1/4 inch, then pushed the blue hose into the opening of the breather cover and the fuel hose over the surround. I just used the hose clamps as added insurance as the hose is a bloody tight fit!
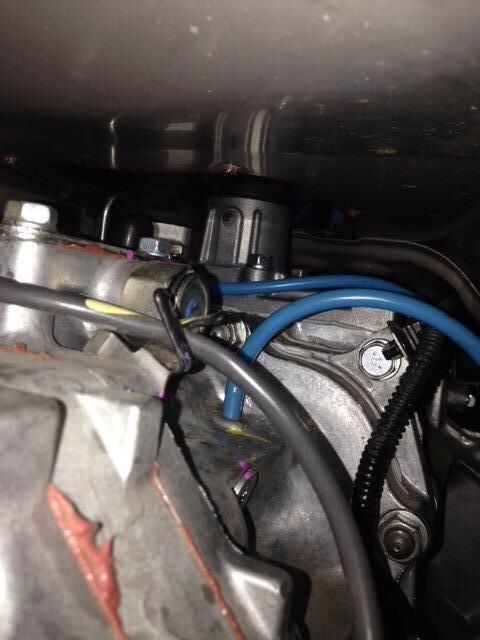
Gear box and transmission before:
Breather hose fitted:
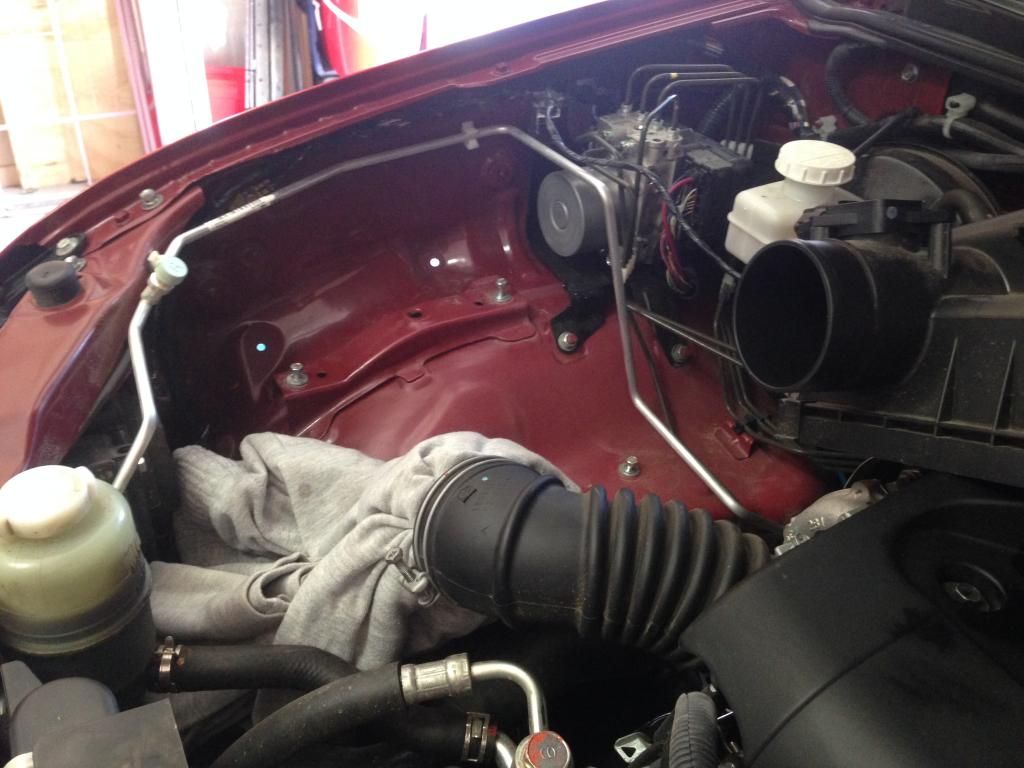
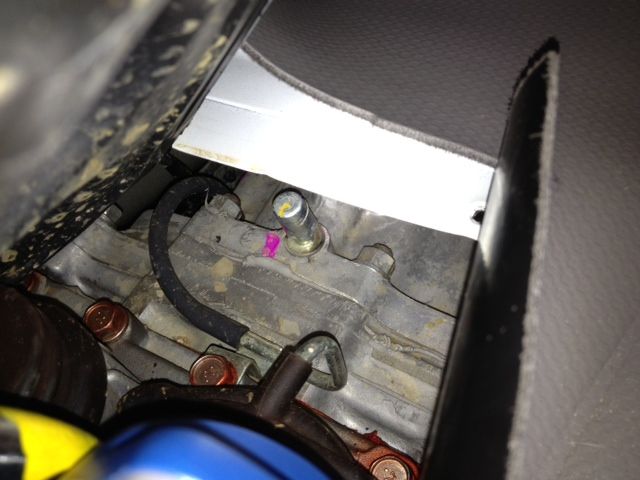
Front diff breather hose extended:
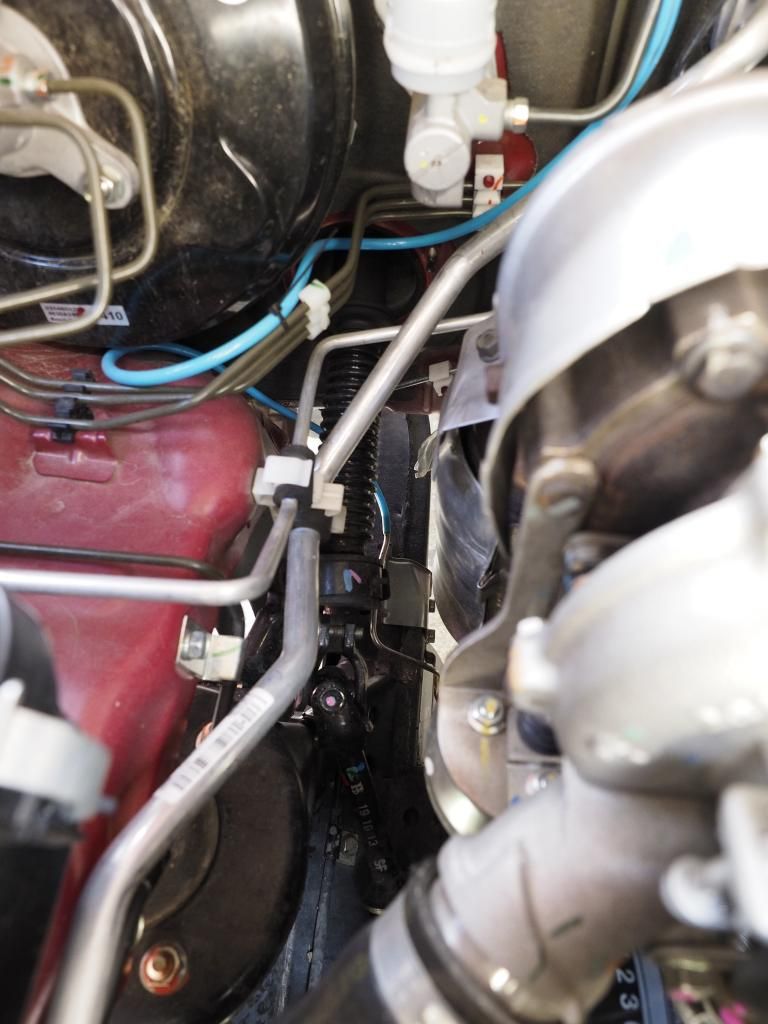
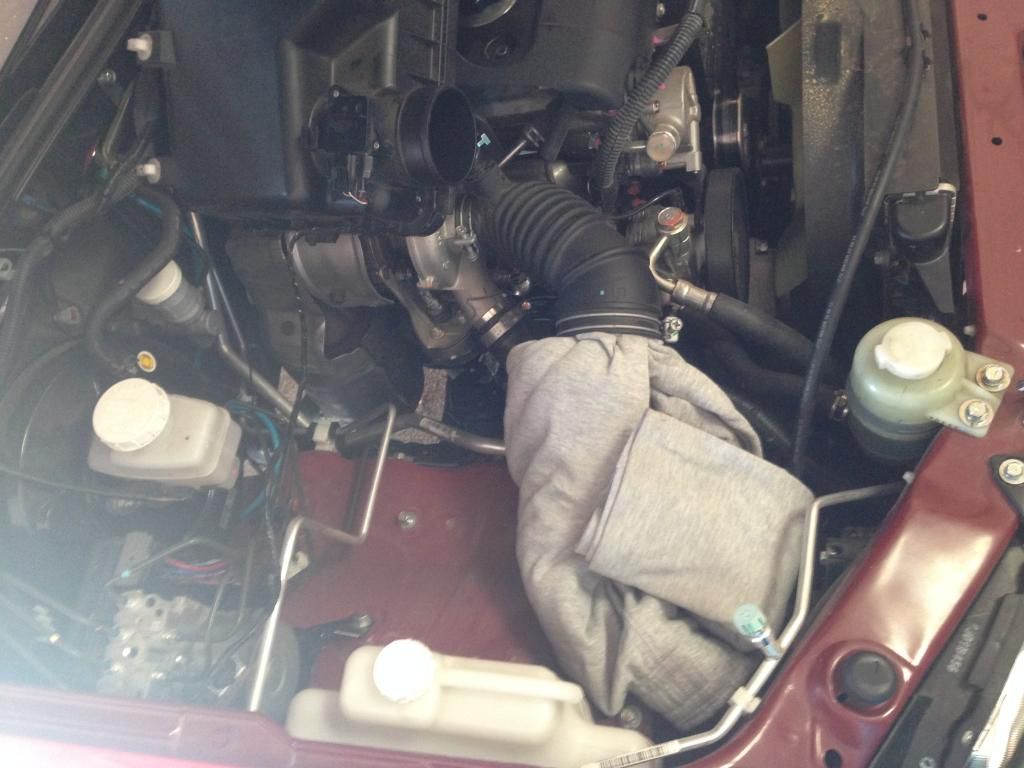
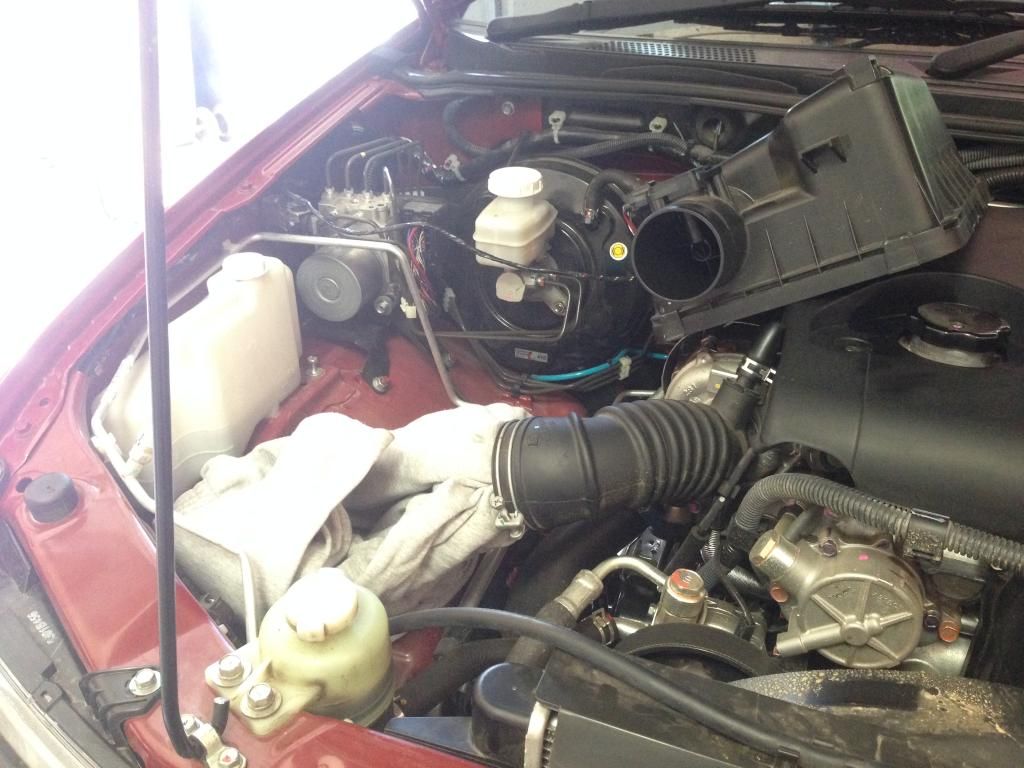
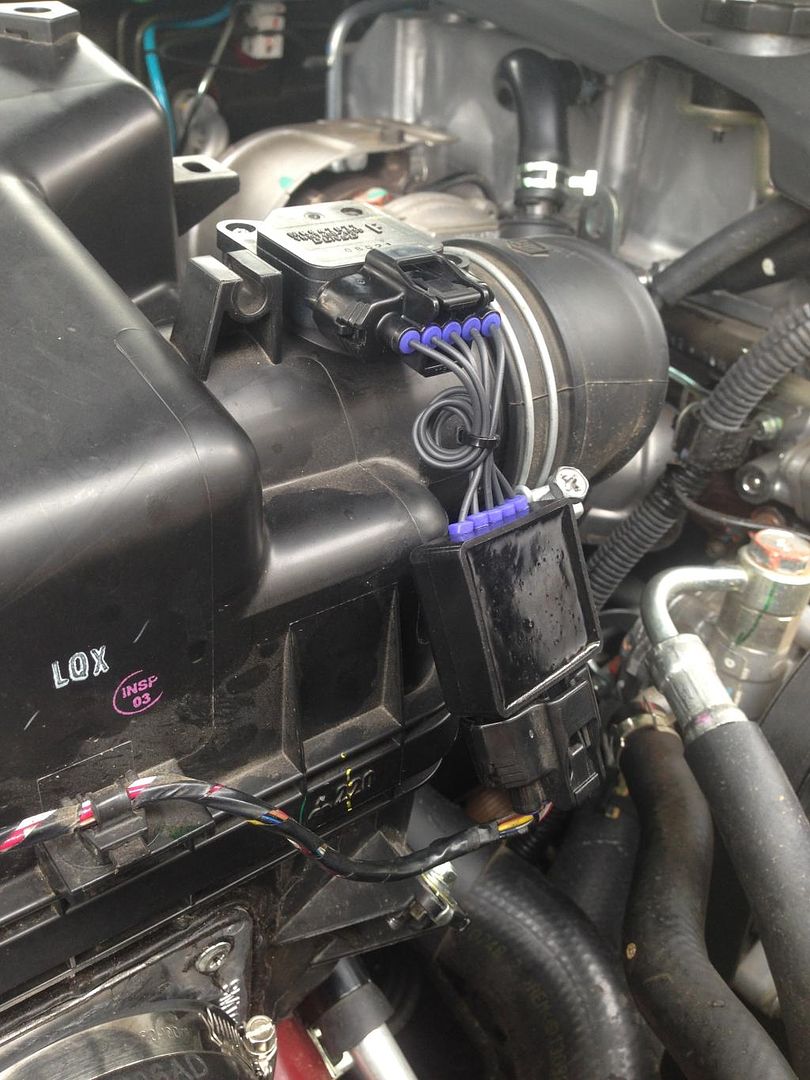
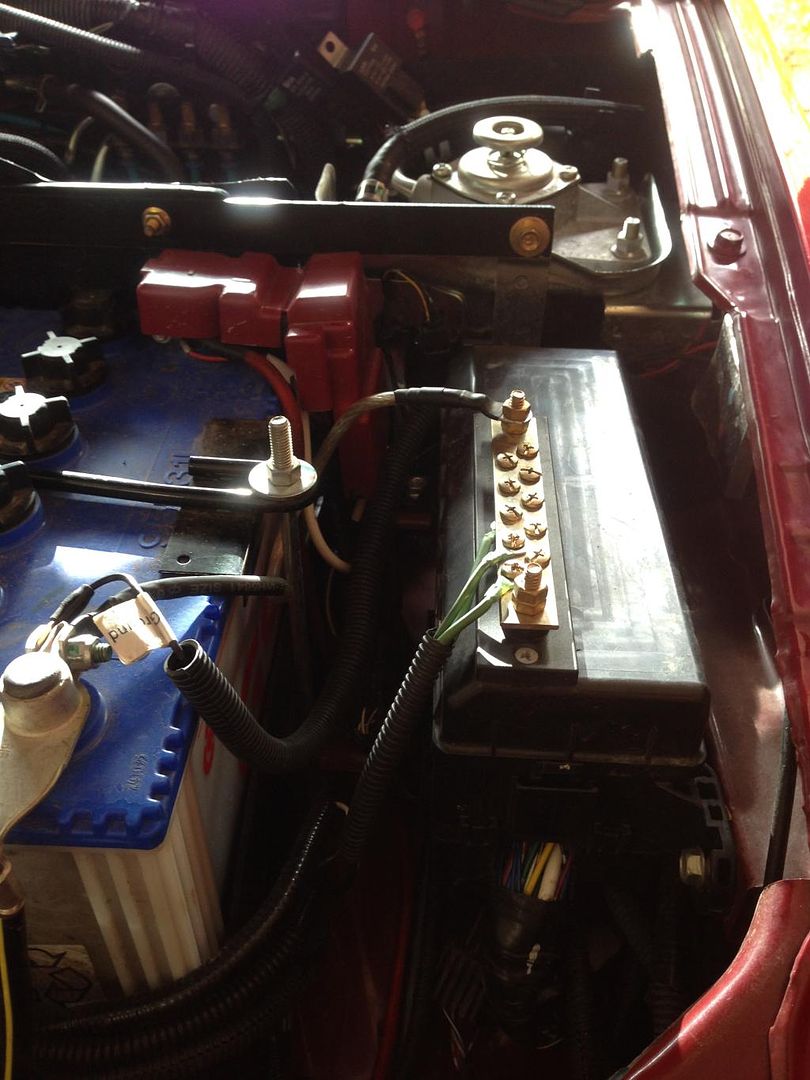
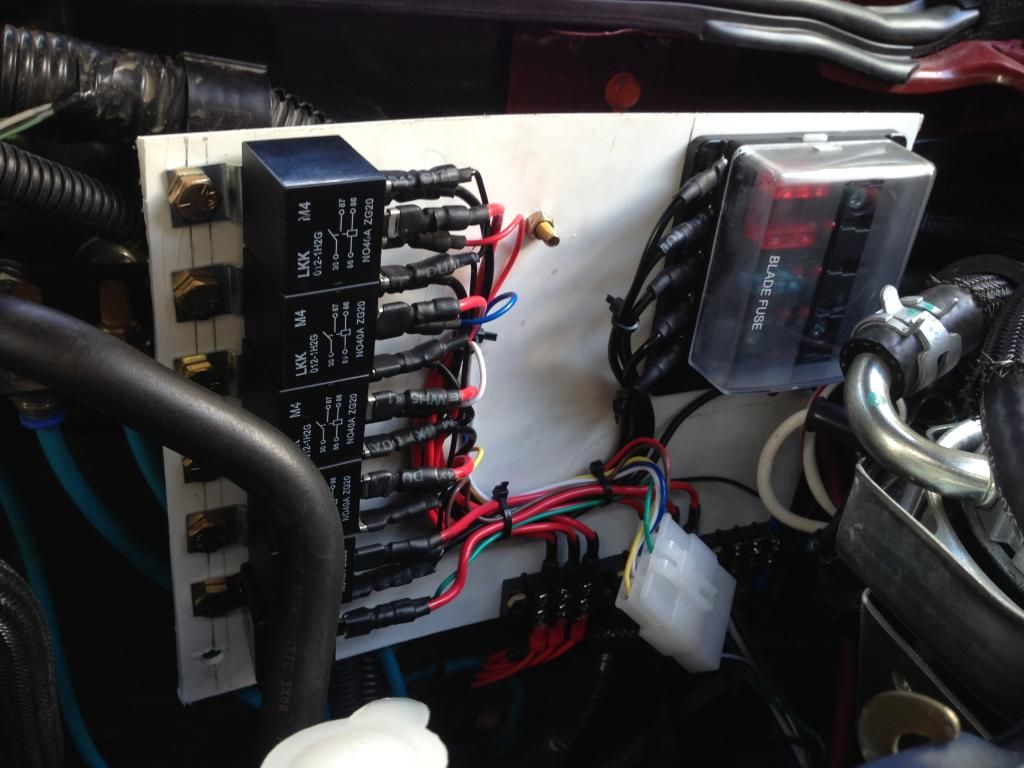
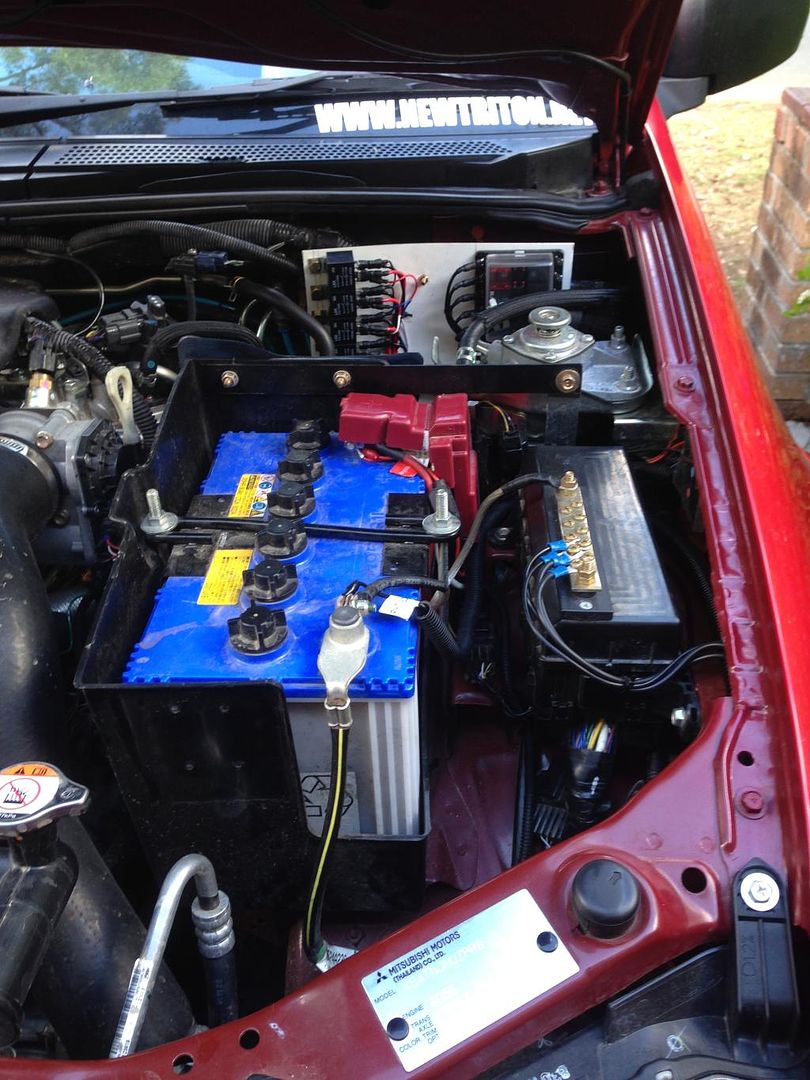
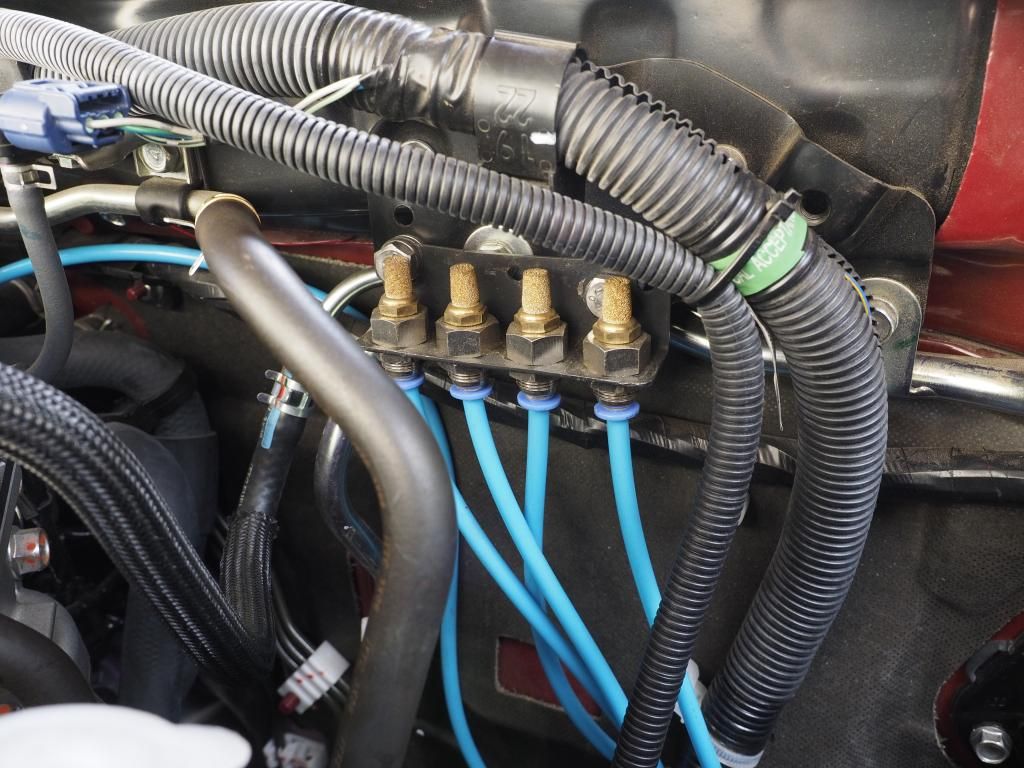
Then mounted the filter/breather block behind the battery although the plate needed to be manipulated to bolt in place...
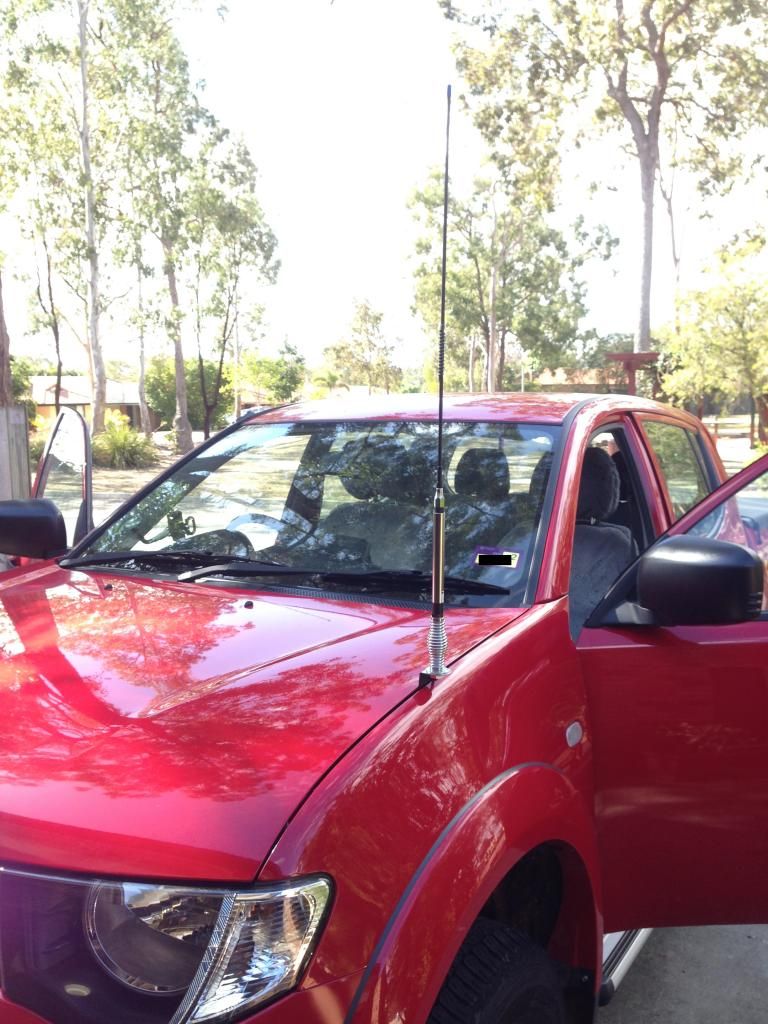
The UHF came next just a cheap Oricom UHF 300 from supercheap with a ground independent aerial, surprisingly it works quite well!
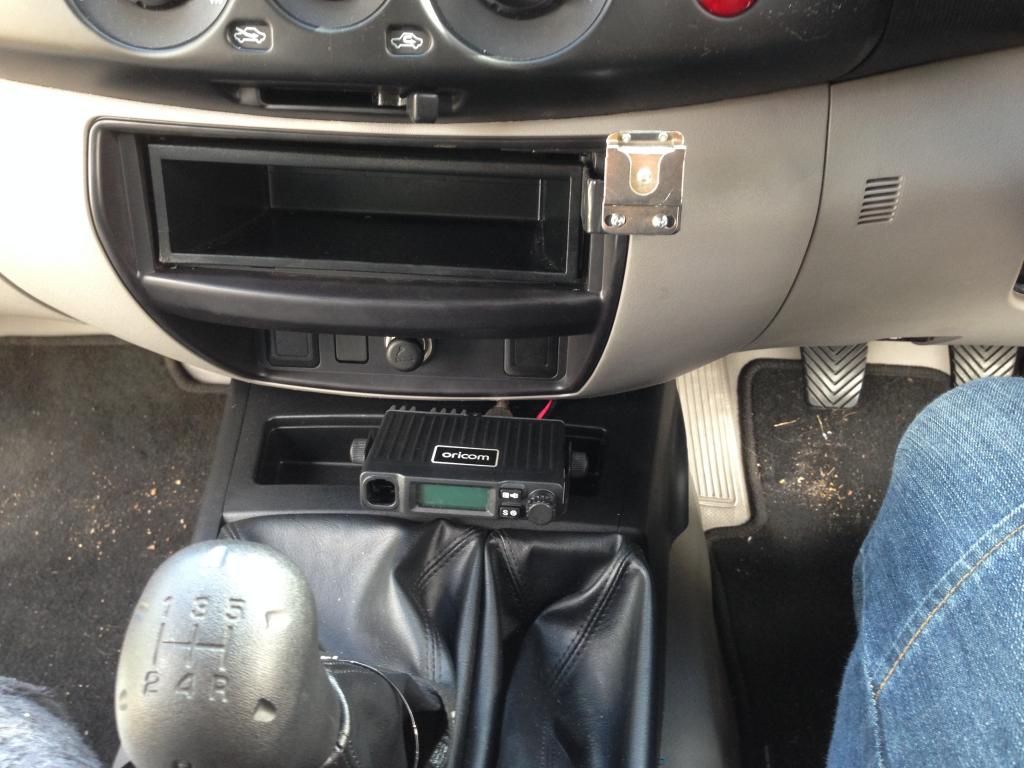
I just used Velcro tape to hold the UHF in place as I didn't want to go drilling holes in the plastic just yet.. it's doing remarkably well though
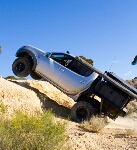
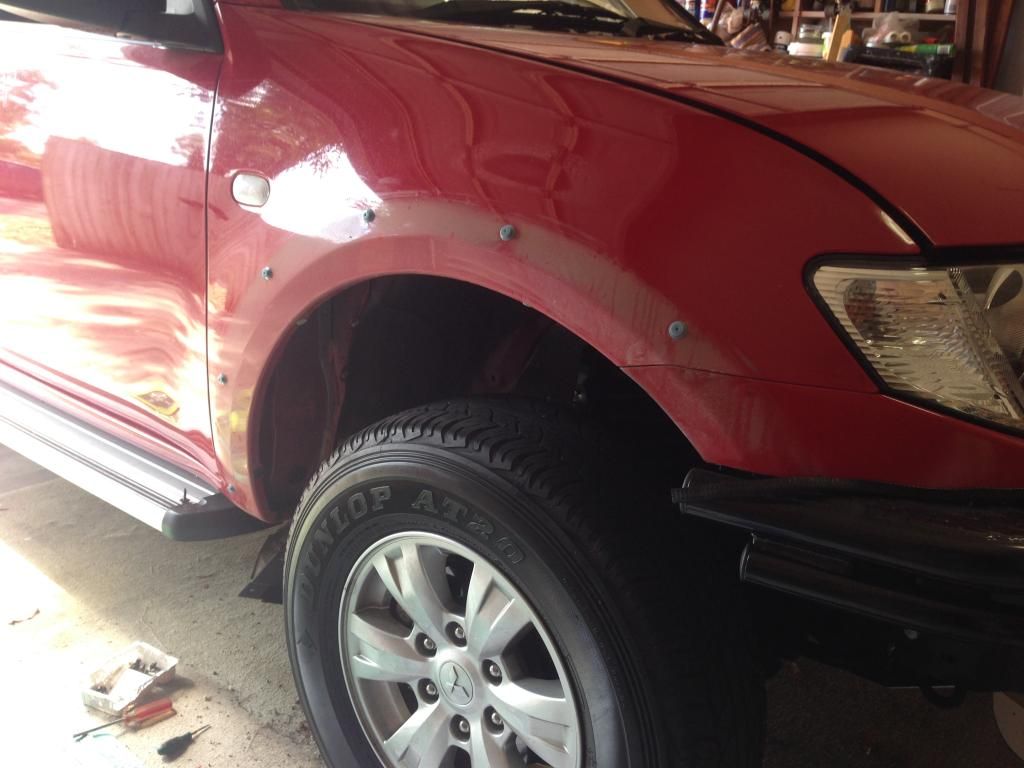
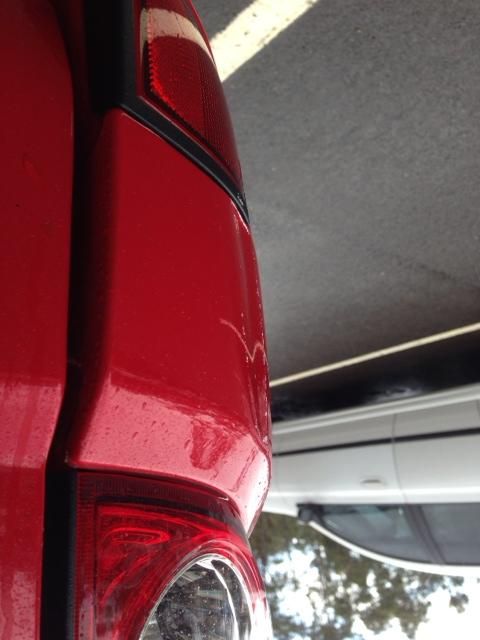
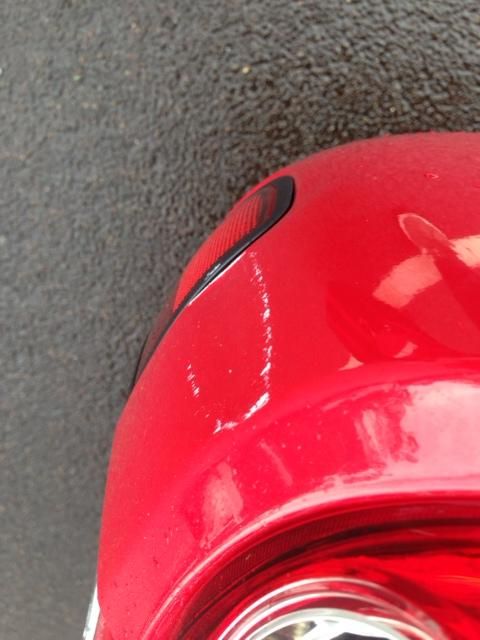
I then managed to put the first dent in mater!
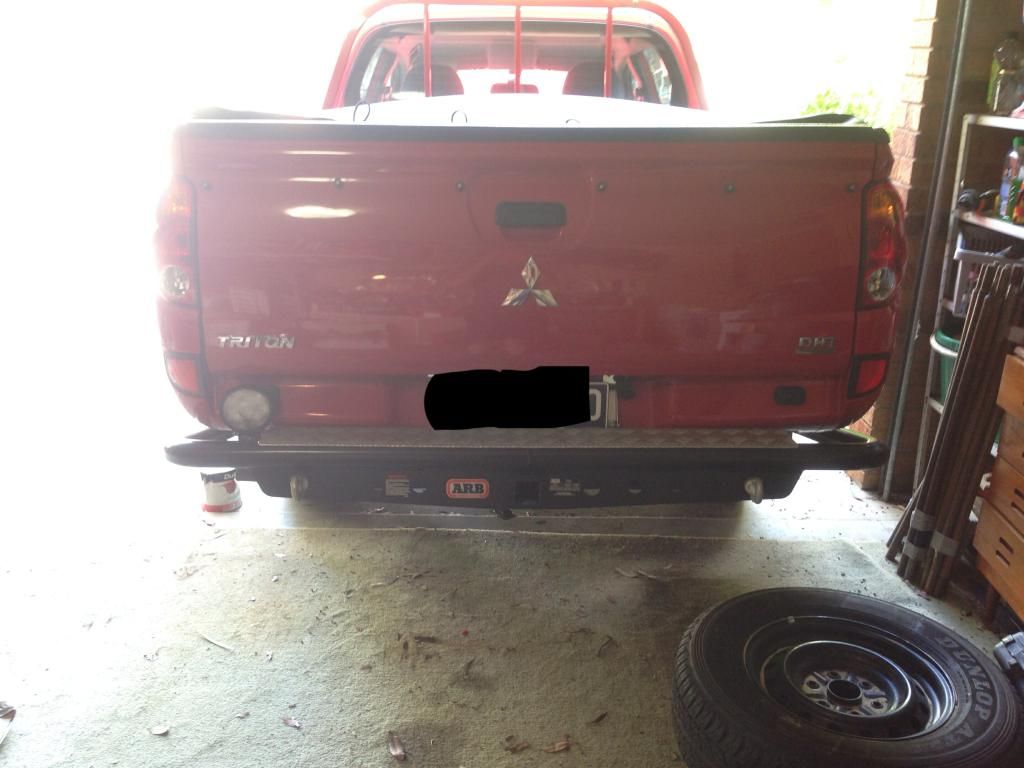
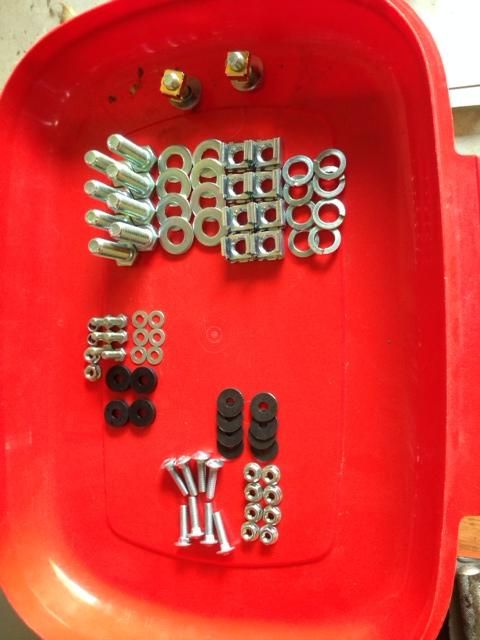
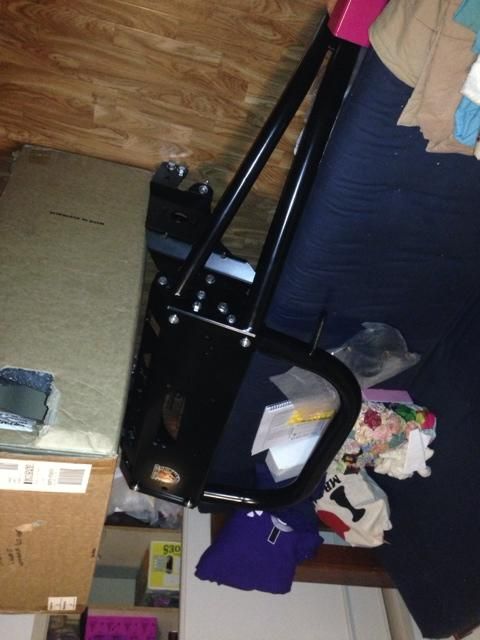
Needless to say the next mod was the ARB rear step! Just be safe, plus it gives me a decent place to recovery from! The guys out at UV4x4 Ipswich were really helpful and knew about the differing chassis widths and were happy to help me if I had any issues.
Laying everything out and getting ready to fit it.

Aligning and fitting milk crates are so handy!
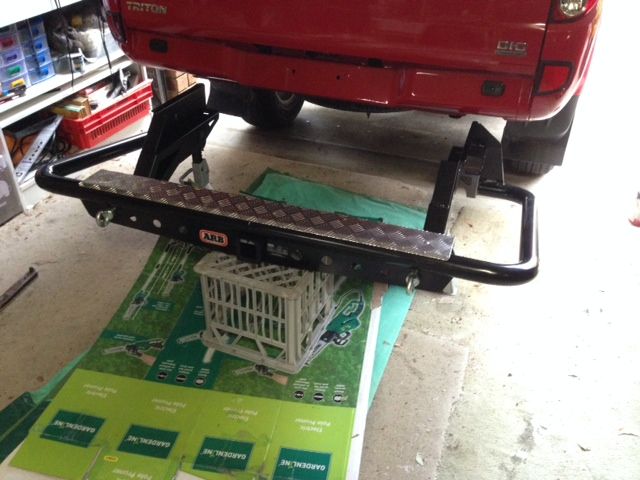

Fitted!
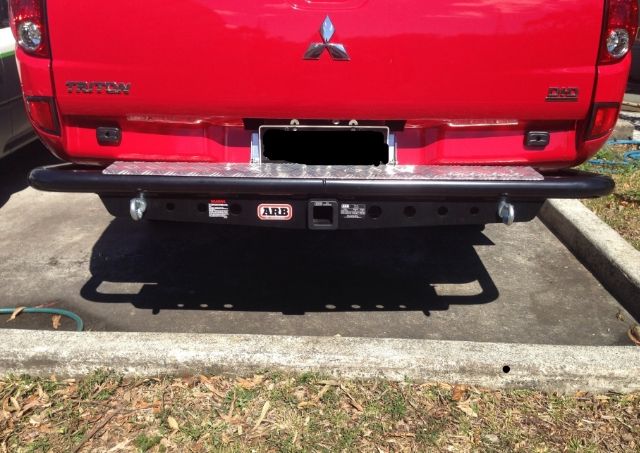
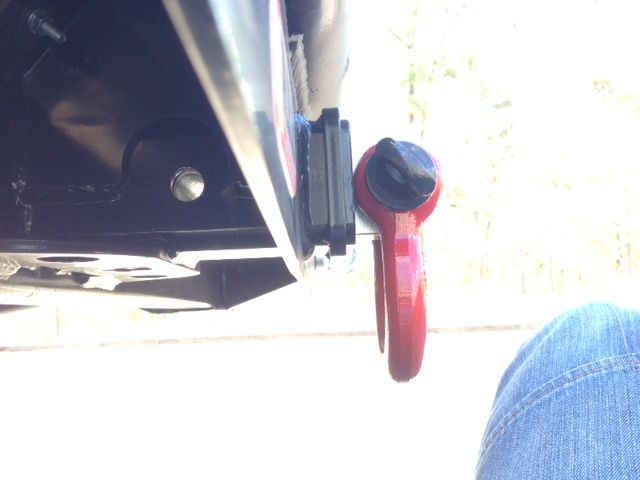
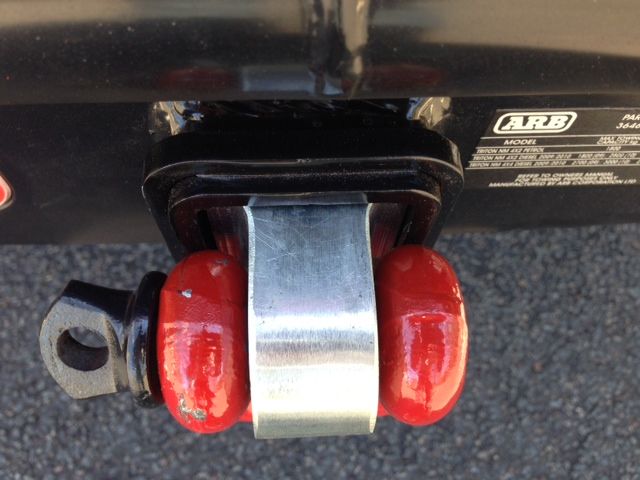
Only issue I have is the recovery hitch does fit with the plastic arb cover on..
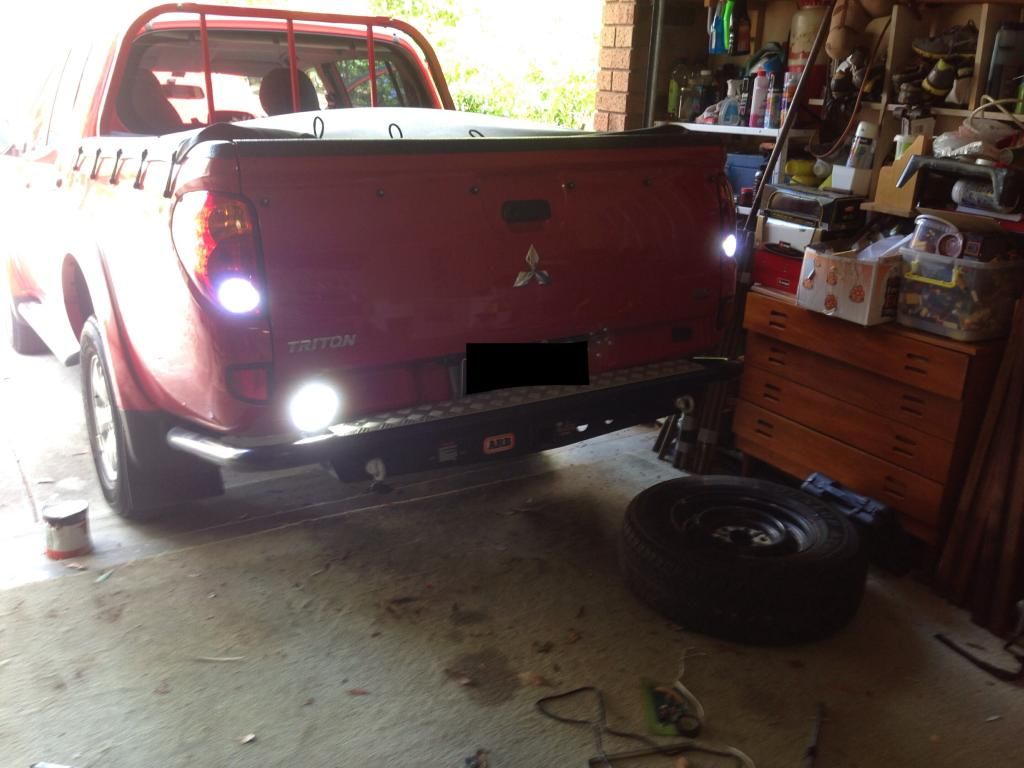
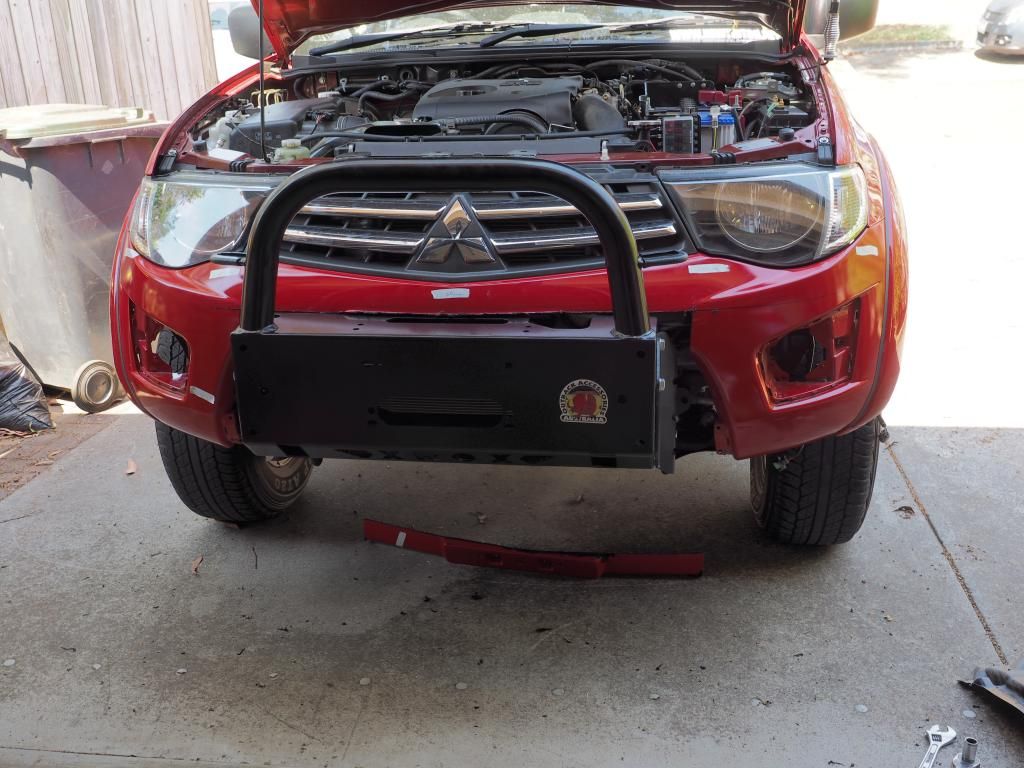
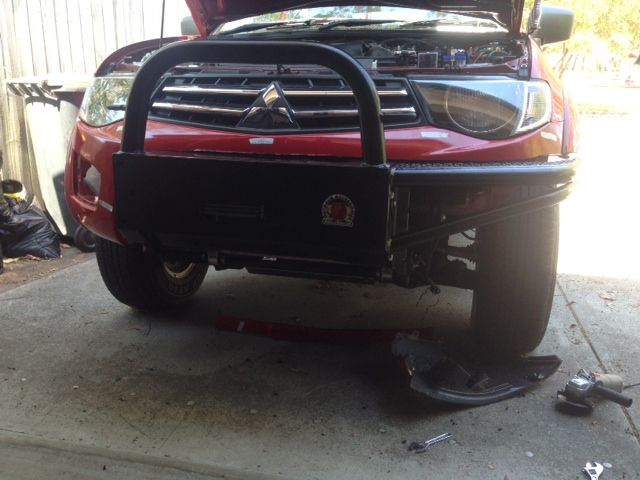
I was then generously offered a nudge bar and fog lights from Tuan who lived locally! A real top block!
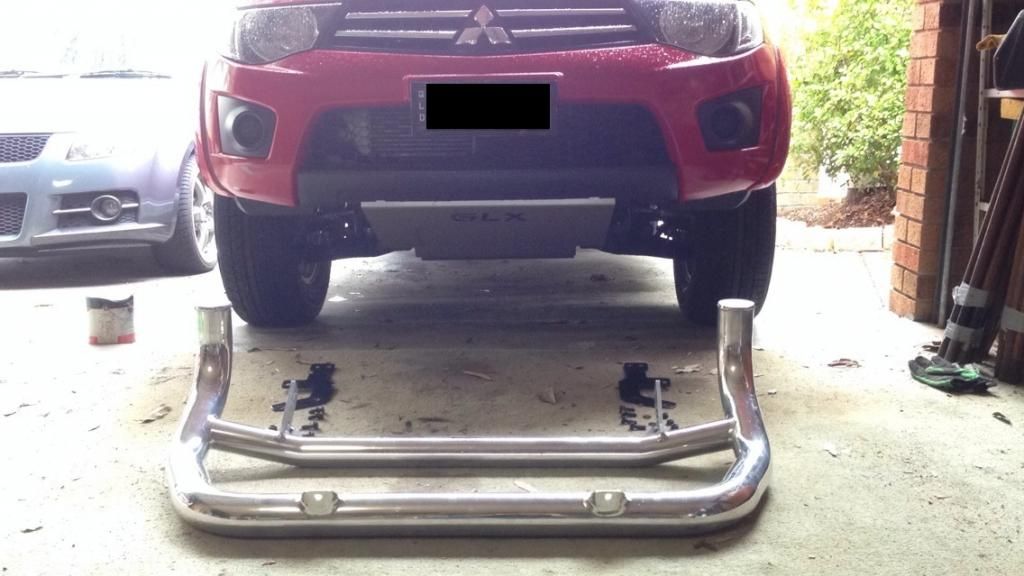
I also got a set of 7 inch HID driving lights and a 22.5 inch led light bar from ebay which cost me a grand total of $200!
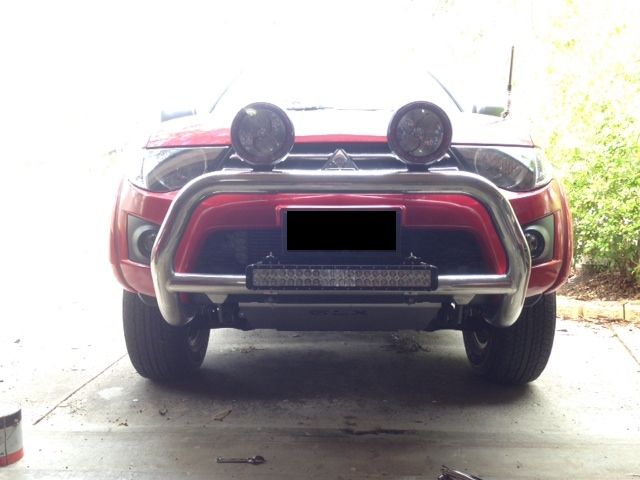
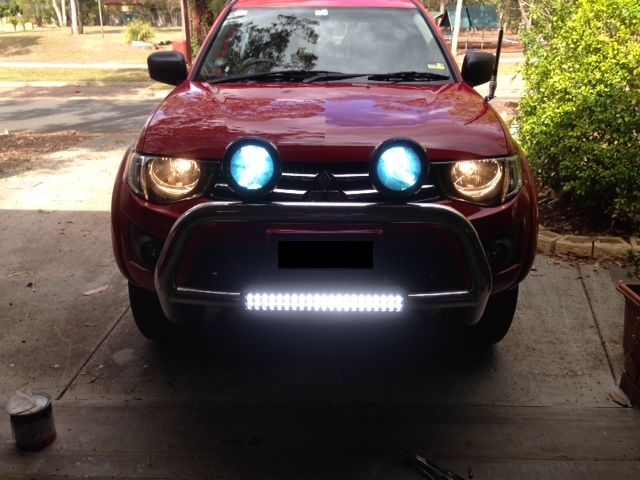
I then found out from a friend at work that the LED light bar was illegal where it was so off it came
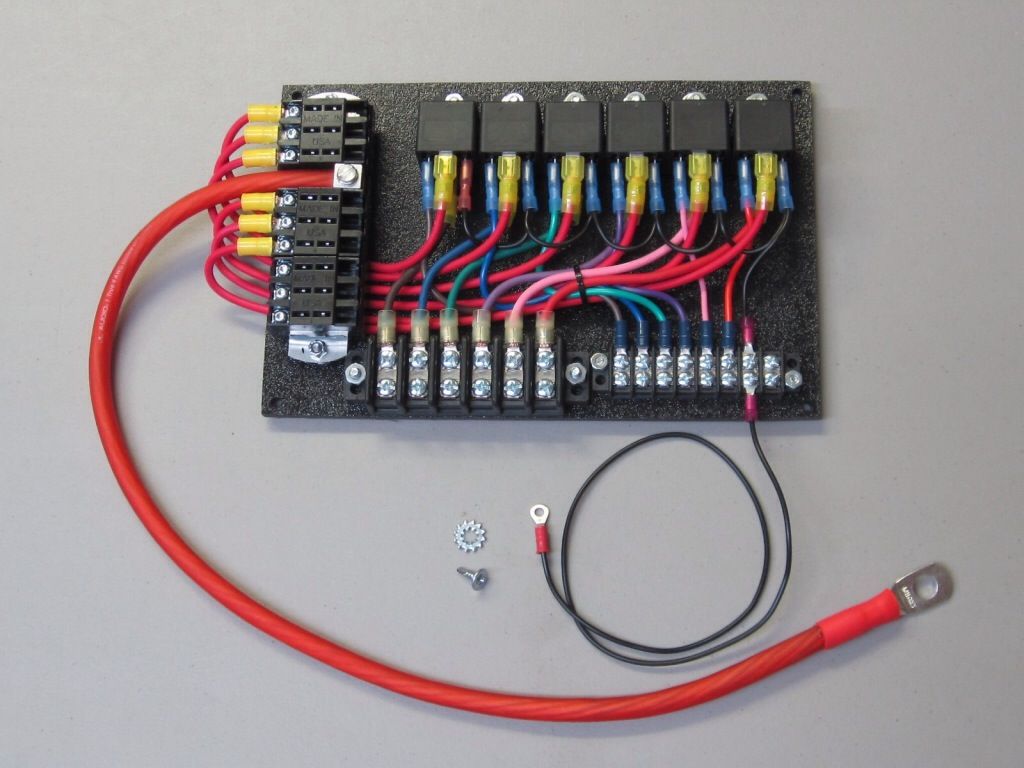
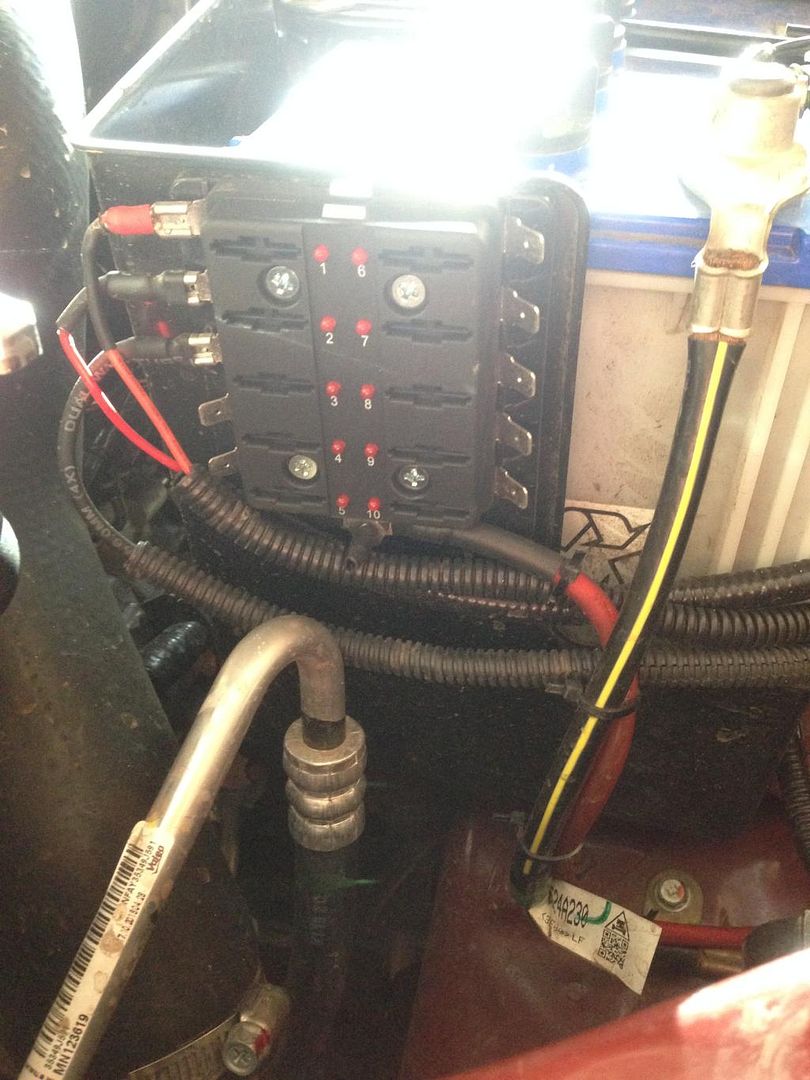
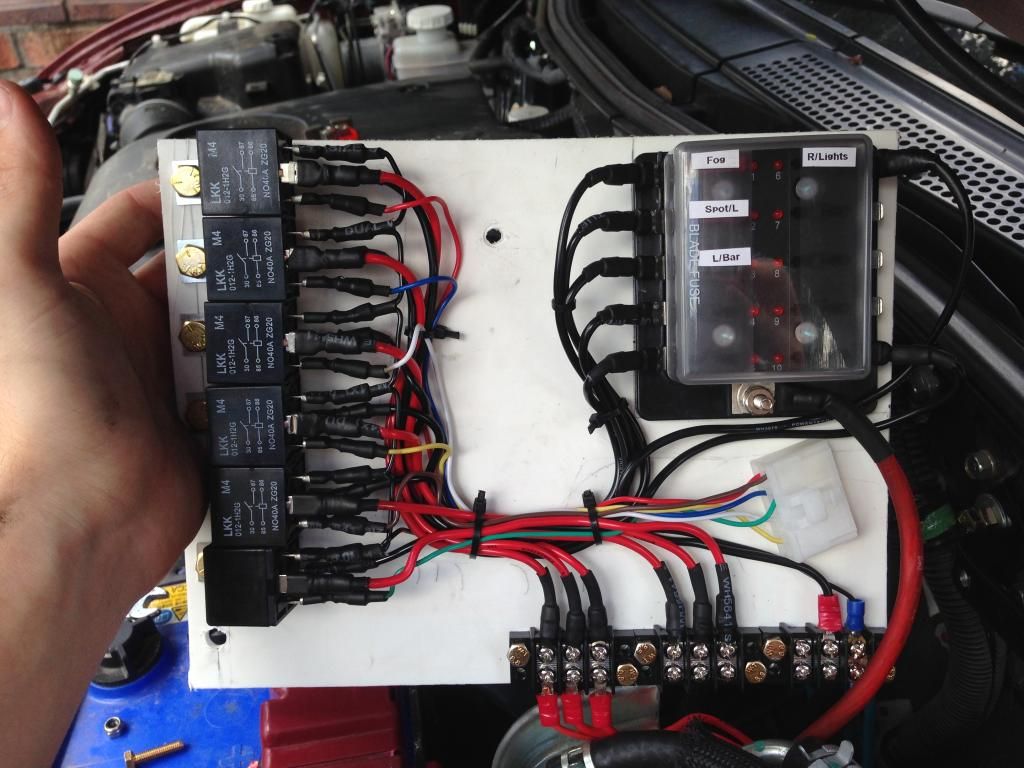
Where I mounted my switches for the foglights, LED light bar and spot lights
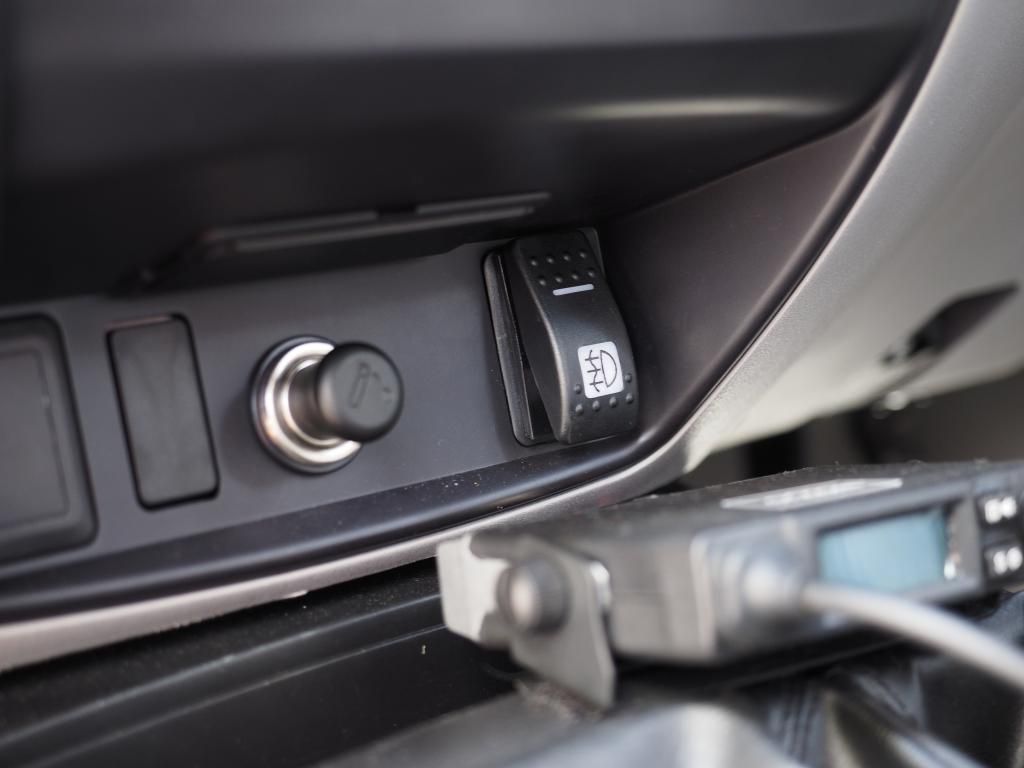
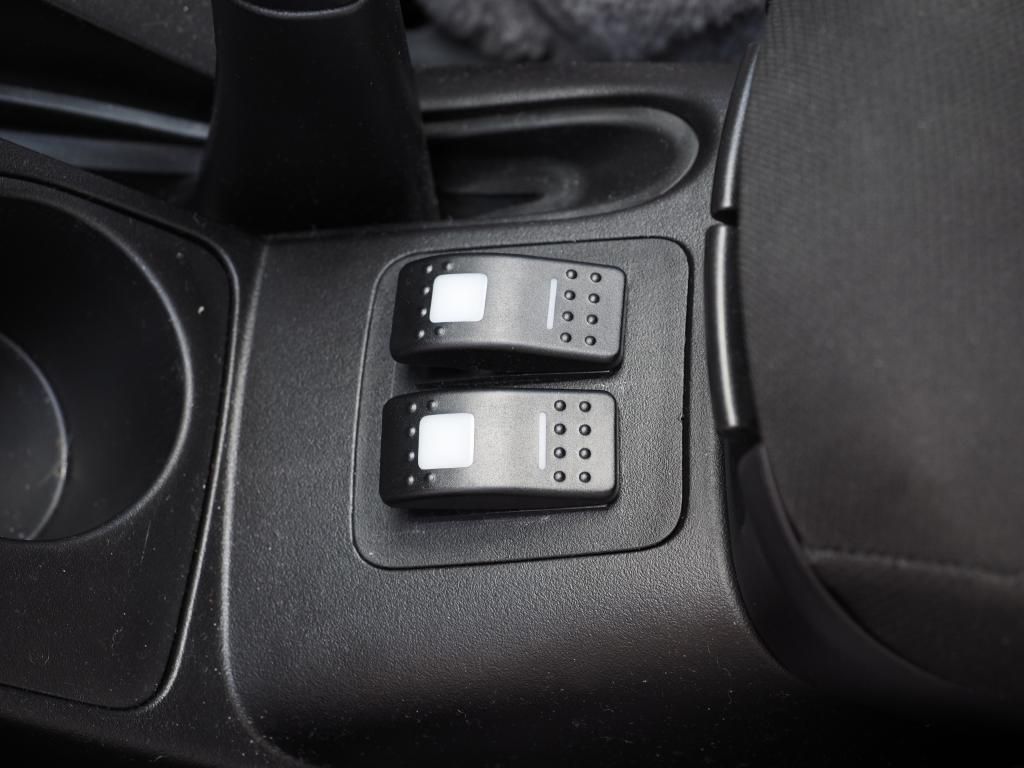
Note if anyone tries to fit a standard rocker switch from jaycar they won't fit the blank hole as it's apparently not a standard size (according to the guys at jaycar browns plains) so I just had to trim the blanking plate so they just fit in using the trimmed blanking plate to hold it all in plate.
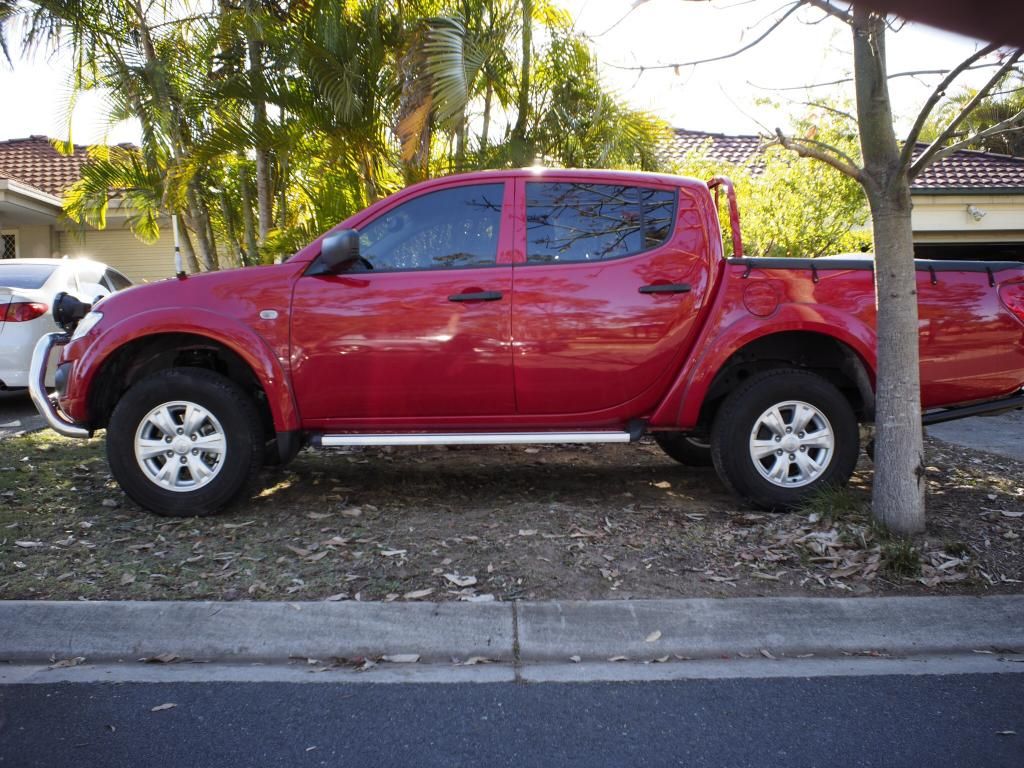
I then decided I needed to lift the factory sidesteps up by 40mm like some other members have done here, just increase the ramp over angle until I get around to getting some rock sliders...
Before:
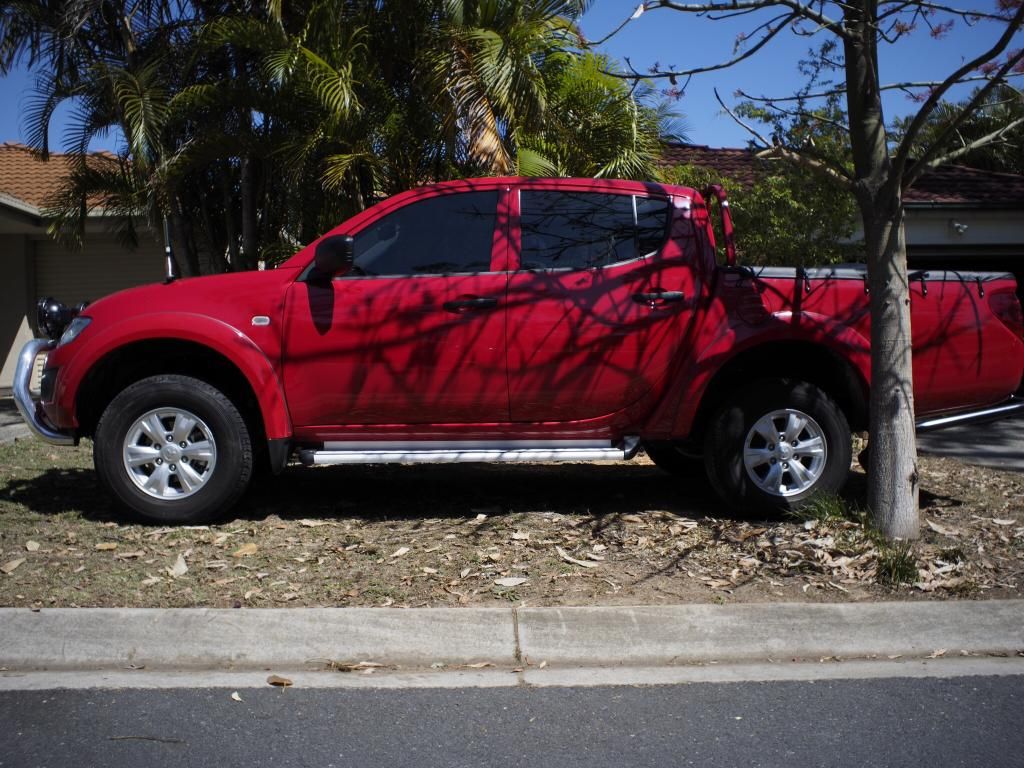
After:
Although I did go a little over zealous with the trimming of the plastic end caps...

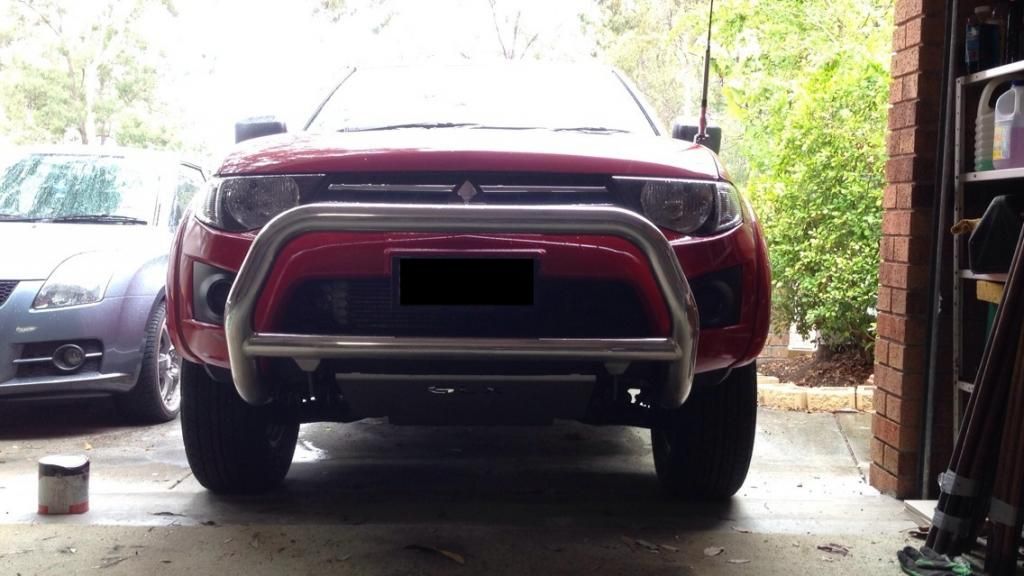
So not long after getting the nudge bar from Tuan my little brother hit a small roo and smash the lower grill of hit triton... So the plans for a front bar were accelerated and seeing as my birthday was coming up I decided to get an xrox bar on order. Three weeks later and it arrived!!!
I just had to wait two week for some time off before I was able to get it fitted!
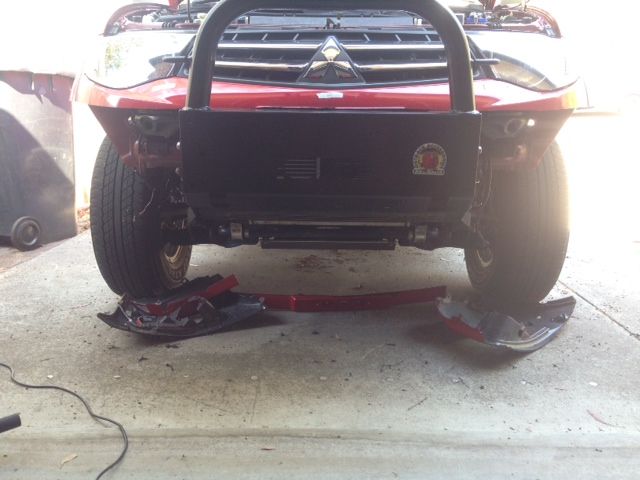
The day finally came where I was able to fit it!
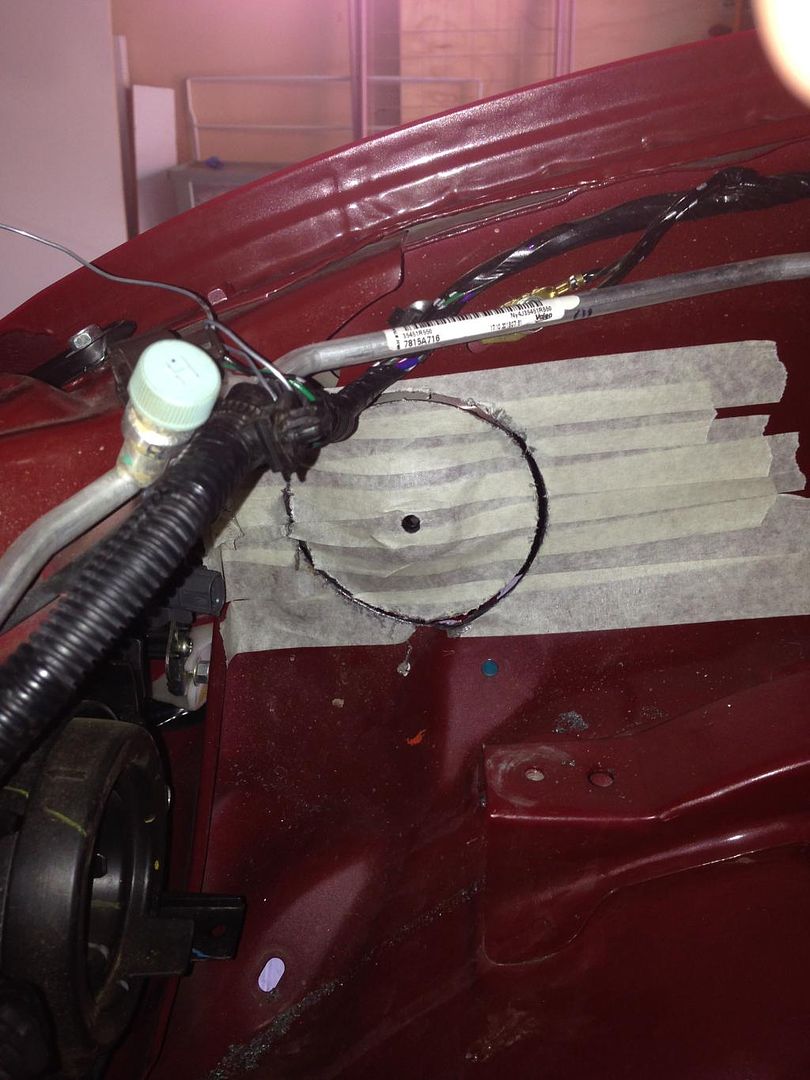
The most nerve wrecking part was actually making the first cut in the bumper! But after about 10 hours of taking my time and about 3 hours double checking my measurements before cutting it turned out pretty well!
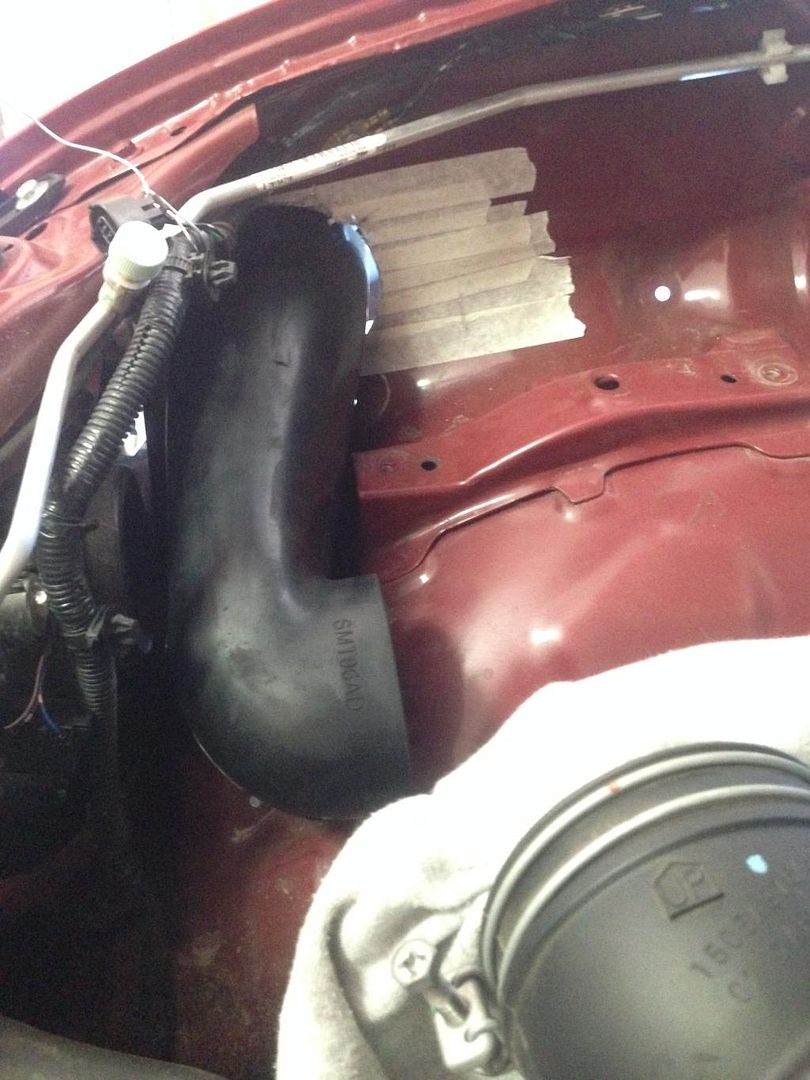
So everything came off and all the brackets, washer bottle, bash plates and fog lights were removed.
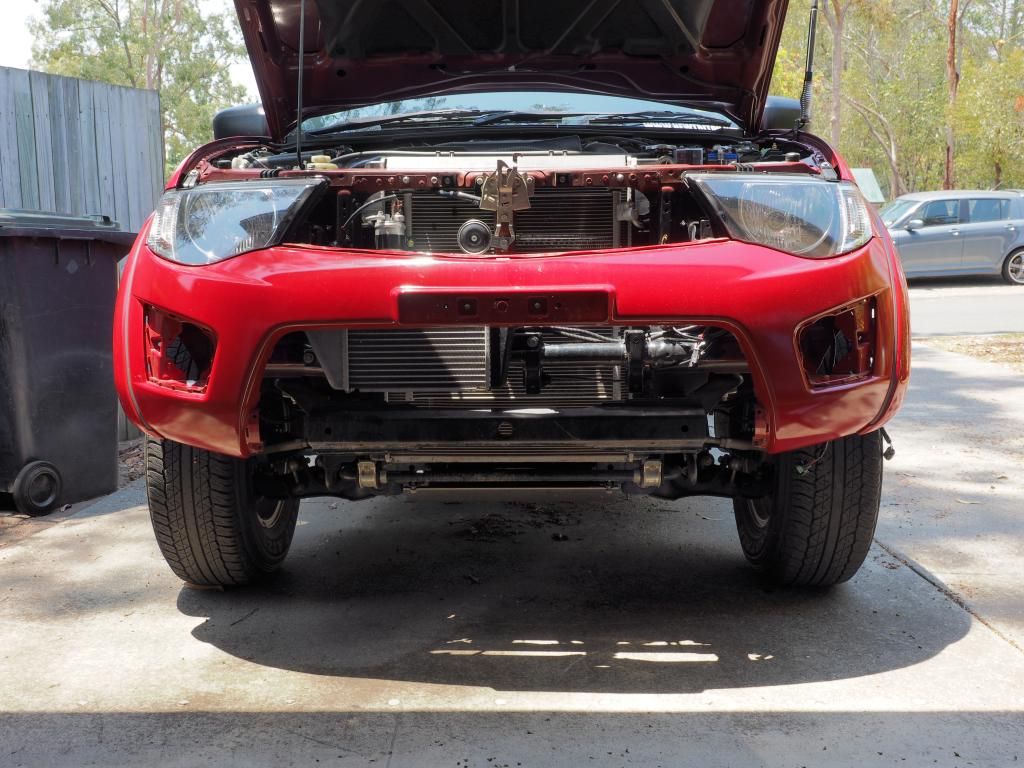
The lower front grill was removed with care to give to my younger brother along with the nudge bar. To give him some protection!
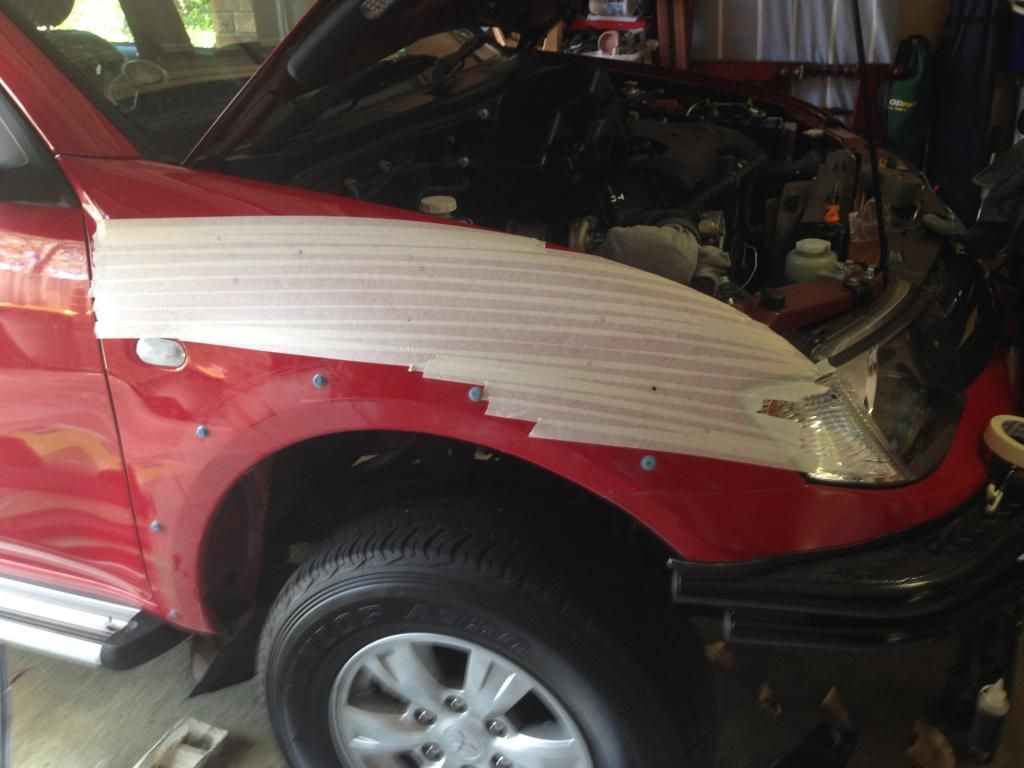
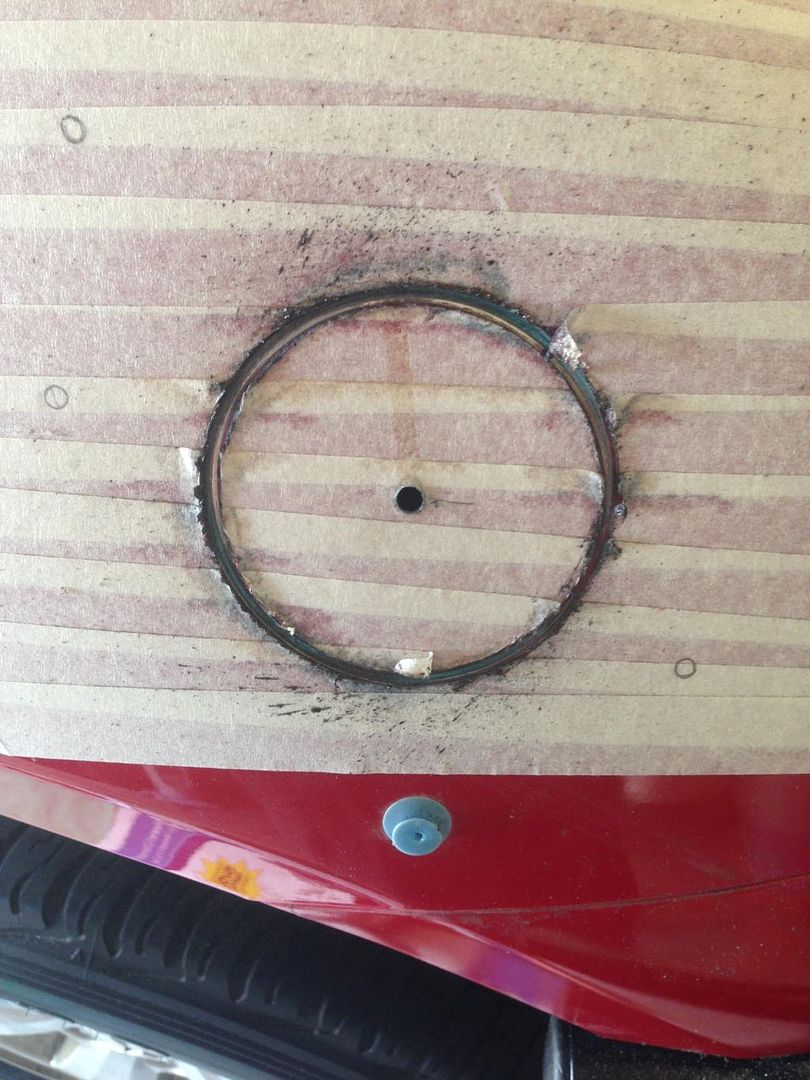
Marking it up and ready to make the first cut.
Just cut enough to fit the middle section.
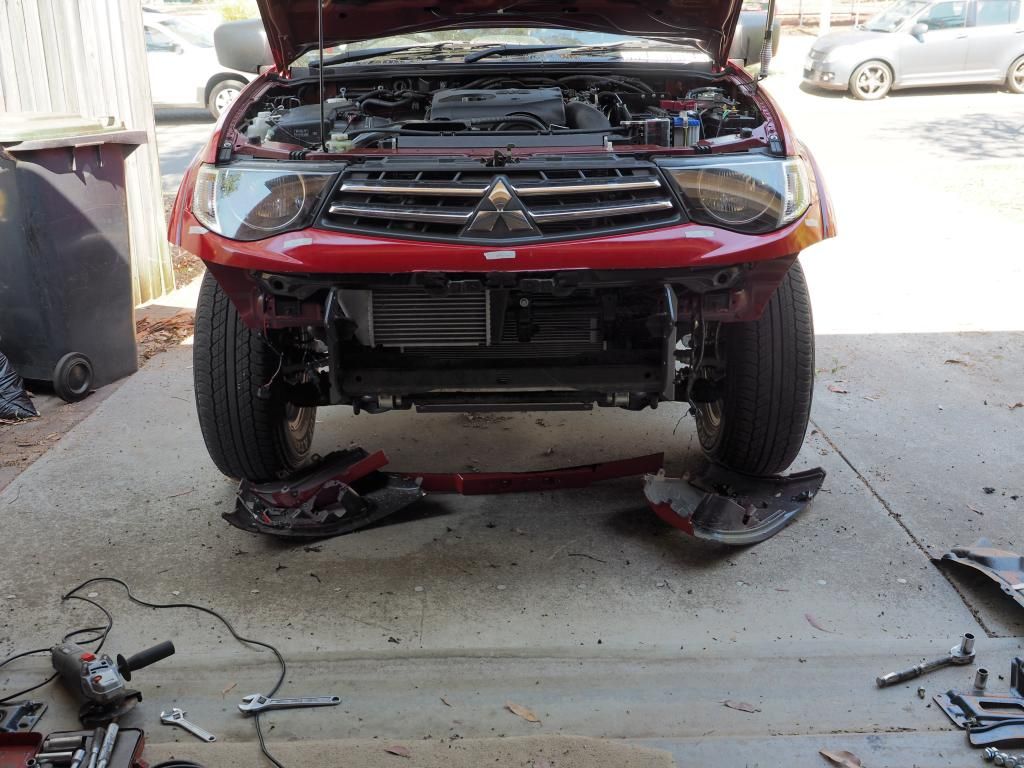
Then cut the passenger side to test fit the first wing..
Both sides cut.
Getting ready to finally fit it all and my little brother turns up... Asking if I can help him fix his car now the grill is off mine.
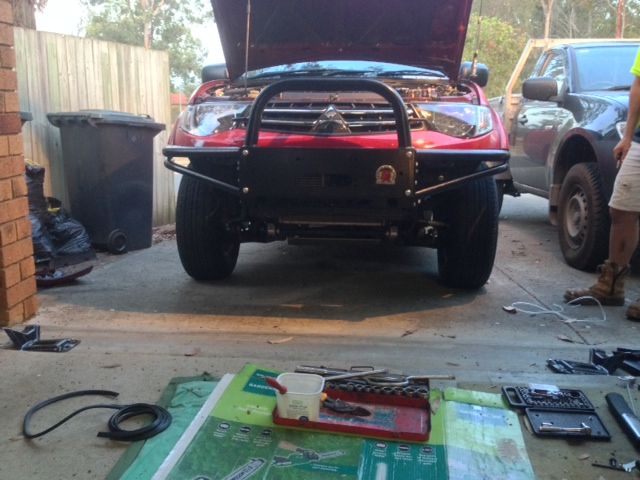
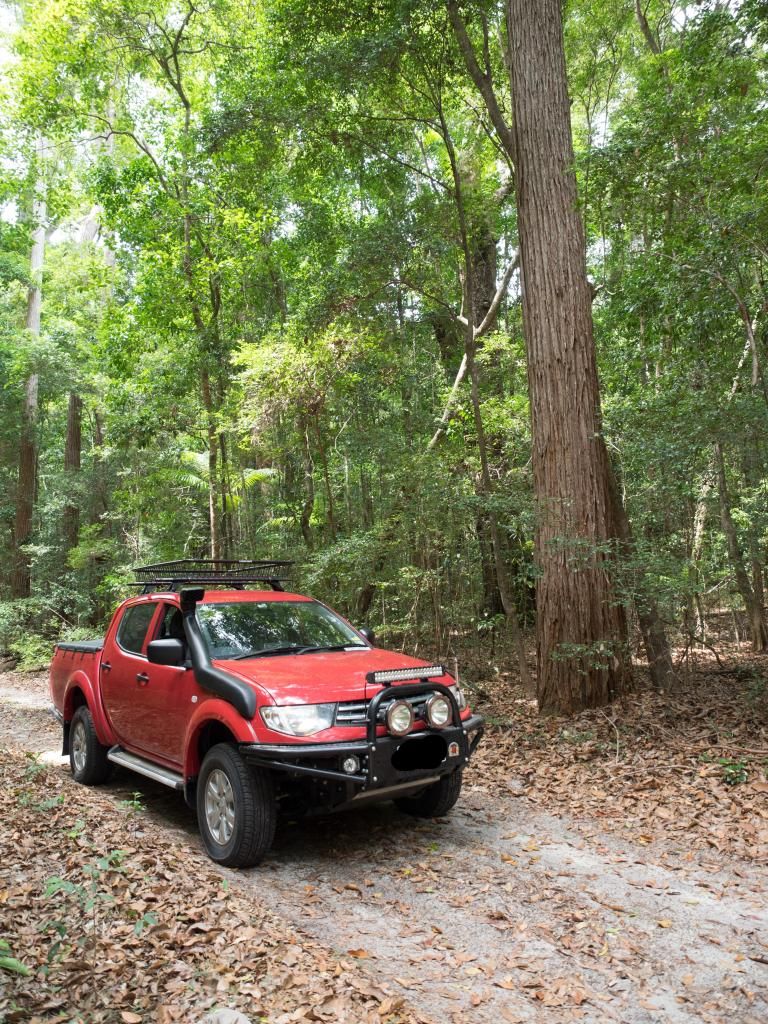
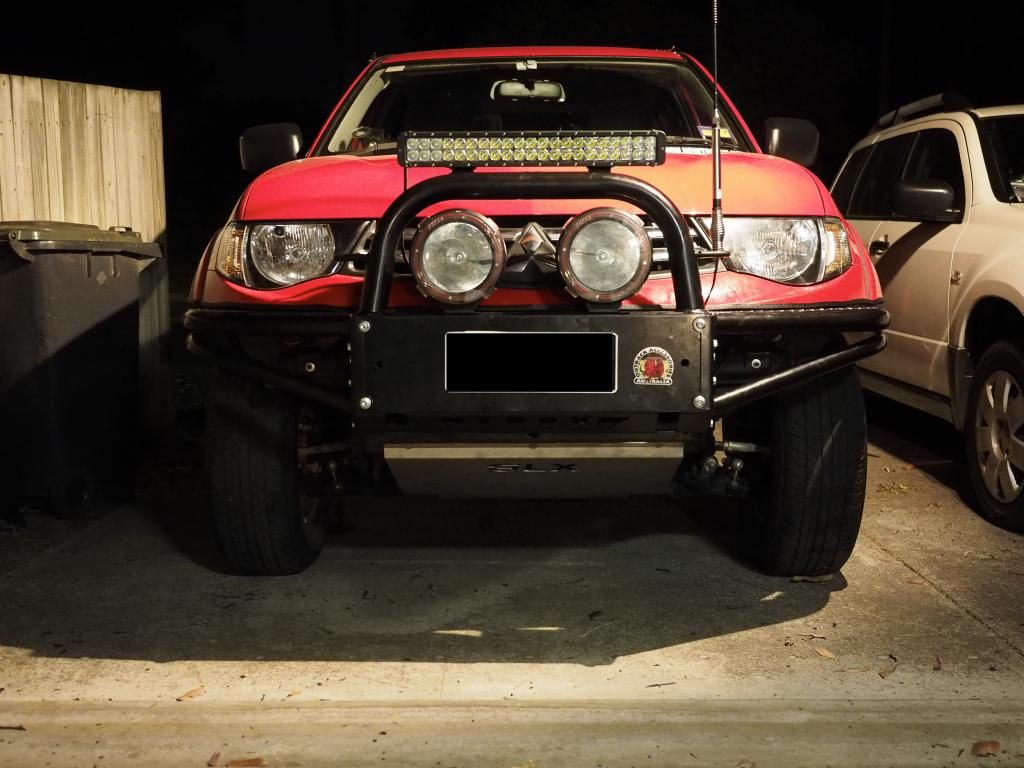
At about 8:30pm that night finally finished and Mater looks mean!
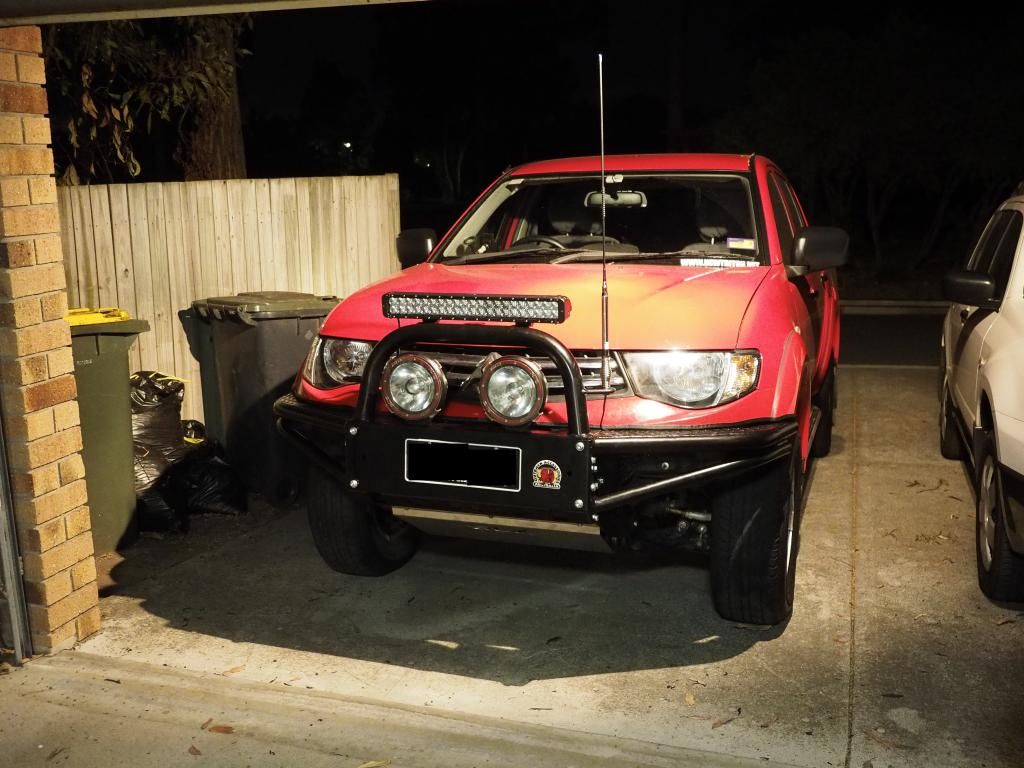
I was a little worried that I had four bolts left over from the xrox bar install but there are no holes to be drilled and no holes without bolts... So I have no idea what went wrong there..
Admittedly I am a little worried there are only 3 bolts either side holding the whole bar on maybe I was expecting more bolts through the chassis rails..
If anyone can shed some light on this one that would be awesome!
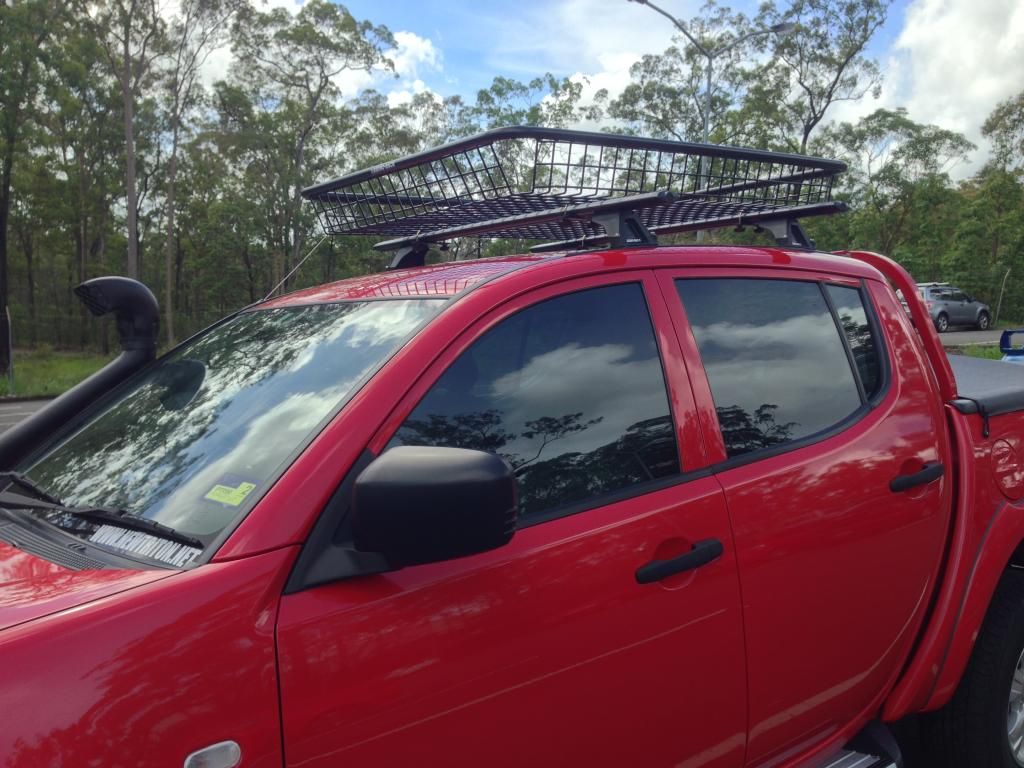
I'm really loving how Mater is coming along and with some luck I'll get around to getting a lift, bigger tyres and roof racks eventually.. But heading into Christmas funds could be a little scarce...
A big thanks to everyone on this forum for all the great mods and inspiration! A special thanks to Tuan for the generous donation of the nudge bar and fog light!
I hope there are more moss to come
Cheers Pete
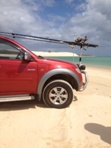
P.s. I know some of the photos may be upside down blame photo bucket! I swear I didn't taken them upside down....
And I sorry to any grammar nazis out there who may pick this apart I gave a brief read through but you get the idea