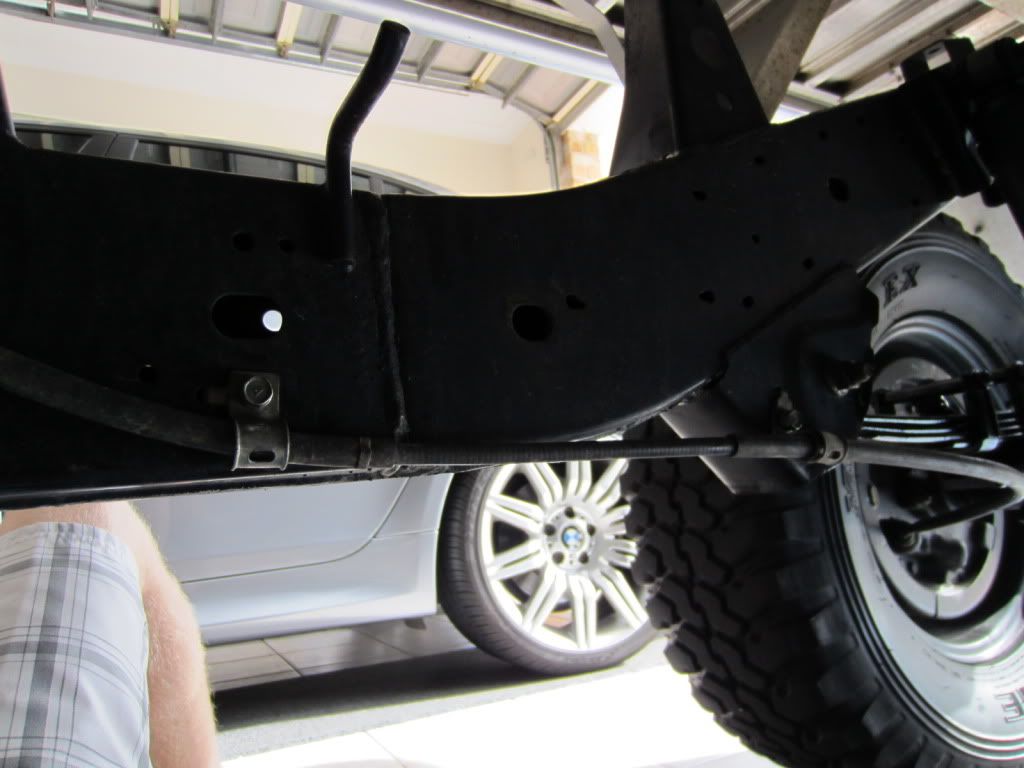
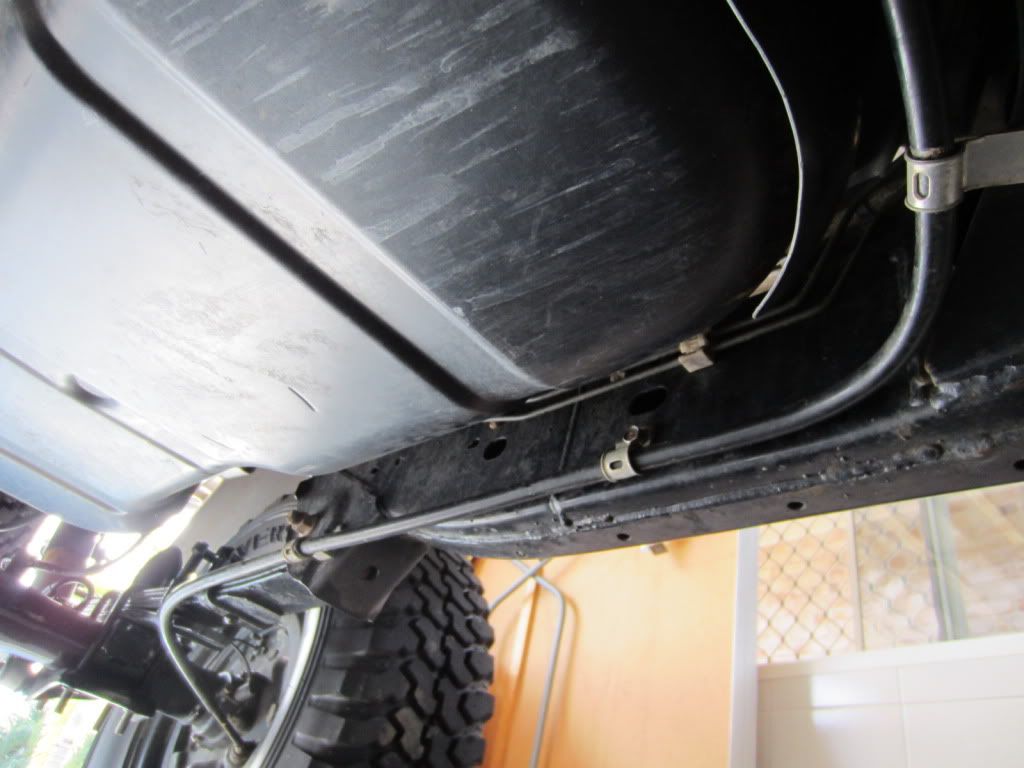
1. first i unbolted the mounts for the handbrake cable on both sides.
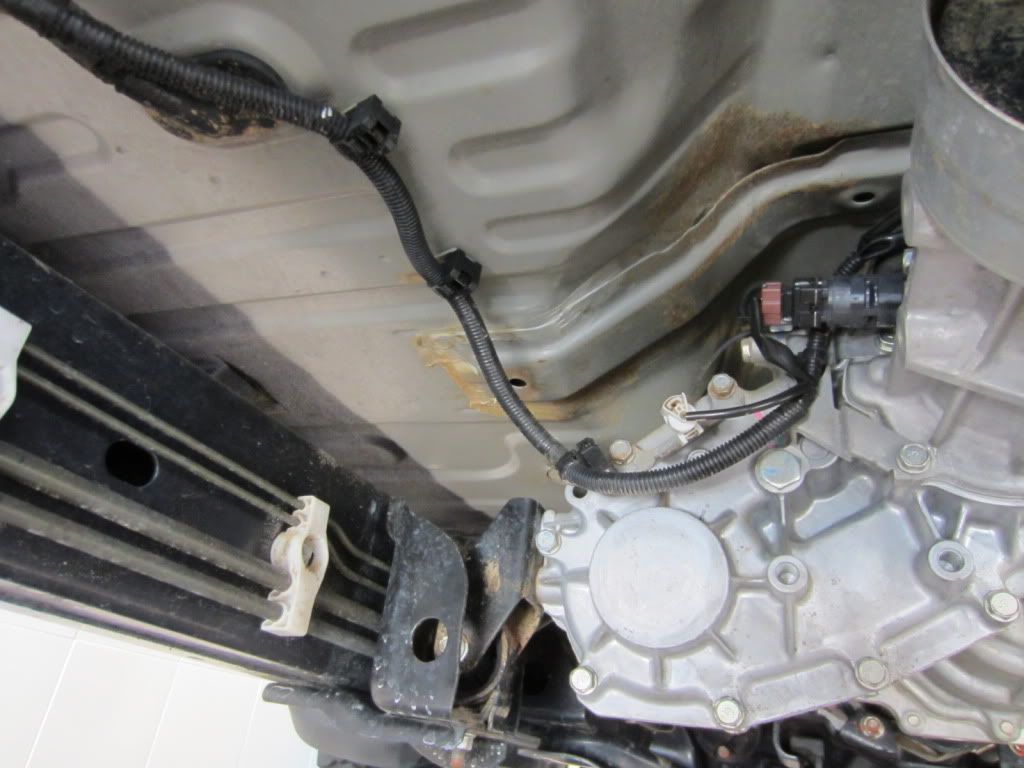
2.next i un mounted the wiring loom for the gearbox so there was 'slack' for when the body comes away from the gearbox.
3.Nothing has to be done to the clutch as the rubber hydraulic line for it is mounted to the body lower than where is mounts to the gearbox, so it gains slack as the body comes up inline with it.
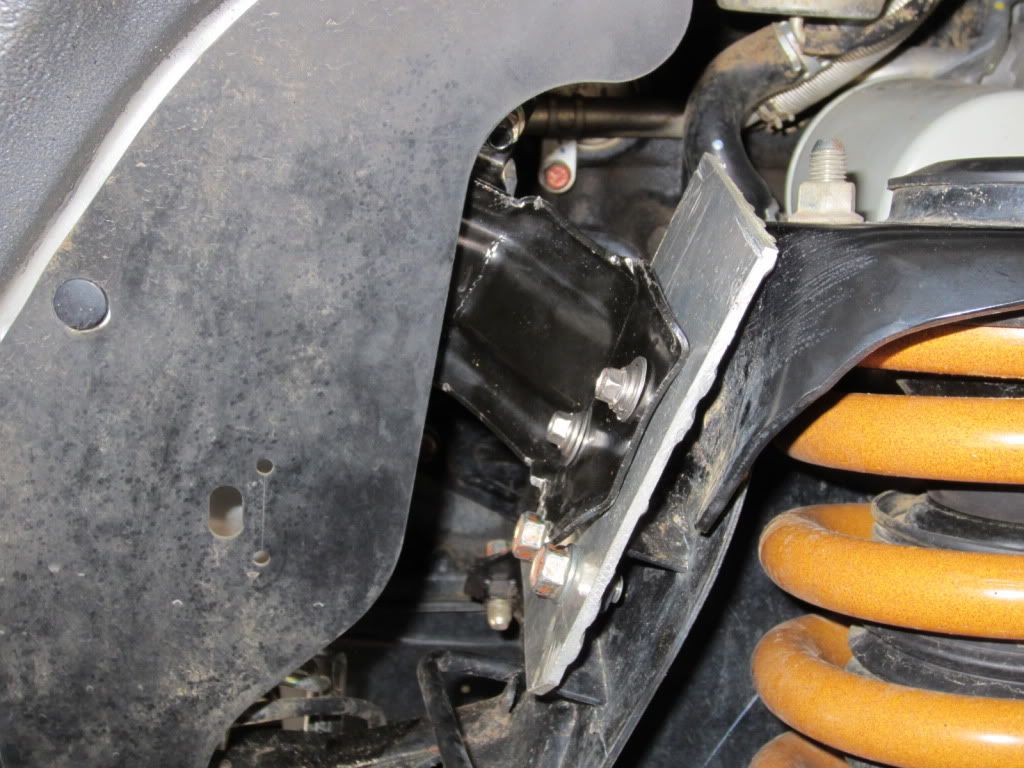
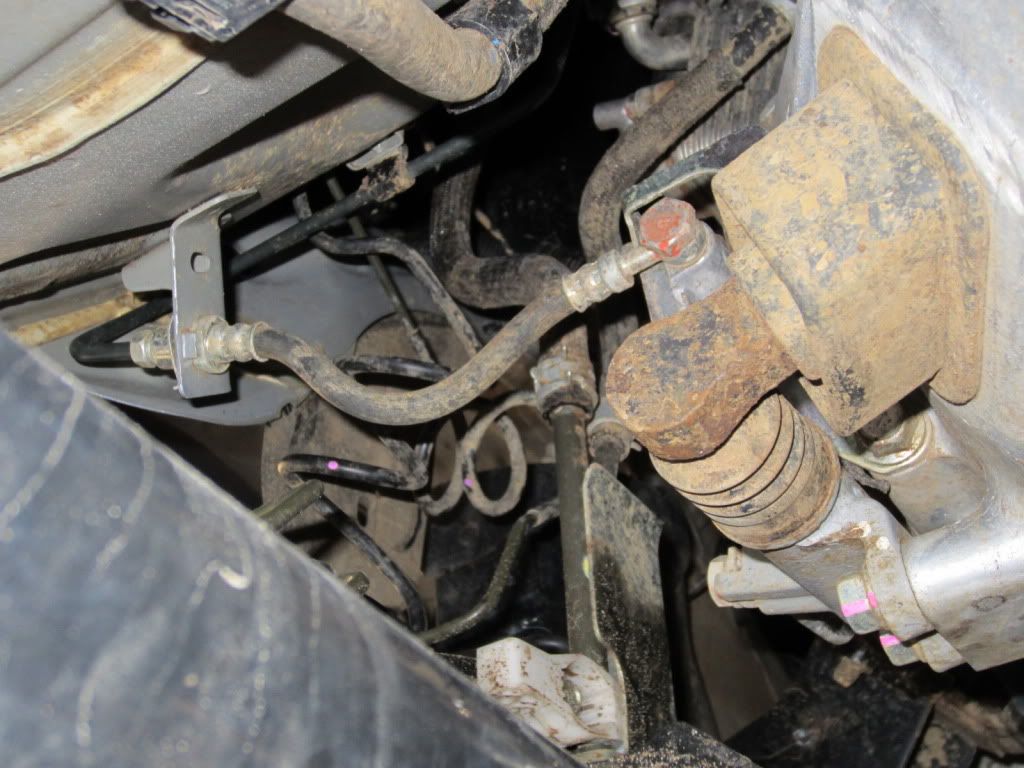
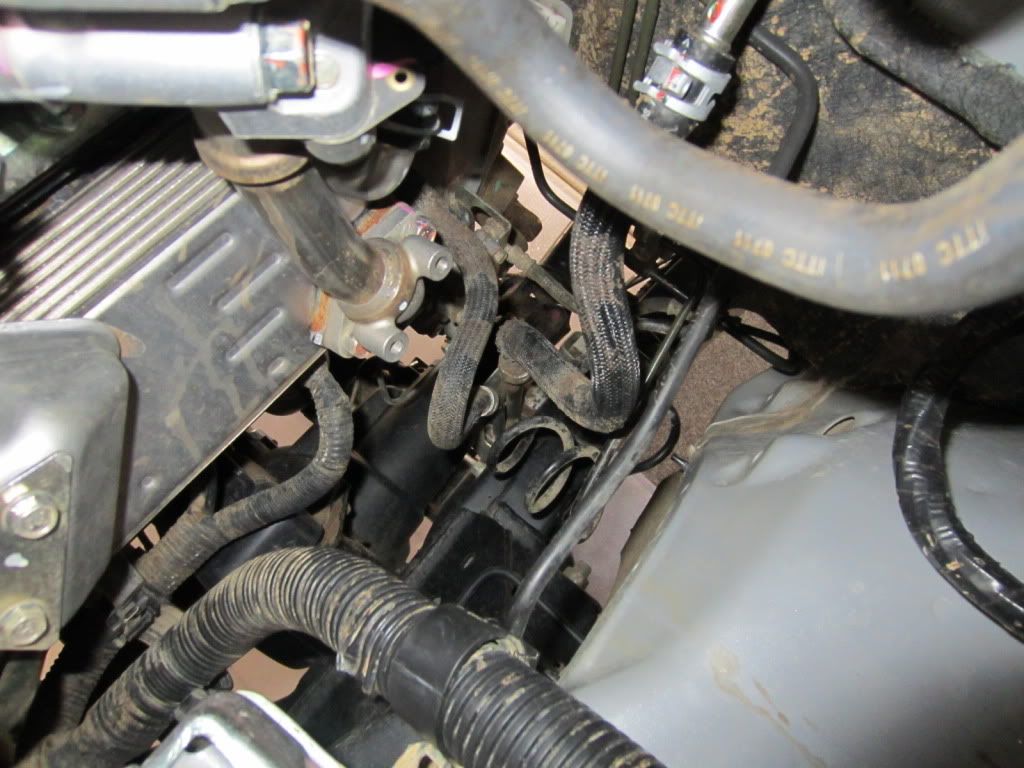
4. in the picture mine is mounted to a bracket i havnt quite finished making, but this bracket secures the steering input shaft and must be unbolted from the chasis in order to remove the steering input shaft from its spline on the rack. a bracket must be made, same as mine, to re secure the mount, the input shaft clears the firewall by about 15mm, the bottom section of the shaft can be extended if you wish.

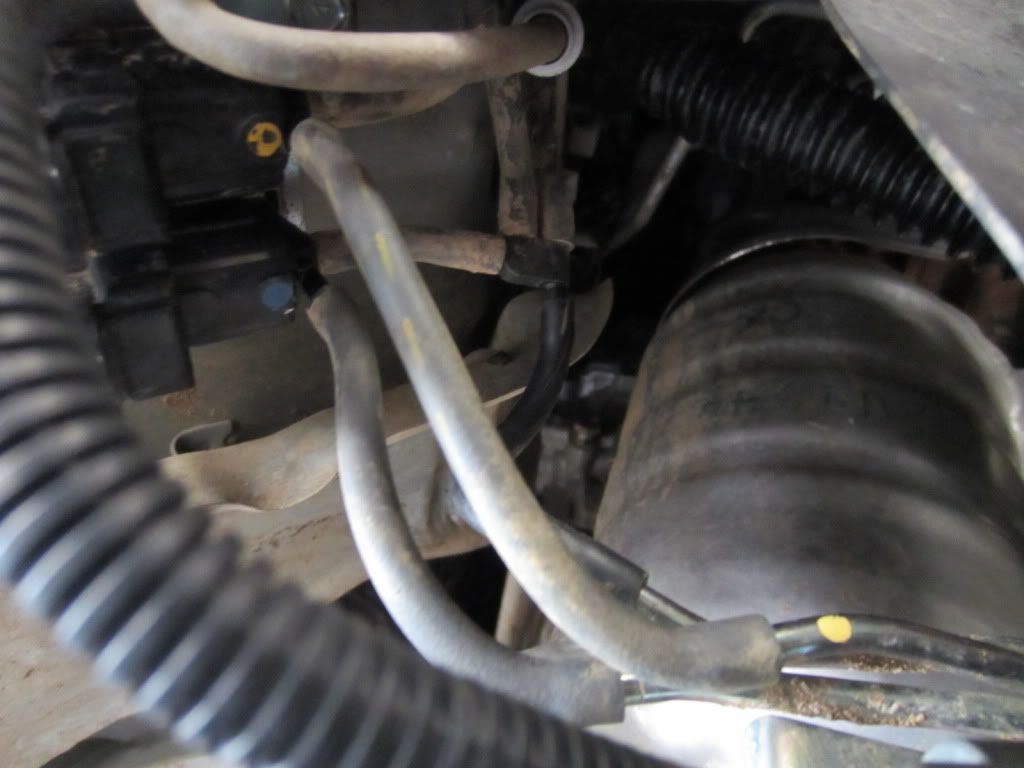
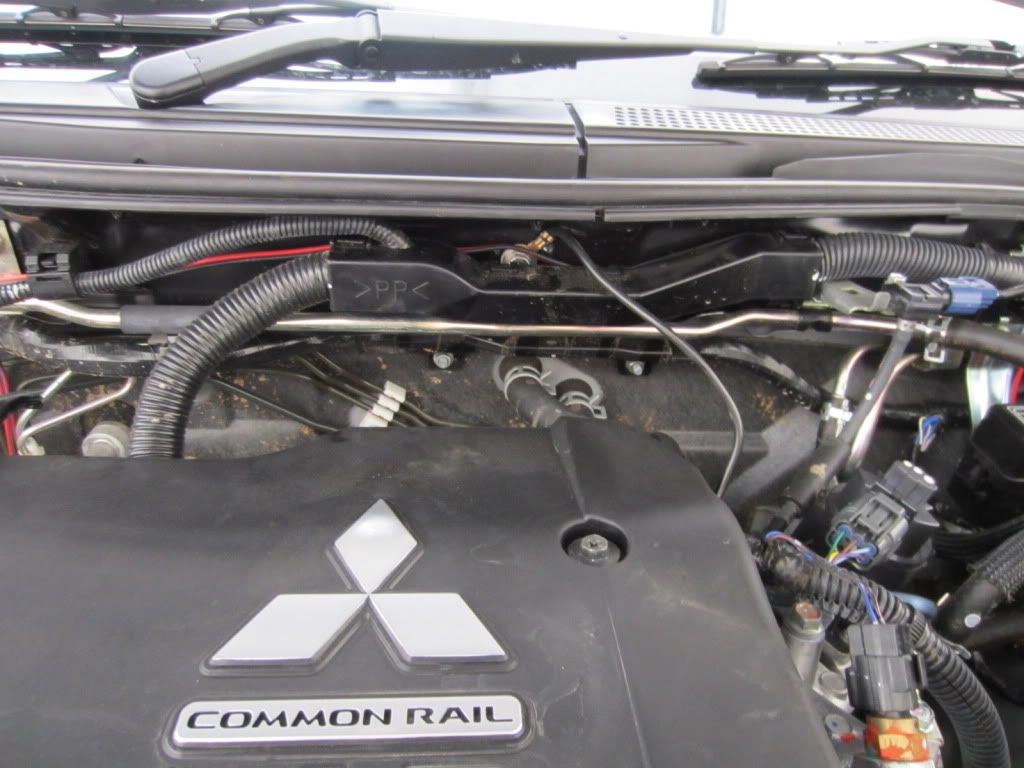
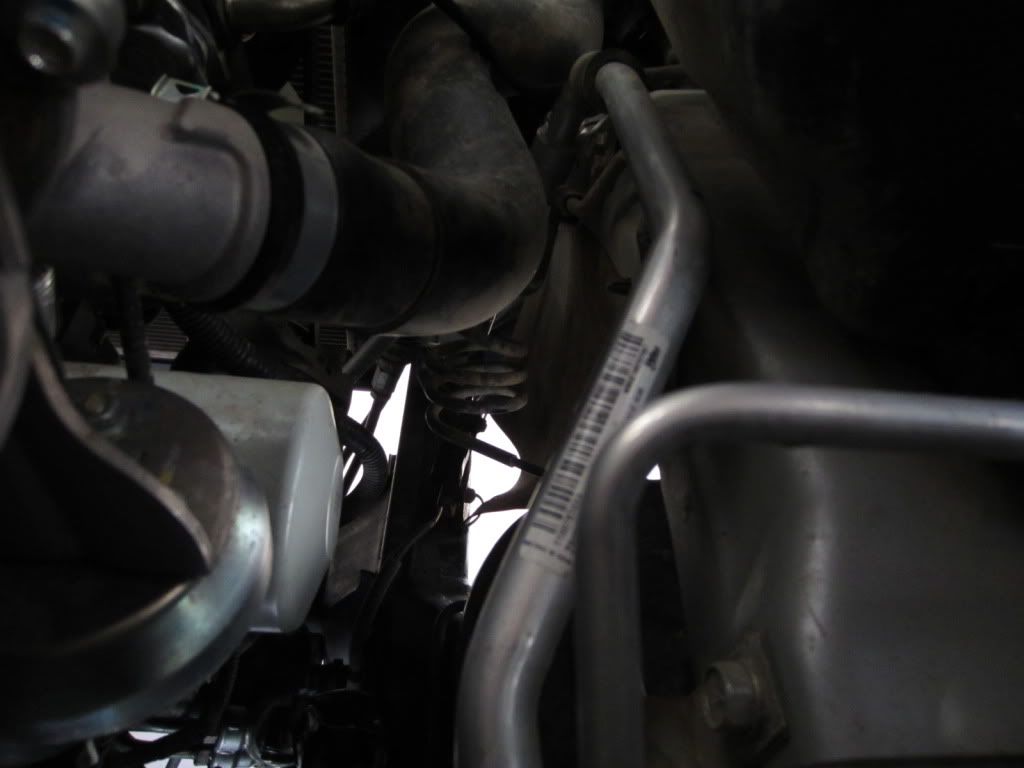
5. these vacuum lines have to be disconnected.
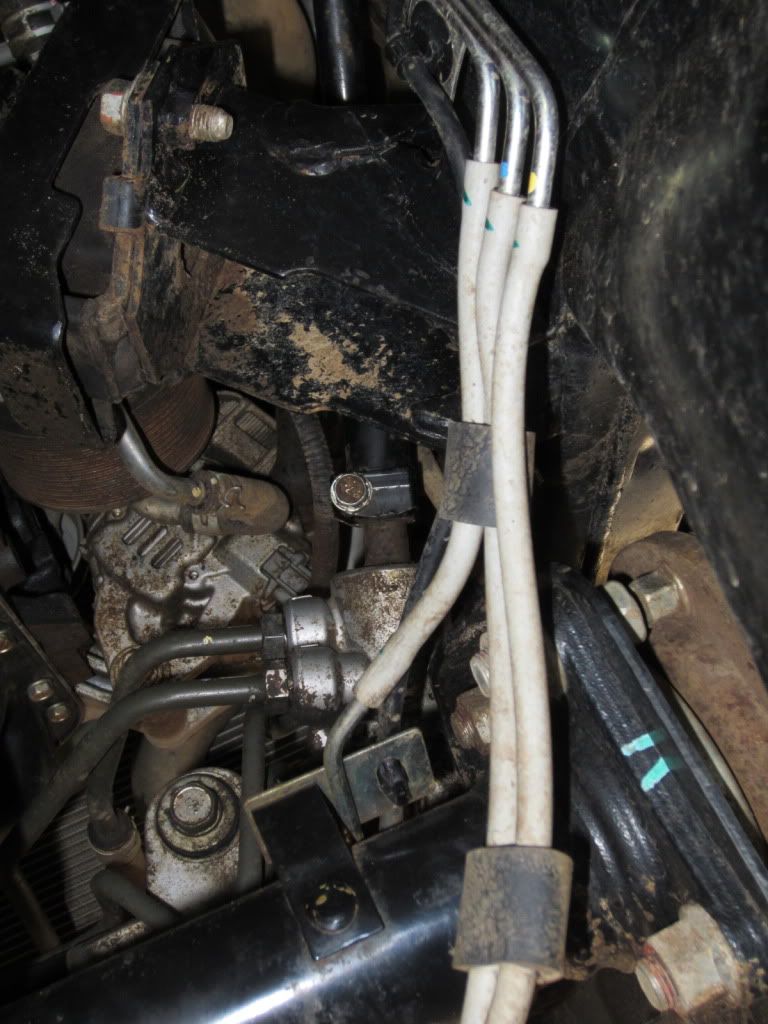
6.the factory earth strap on the front left has to be extended/replaced.
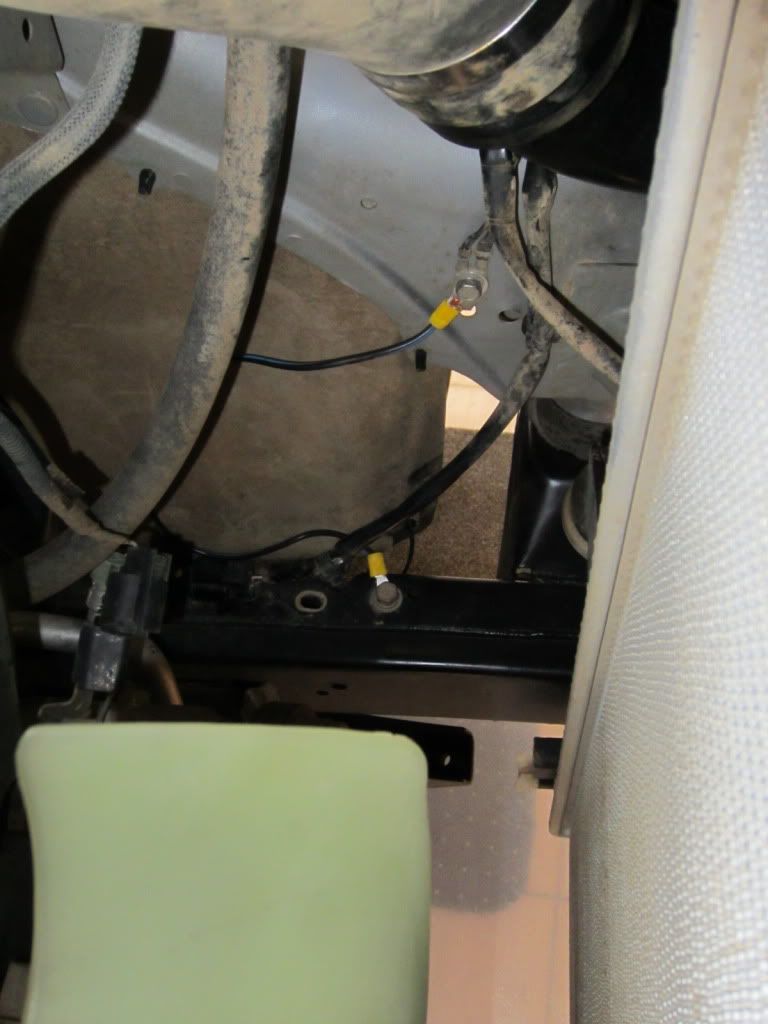
7. i removed the wiring loom bracket from the firewall just incase.
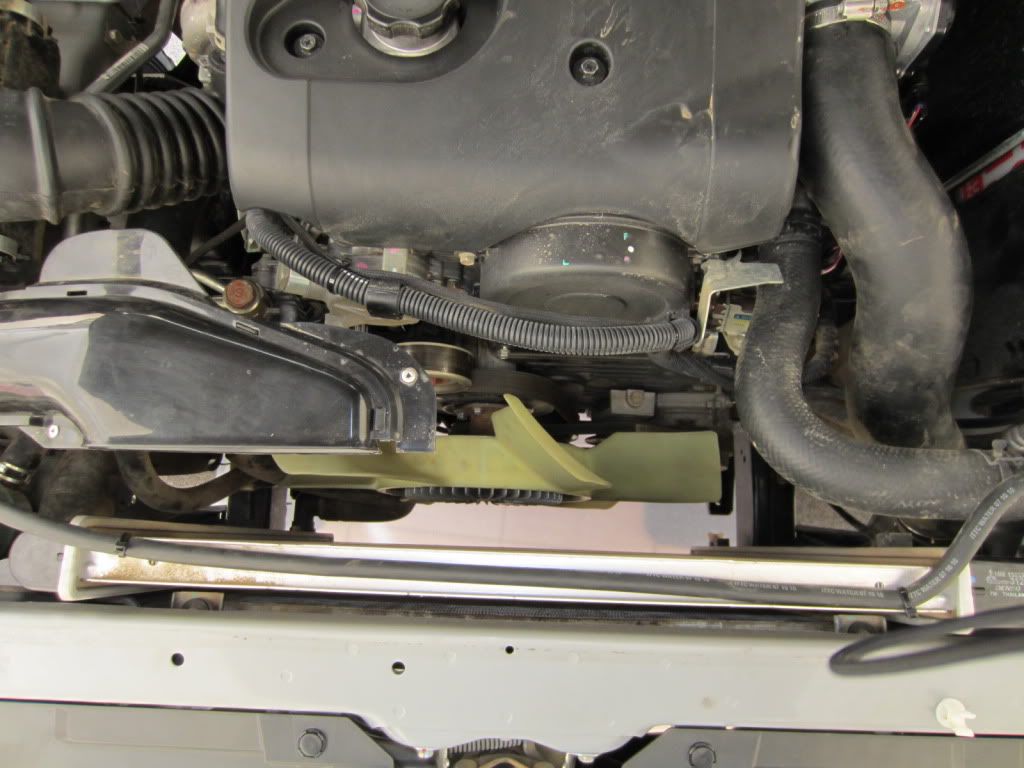
8.the fan and shrowd must be removed, iv not put my shrowd back on as i intend to install thermo fans soon. havnt driven in traffic yet, hardly ever do, but according to my scan guage so far it doesnt run any hotter. Also i am monitoring the bottom radiator hose as it is only approx 15mm from the fan blades. i was going to just chop the bottom out of the shrowd but lazyness got the better of me. if not re fitting the shrowd the expansion tank line must be secured to the top of the radiator.
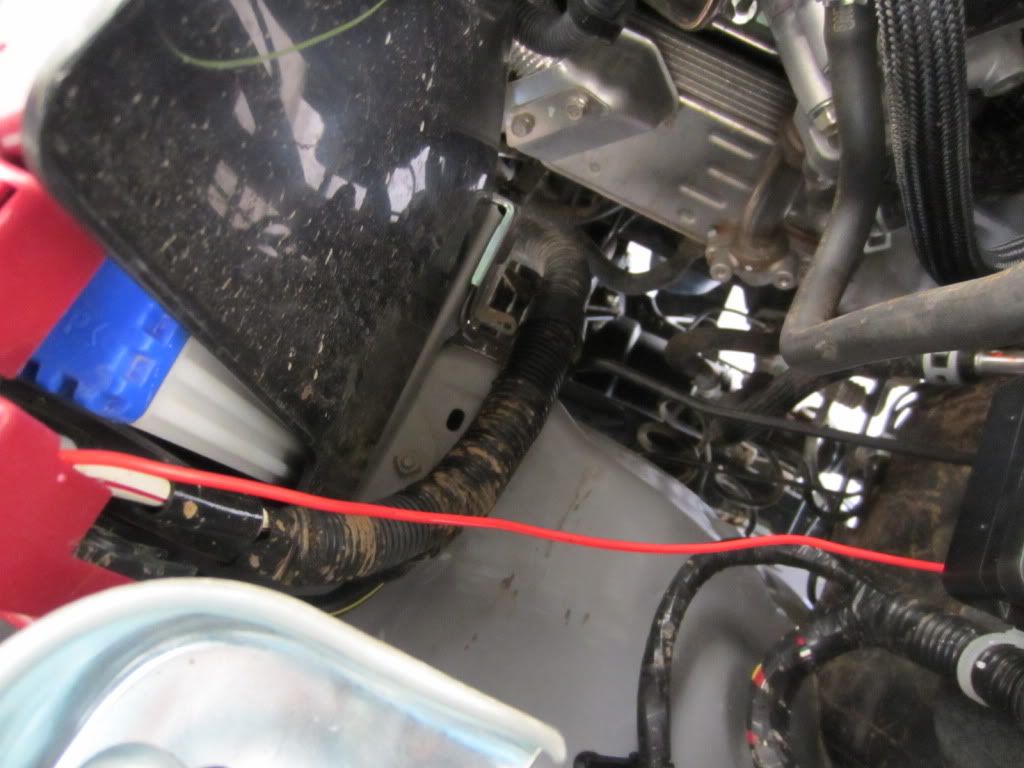
9. the wiring loom from the battery must be uncliped from the body and also where it mounts to the engine.
10. oops! not pictured, the power steering reservoir should be removed when lifting body. then i simply turned the hose for a better fit. also the rubber splash guards in the wheel well have to be unmounted from the chassis.
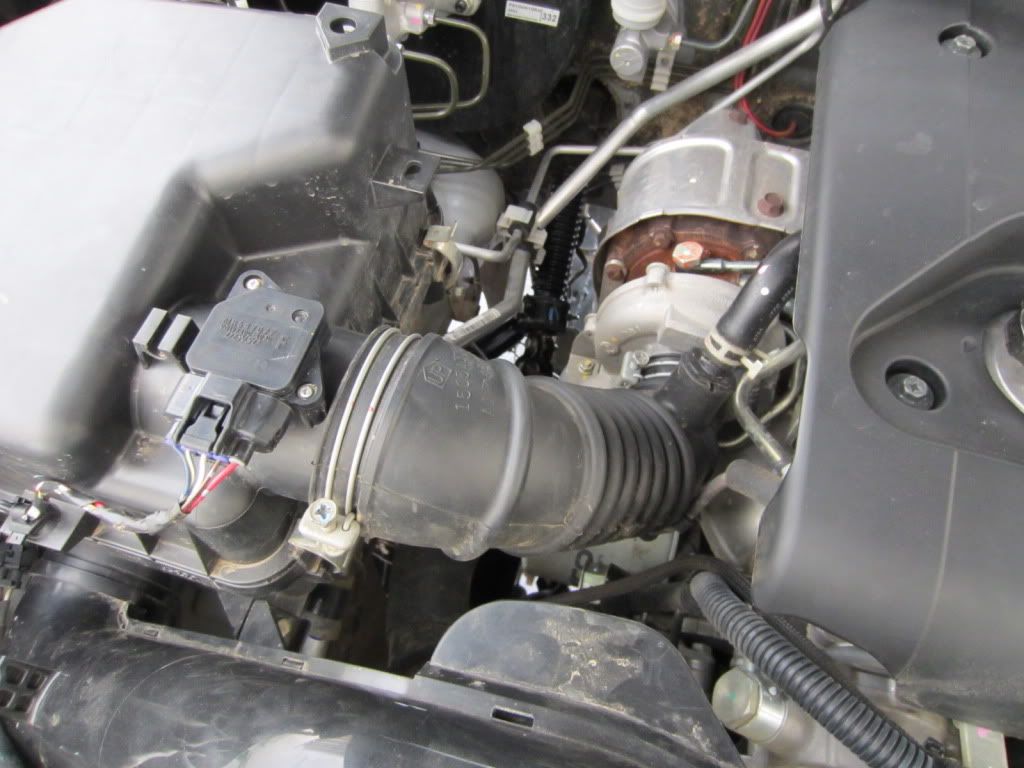
11. i removed my airbox for better visability for the topside 'watcher'. the standard intake pipe still fits.
12. pre lifting the body i stretched by hand the coiled up brake lines to avoid them kinking during lifting.
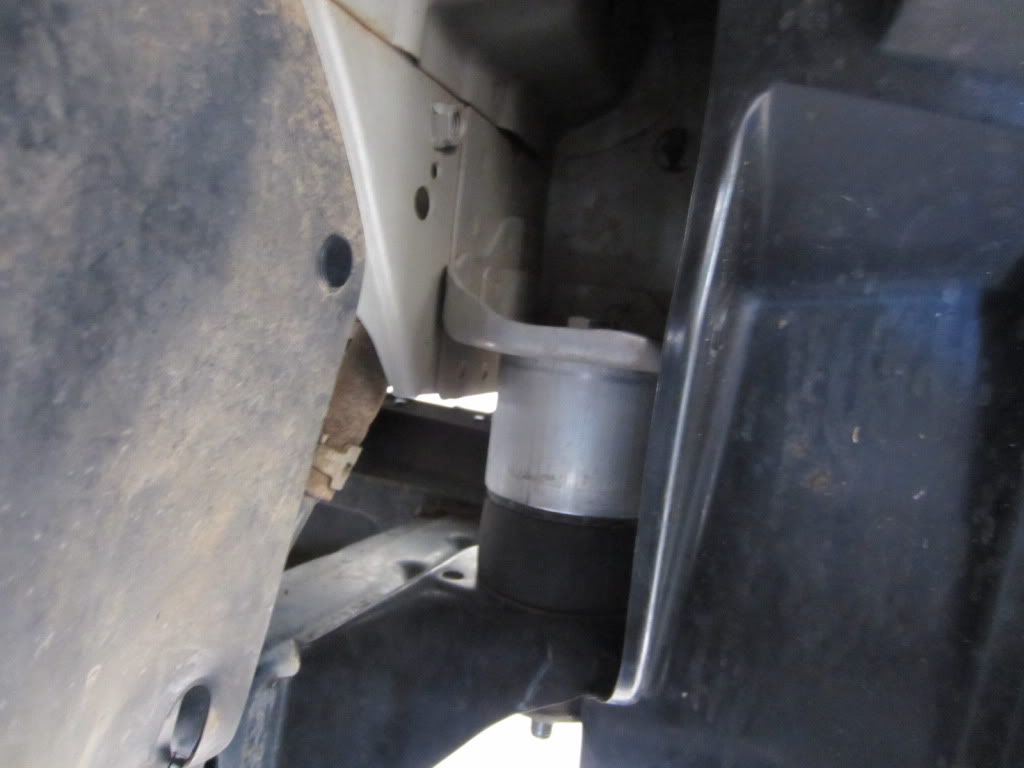
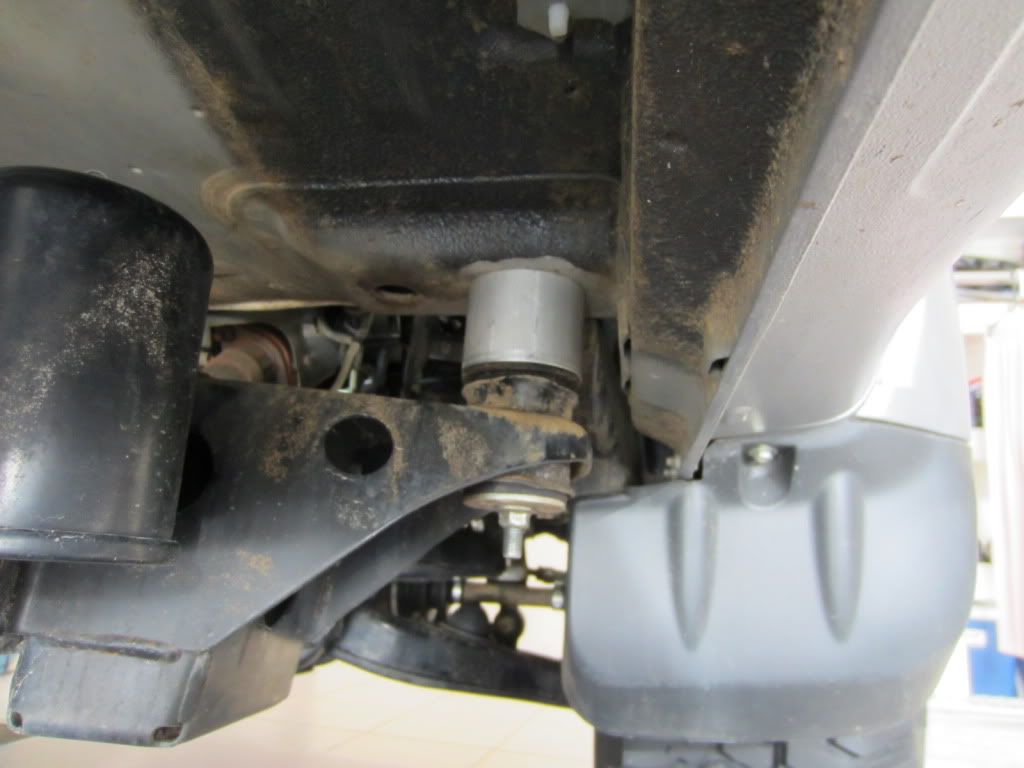
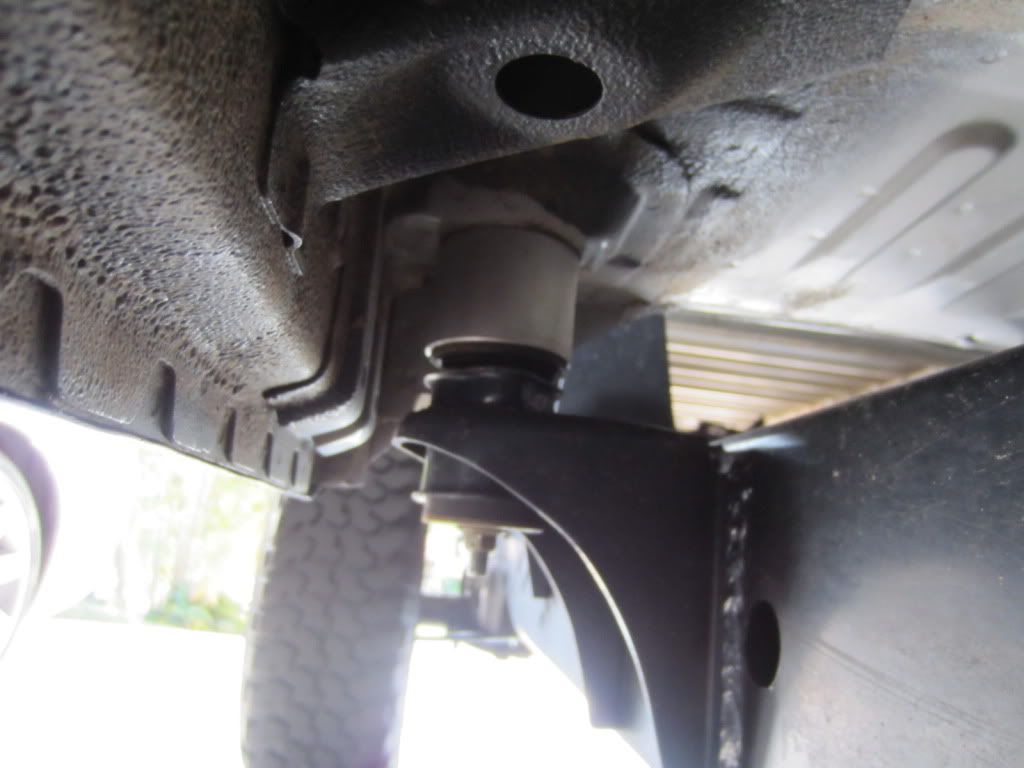
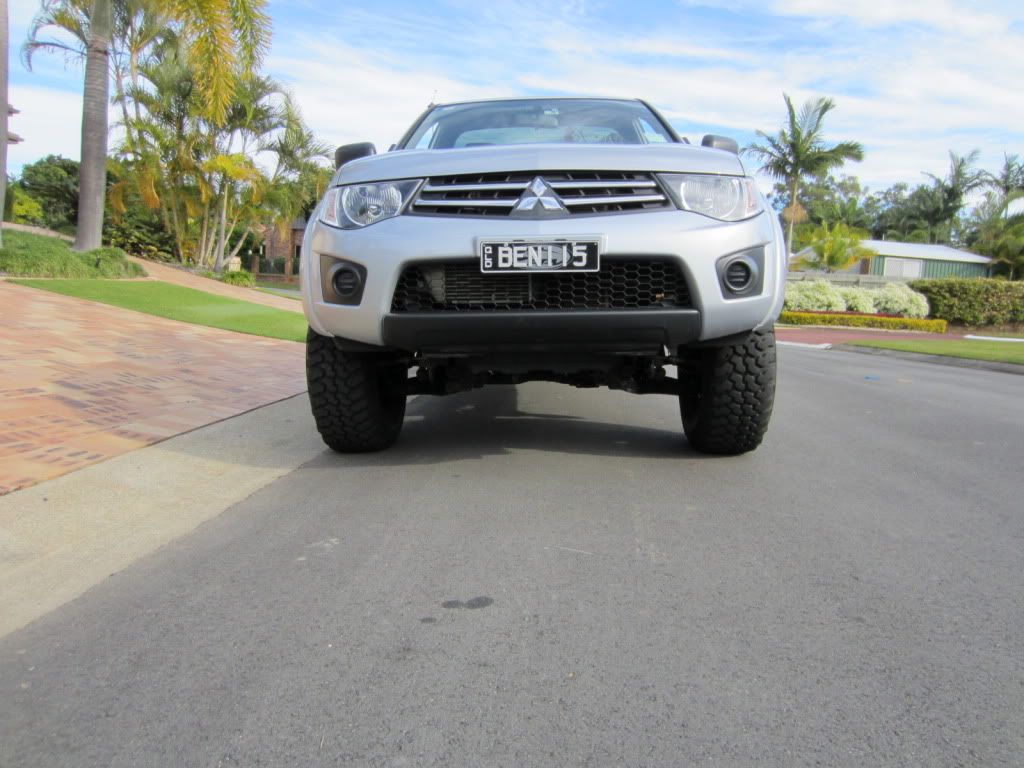
13. FUN TIME! unbolt all body mounts, the front two are acessed through the wheel arch, middle two under the carpet in the footwell's, kick pannels must be removed. the rear mounts are also under the carpet right near teh seat belt. it is advised to use a 2 post hoist with direct down function to lift the body from the chassis, i chocked both sides of a wheel to make lining up again an easy task.. if you are doing a single cab both seats must be put all the way forward and add as much weight as you can as far rearward of the cab. i used 220kg. this is because the front is alot heavier and it does not lift the front. i had a mate helping me so i was under the car on a creeper keeping an eye on everything underneath while he was keeping an eye on everything in the engine bay. we went one quick push of the up button at a time constantly re checking EVERYTHING! and also guiding the unwinding/manipulating the brake lines.get the body high enough so the lift blocks(50mm) fit inbetween the rubber bushes(chassis) and the body.make sure to put all bolts in before you lower the body again. lower body onto the blocks and your done. refit everything you took off. and then you are on your way to fitting 35's
14. finally, not done yet, the centre console has to be moved backwards 15mm which is easy enough, there is a big gap from factory at the front of it so simply drill new holes 15mm further forward and close teh factory gap, this is needed so second gear can be selected.