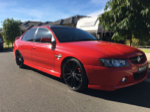
The item in question...
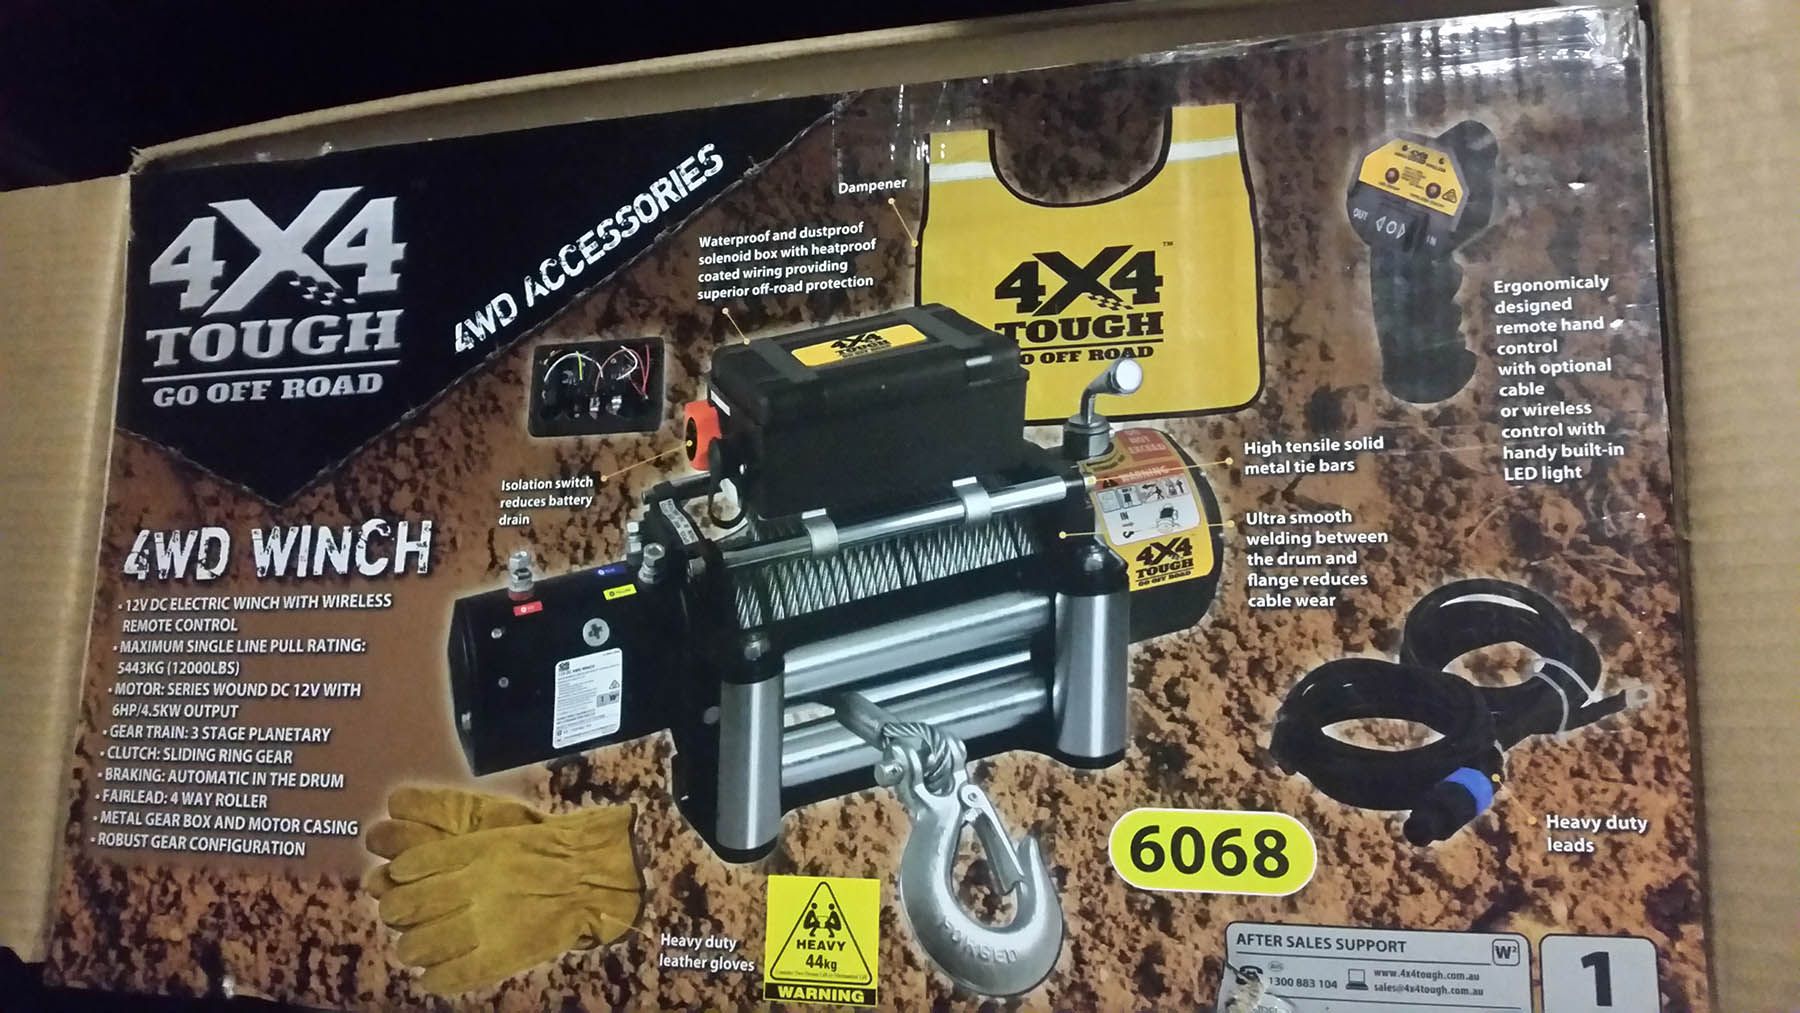
Ok, so wind back a little, Aldi had this little beauty on sale recently, only $400.
Now I never intended to get a winch, but at this price it was irresistible. Some googling suggested its a rebadged tigerz winch, though since I don't have one to compare it with who knows. Overall it gets an ok reputation online, some say it works fine, some say it's rubbish, though most reviews are for a smaller version.
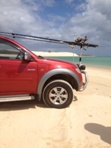
At first I thought the way to go was to take the front main bull bar off, though decided I needed at least three of us to do it, one on each side to hold the bar and one to take the mounting bolts out.
At a friends place, after a few wines and beer we started the winch install.
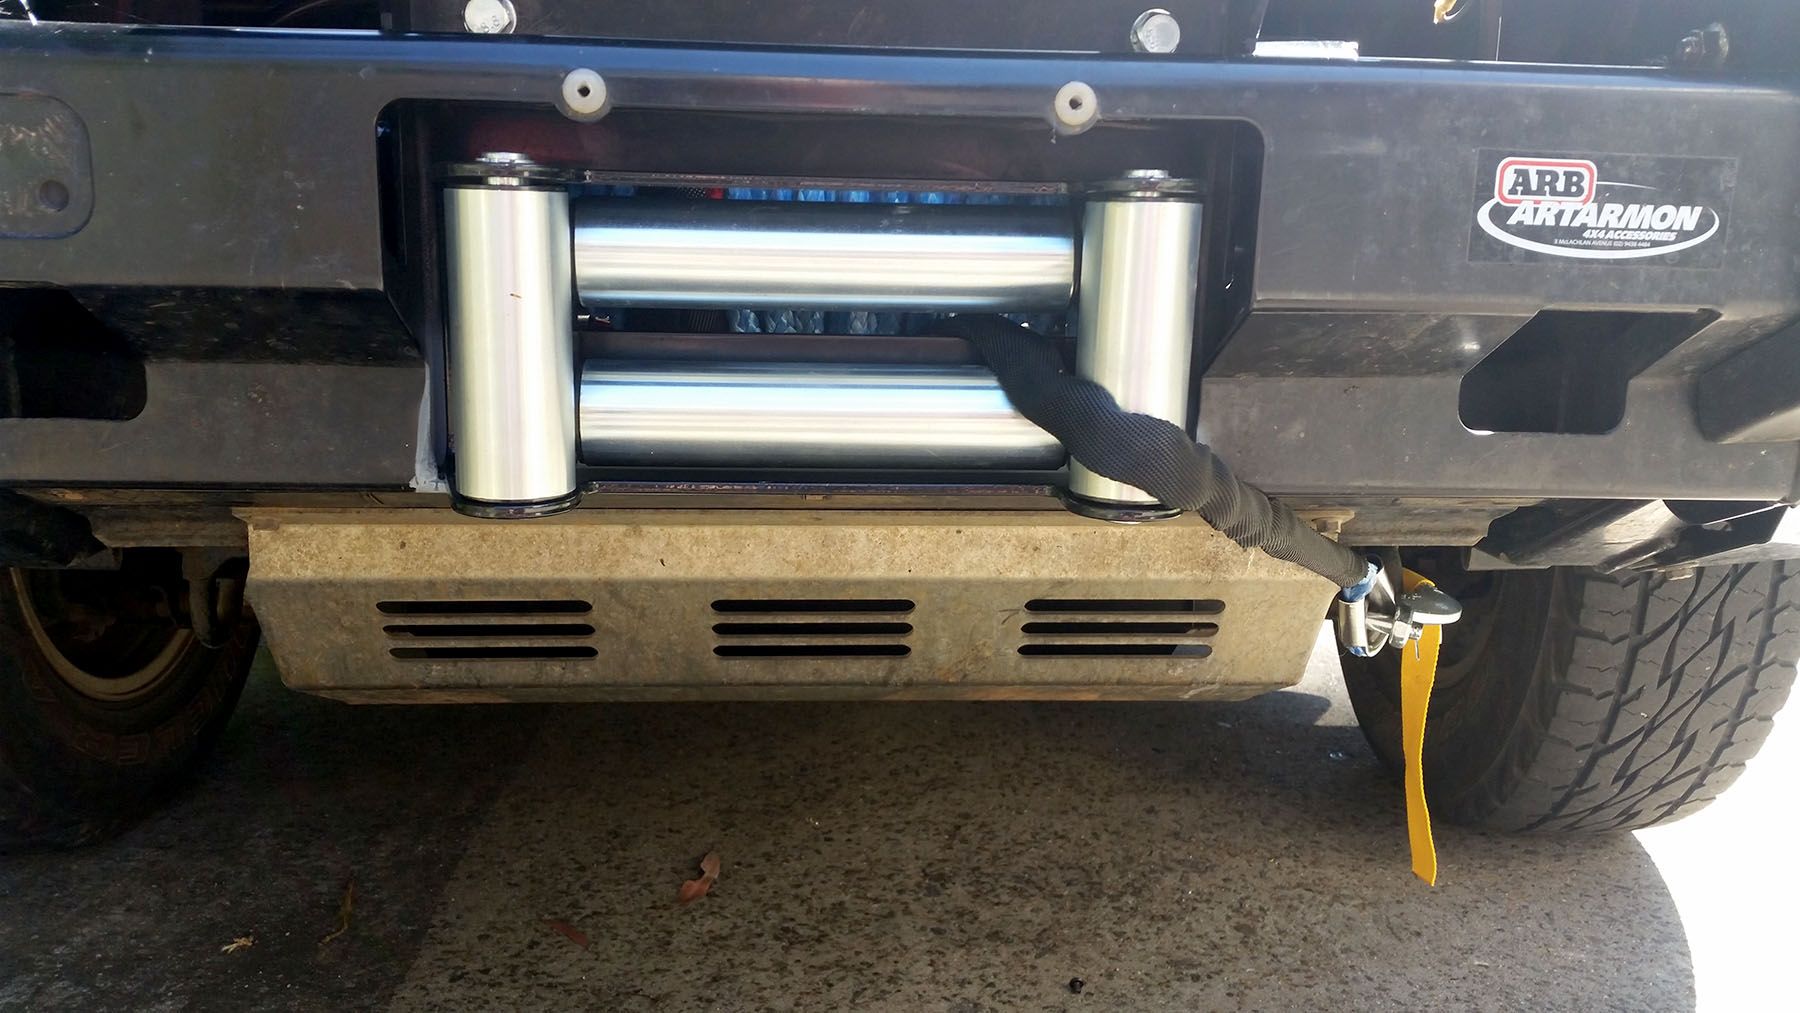
First up needed to take off a plate under where the winch will go, along with the two side plates that go from the bull bar back to the front of the front wheel arch.
We removed the little locating bolt and another two of the three main adjustment bolts and the bar rotated enough that we could lift up the winch (without the steel cable) up behind the bull bar.
There is a plate between the bar and the body mount that you really dont want to stuff up, hence leaving one bolt in place.
Next was the roller housing, not too hard , used the bottom mounting bolt of the winch, but had to cut away along the bottom part of the bull bar with an angle grinder to make it fit
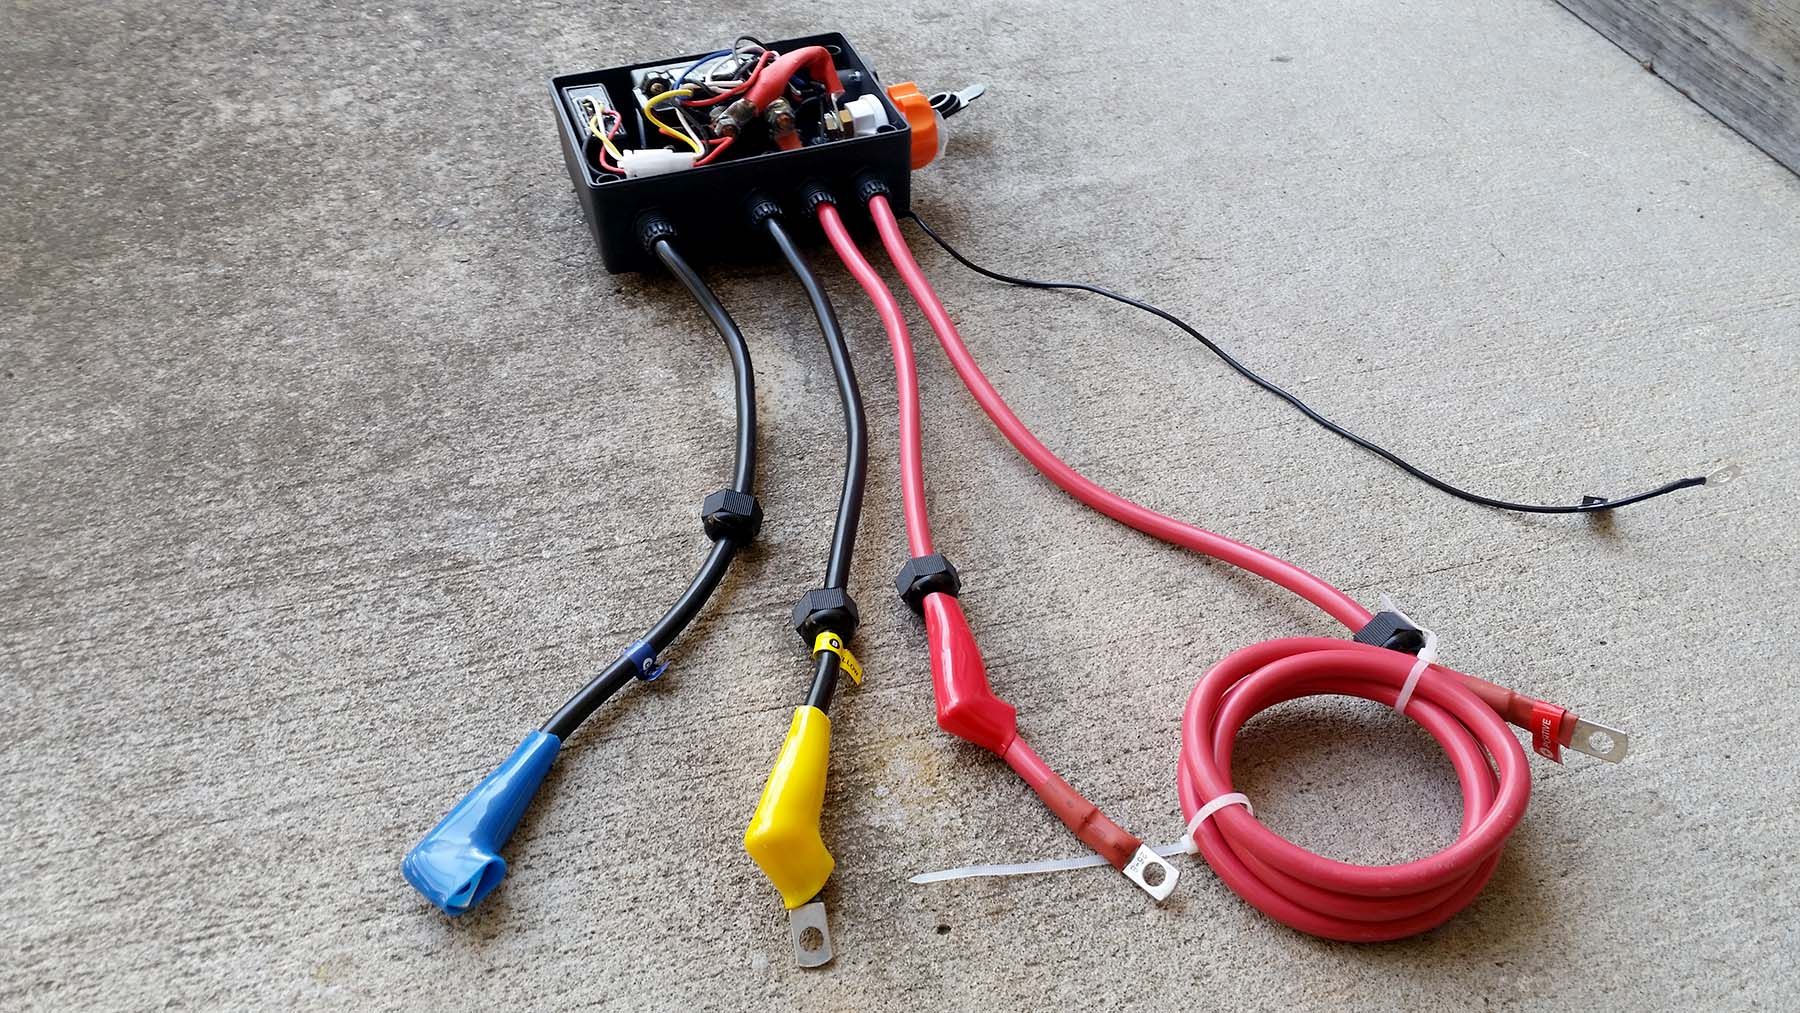
next issue was how to mount the control box. To be honest the Aldi one didn't look that durable or weatherproof. It wouldn't fit inside the bar with the winch and I didn't want to fit it on the outside on top of the bull bar as some people do, so I looked inside it.
A closer look suggest the box setup and solenoid is fairly simple
A isolator switch to supply power to the box, on the right hand side of the photo
then it's power in and out, two more cables presumably for forward and reverse.
then small control wires for the remote and wireless remote.
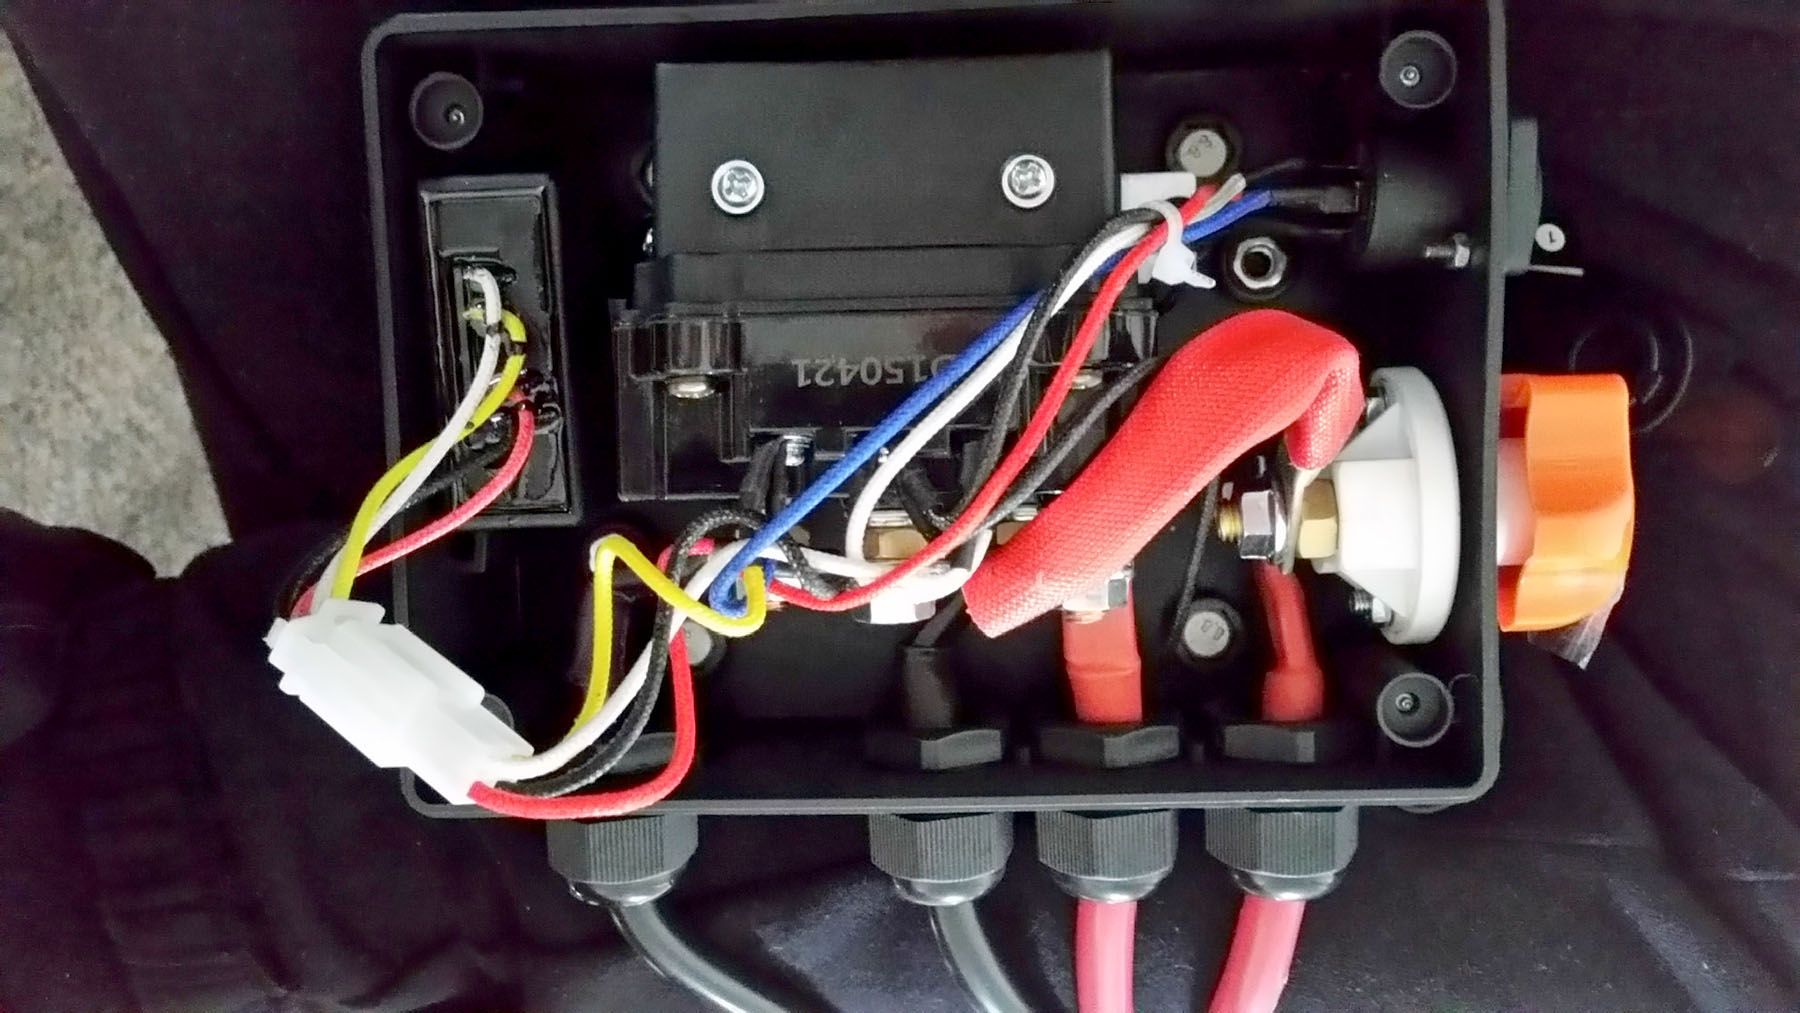
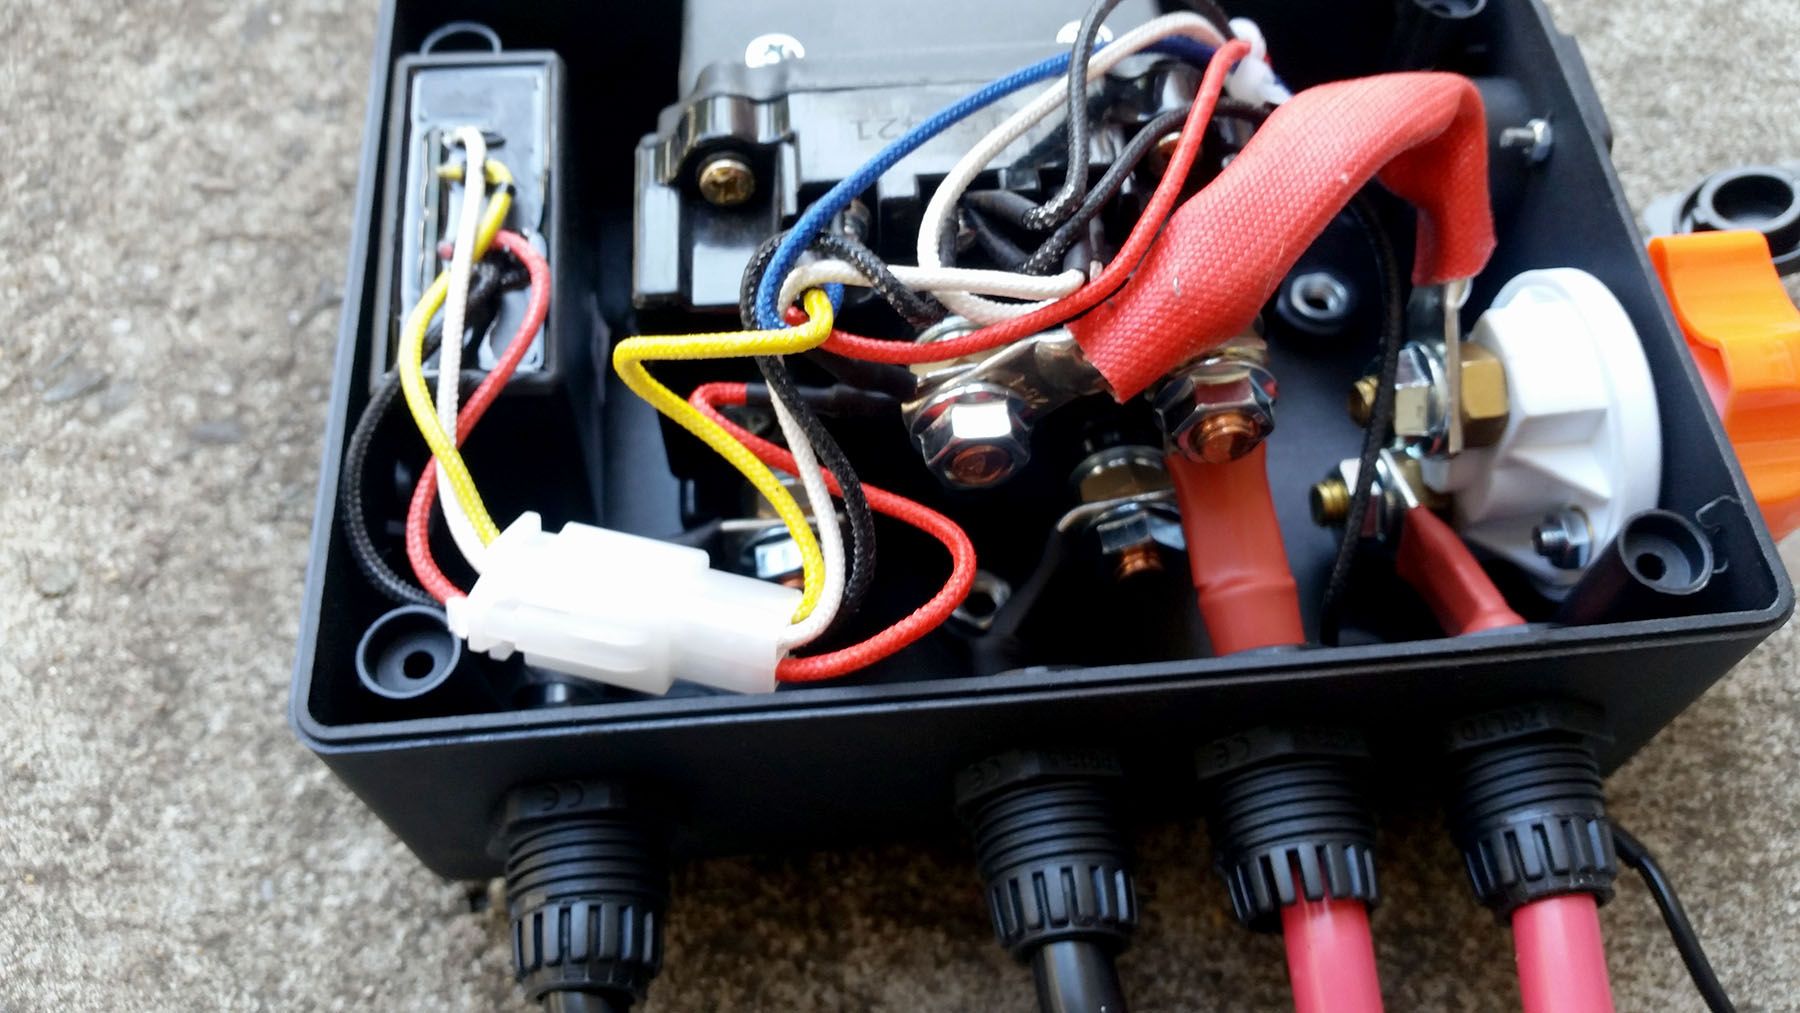
So, once you take away the housing, the isolator switch, the wireless remote and the cable control socket, you are left with a simple solenoid which could be mounted anywhere.
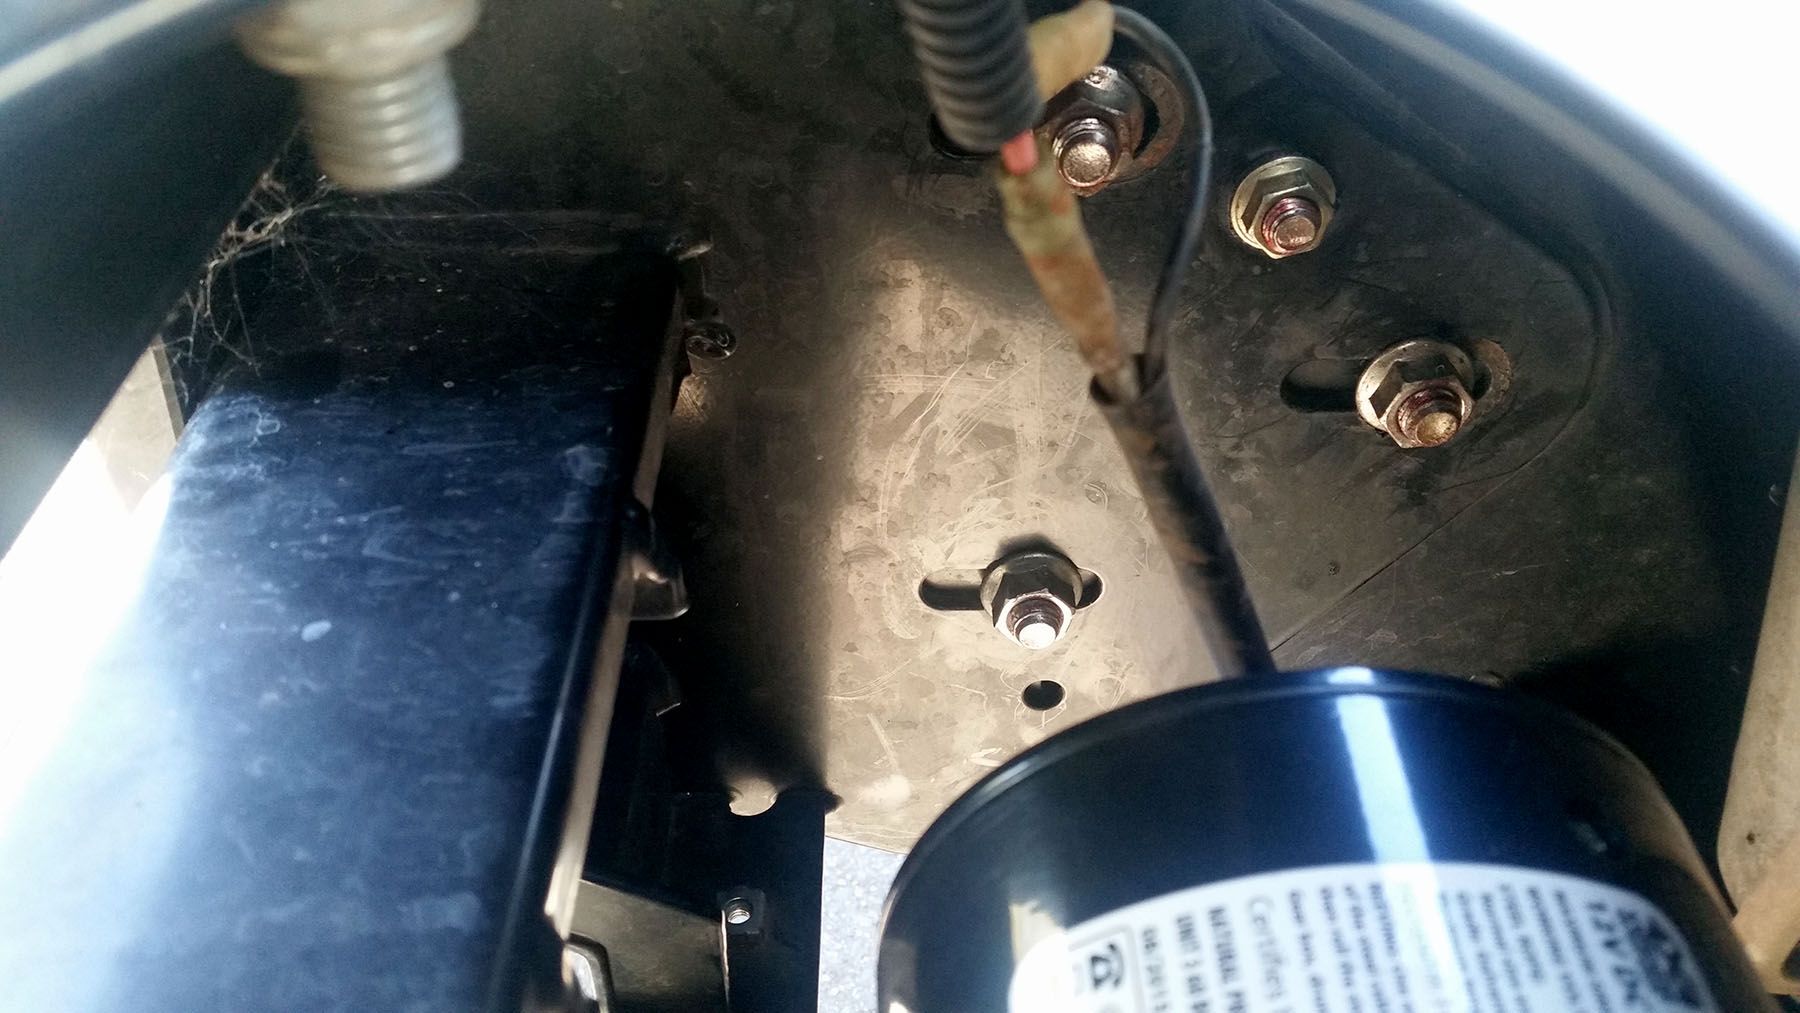
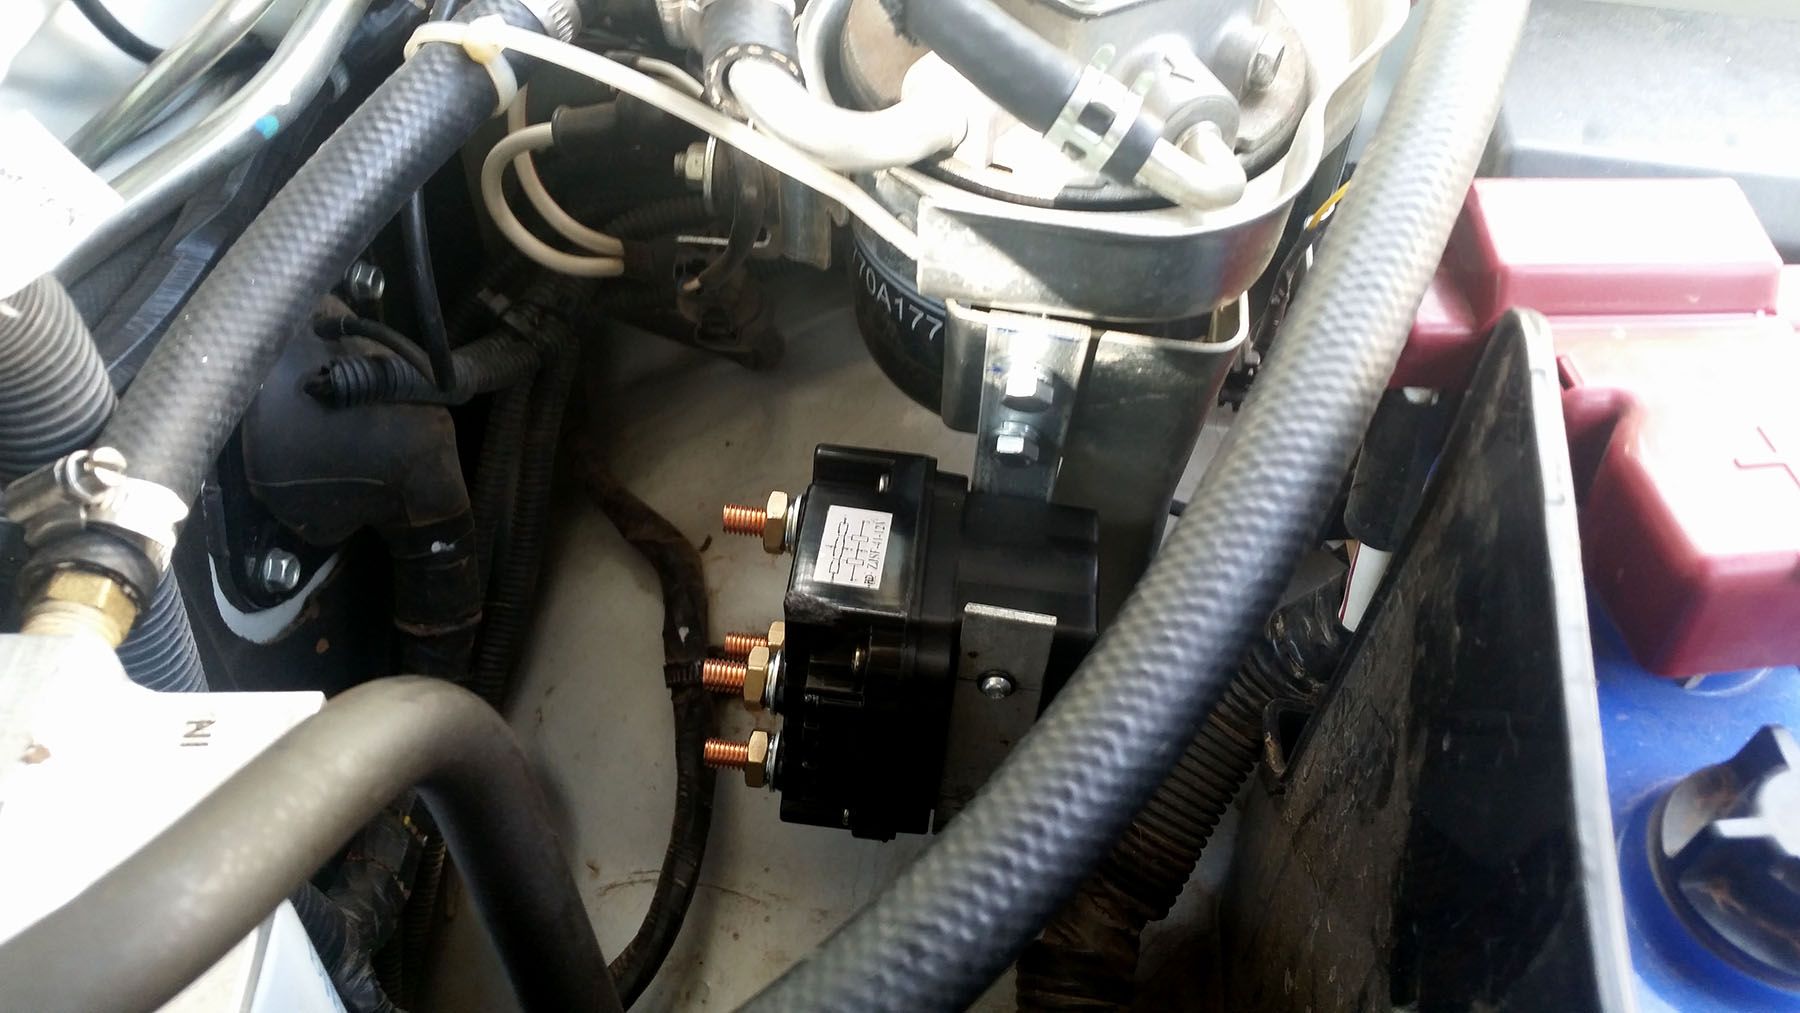
I then spent several days agonising on where to place it, in my bonnet there were really only two options, either just in front of or just to the rear of the battery, I decided on the rear since then I could leave out the isolation switch, it being right next to the batter and thus fairly unlikely to short out.
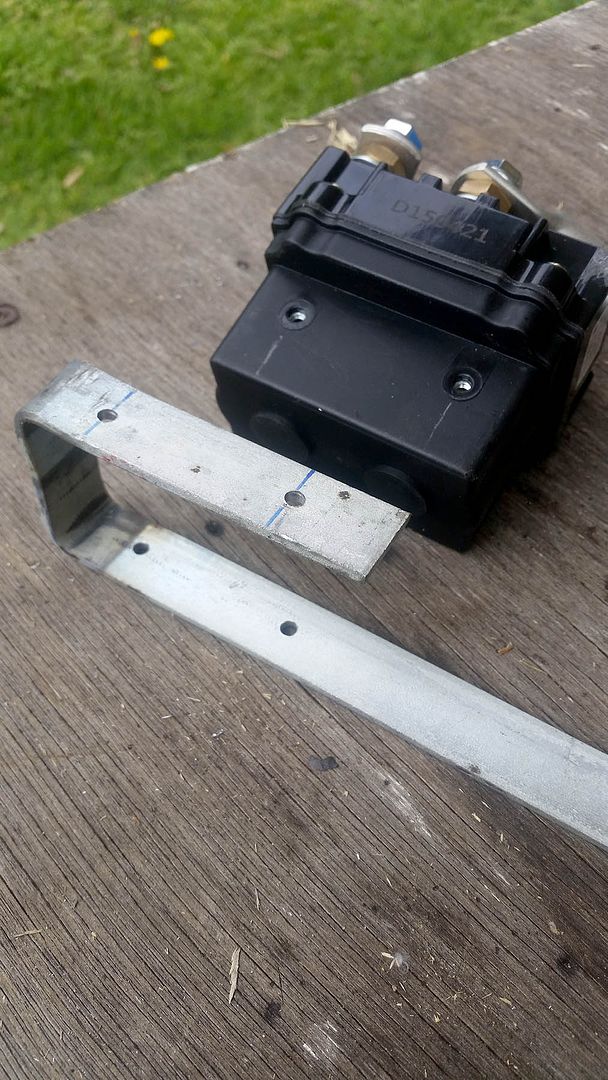
So I fabricated up a mount for the solenoid to attach it to the two holes that were on the fuel filter set-up

this was then fitted.
Next I had to replace the cables since the ones it came with assumed it would be located on or near the actual winch and were way too short.
Looking at the cables they looked a little puny, and some research suggested that this was a common area of weakness in a winch system, so a decision was made to upgrade from the original 4 gauge to 0 gauge, a jump from about 25mm to 50mm in diameter. (about $200)
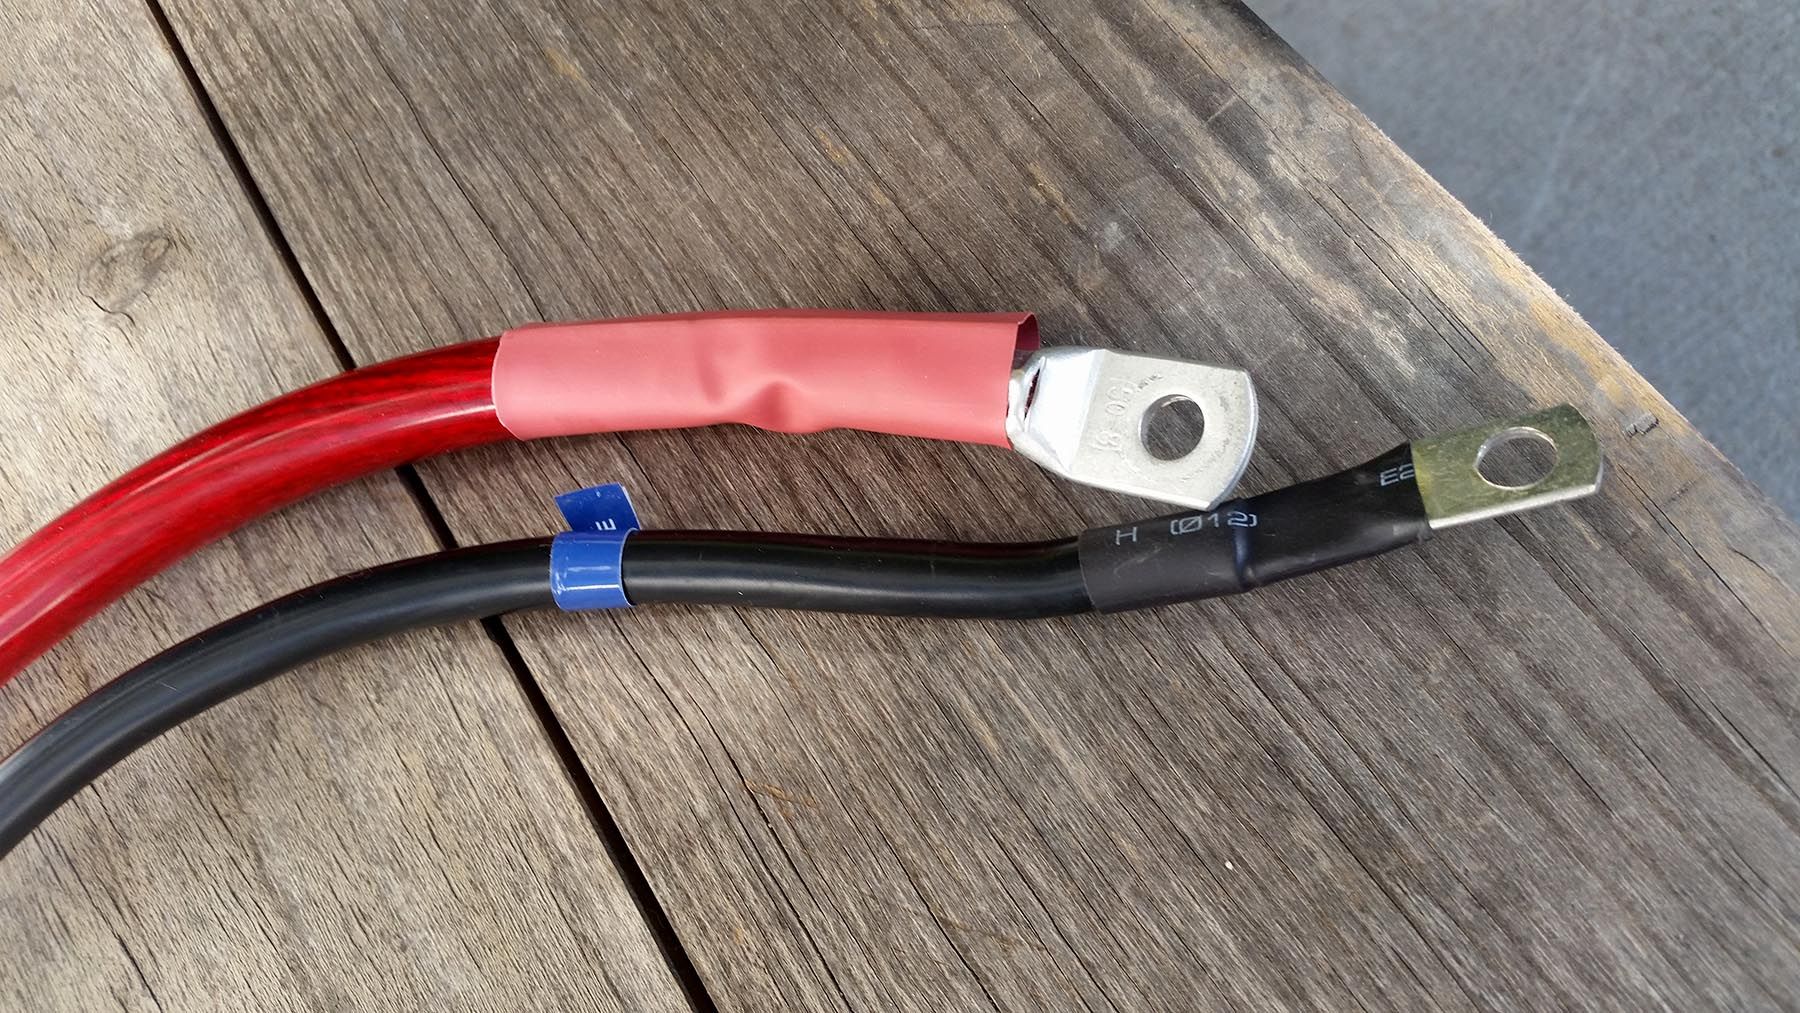
oh, this involved buying a huge crimper, about $50

Onto the home straight now, just had to connect it all and run the cables from the solenoid to the winch motor, this was orientated with the motor terminals on the left hand side as you face the front the vehicle.
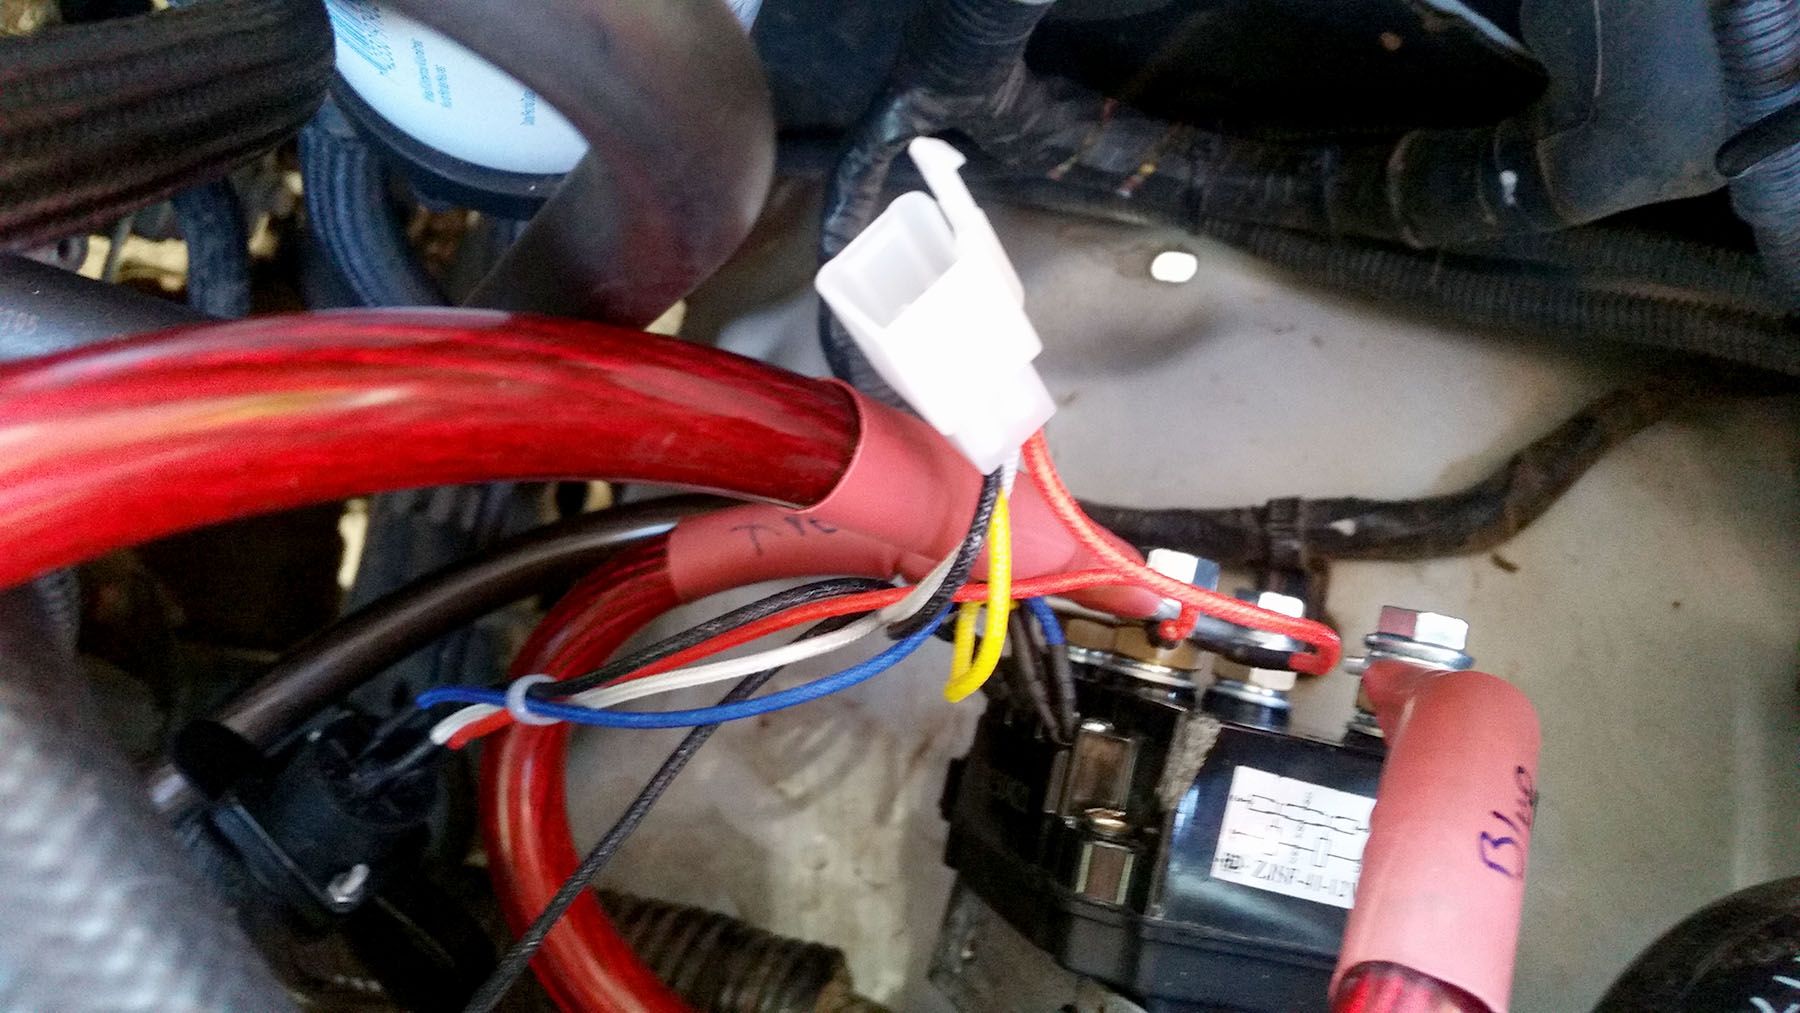
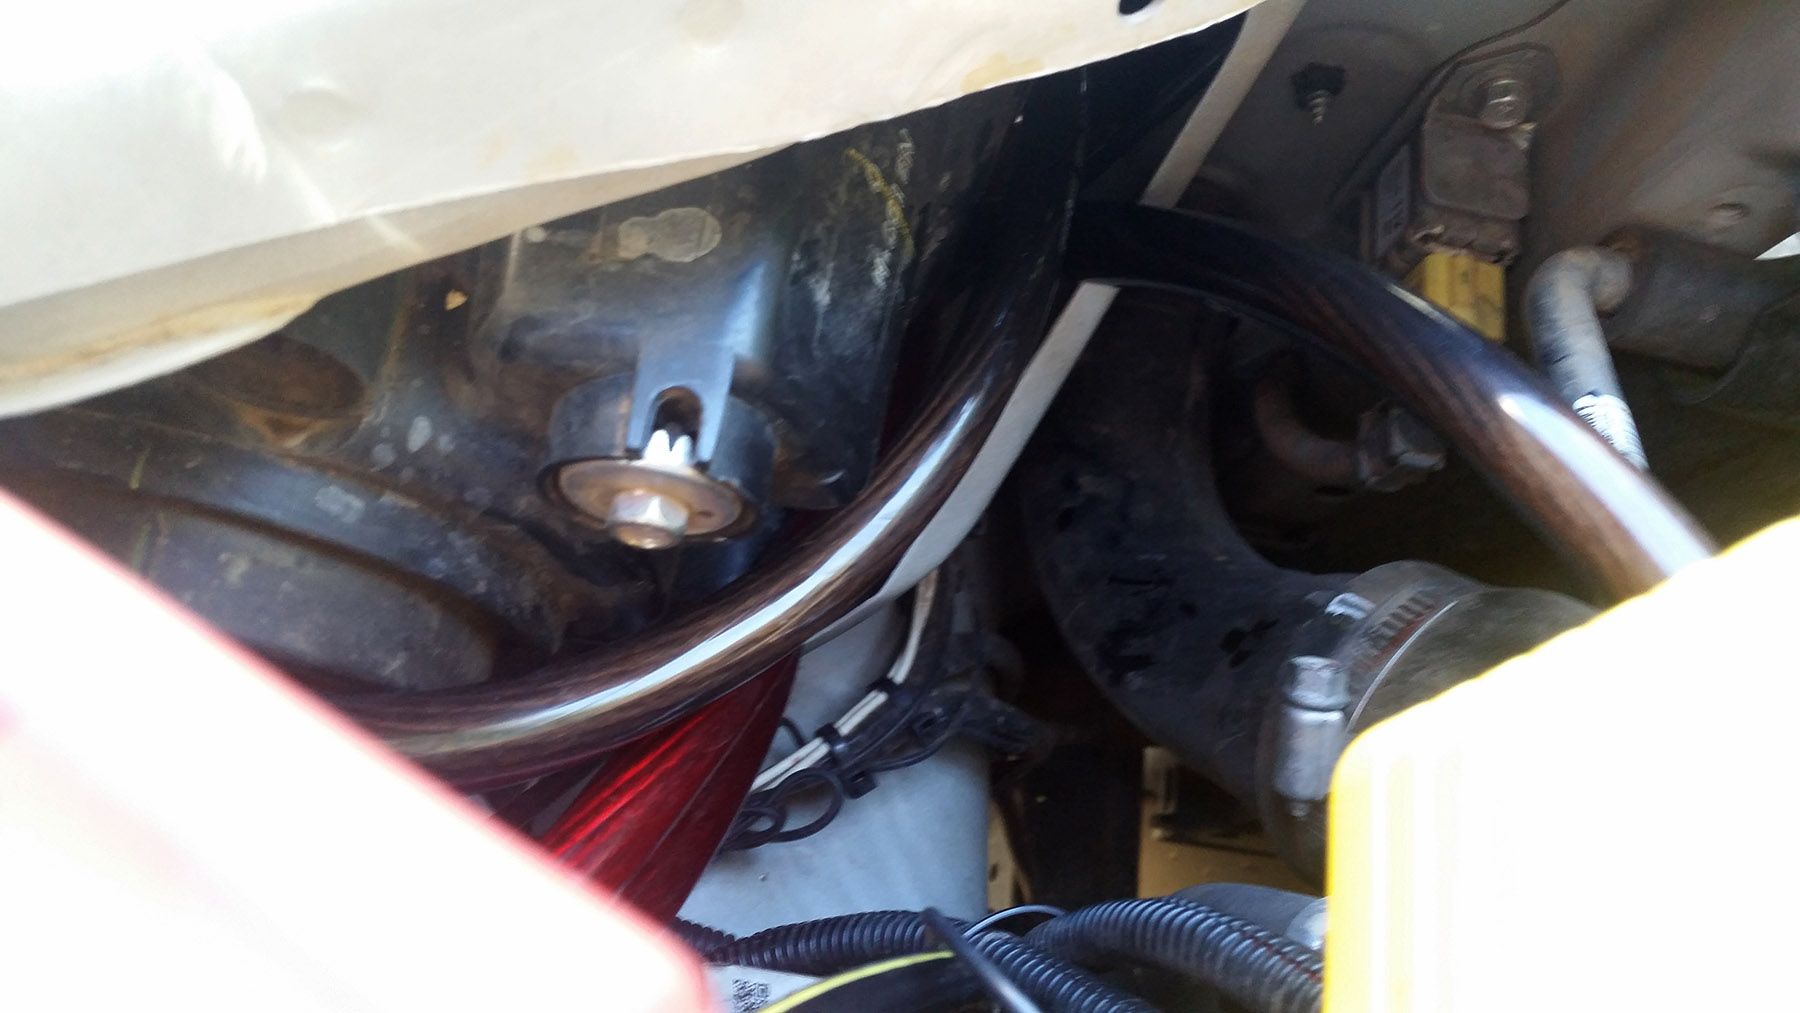
three cable ran between the battery and the fuel filter and one ran between the battery and the engine, I am sure there are other ways but that was how it worked best for me.
The cables ran through the hole by the headlight and cable ties were used to eliminate any movement - not shown.
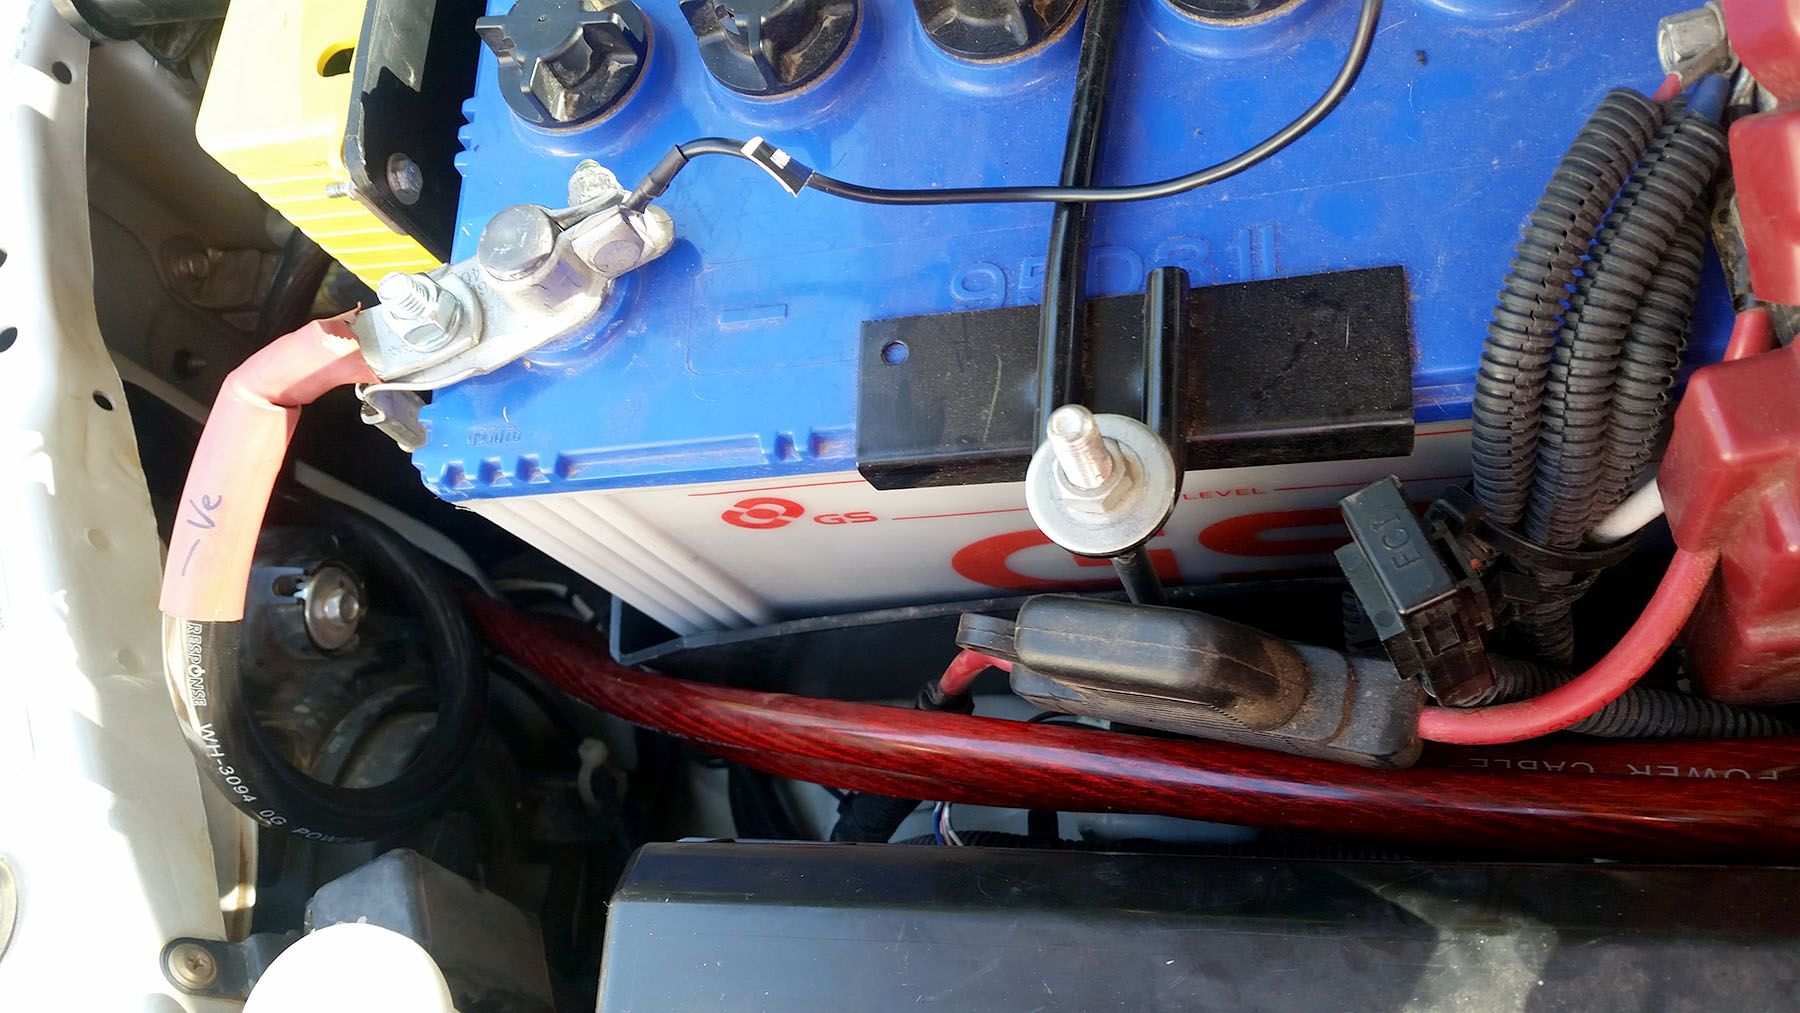
A test was done to make sure the winch worked, then locktite and/or split washers were applied to all the bolts and nuts along with carbon grease on the connections on the winch motor.
I replaced the steel cable with synthetic Dyneema rope, that was another $140 for 30m
In summary, the $400 aldi winch became a $800 winch, not to mention the hours of thinking about it and actual work involved, I can now see why you can get charged $$$ for installation