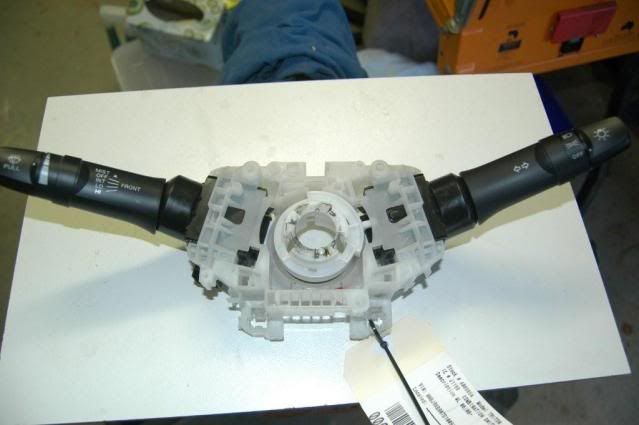
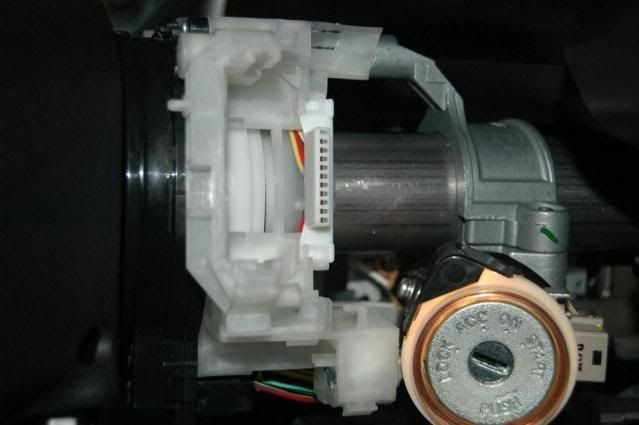
Parts required are a GLX-R fog light lever ($150 new from spare parts), and a Relay (Part # MI-MR588567 for $26.90). I rang around the wreckers and got a whole steering assembly combination switch for $70 – shown in the first picture. You obviously only need the right hand lever, but at least I got some spare parts for half the cost of just a new lever !
The lever comes out simply by pressing in the two white tabs on each side of where it mounts, and it slides out with a little fiddling. The next photo shows the two levers side by side.
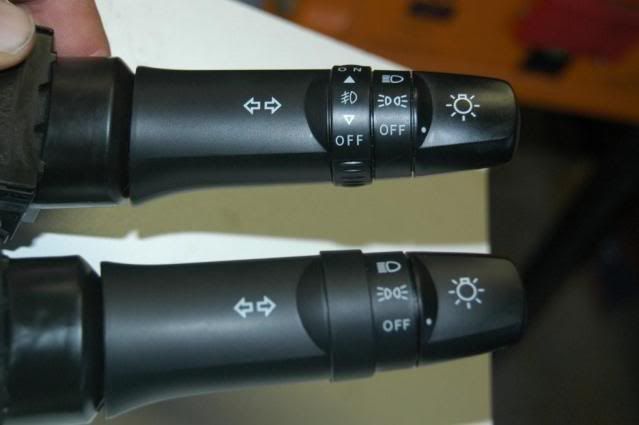
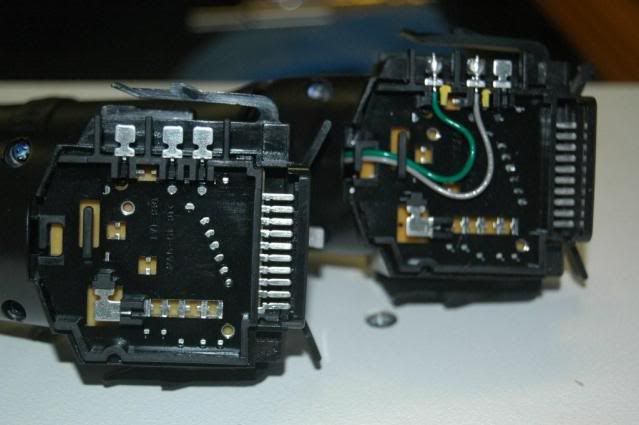
The fog light lever is an integral item, with all wiring contained within. The VR has all the wiring already fitted at factory to the female wiring socket the lever slides into to enable use of the fog light switch. The next photo shows the rear of the two levers side by side showing the extra wiring on the right for the fog light lever.
The steering cover removal is straight forward with 3 screws and six ‘claws’ holding it together. You don’t need to remove any other dash bits to get the upper and lower covers off.
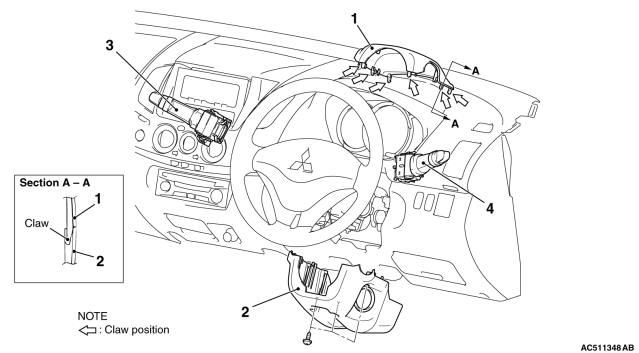
Once you have the covers off, remove the existing right lever, and fit the new one.
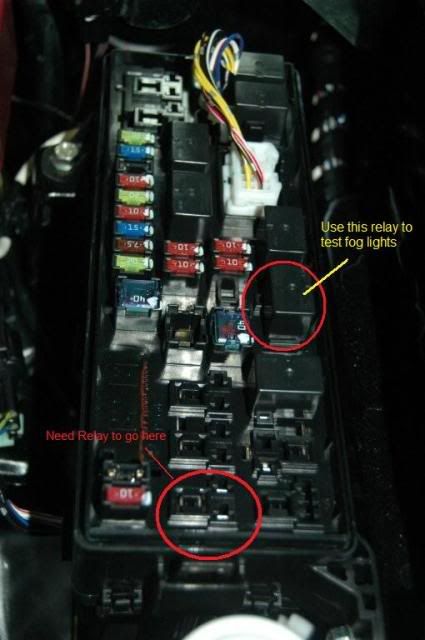
Next you need to fit a new relay into the relay/fuse box in the engine compartment located just to the right of the battery.

If you don’t have a relay yet, you can test out the circuit by using one of the other relays and just moving its position. I used one of the headlight relay’s temporarily to test the circuit with a multi meter. I then picked up a relay a few days later from Mitsubishi Spares.
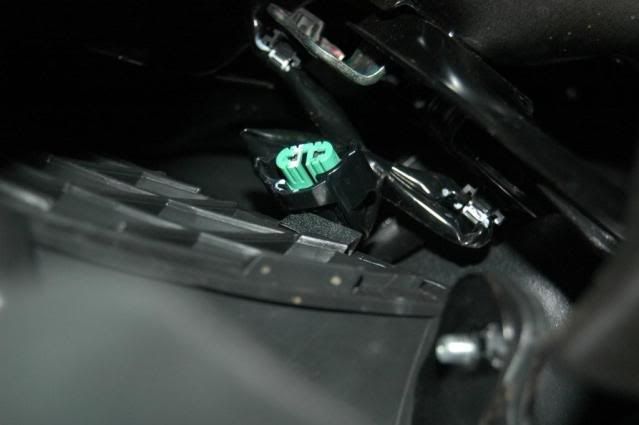
Tucked up behind the fog light cover wrapped in tape is the end of the connectors (green) that fit to the fog lights.
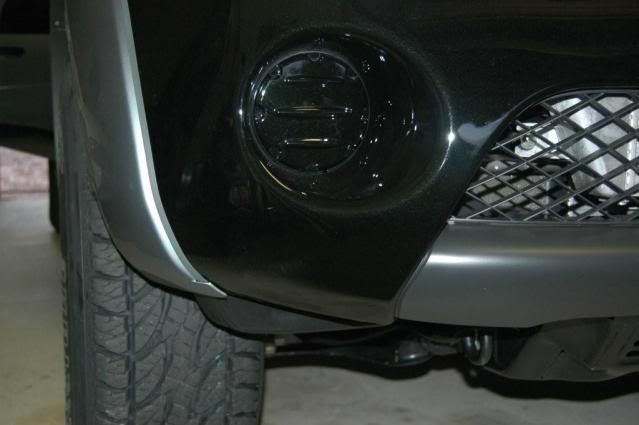

With a relay fitted, turn accessory power on, then turn on the headlights and flick the fog light switch to on. Then you can check with a multi meter you are getting 12v power. Then it is just a matter of fitting your fog lights to your existing bumper or bull bar and your in business !
When re-fitting the upper and lower steering column covers be careful not to force them – they should slide together easily. You need to ensure the male/female bits of plastic line up, otherwise you can bend them and possibly snap them off. Put them together away from the steering column to learn which parts mate together to make it simple.
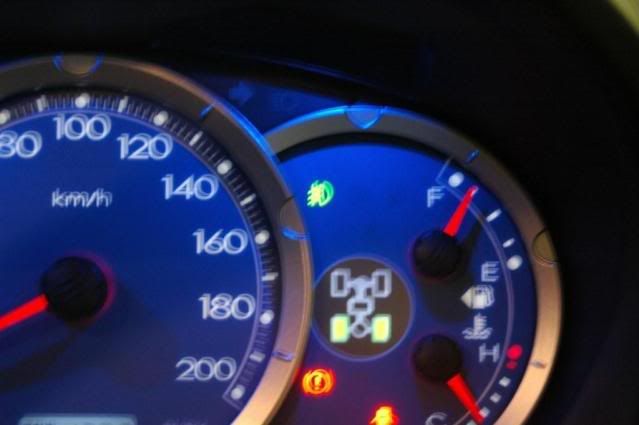
Once finished – even the dash lights work !
Sorry for the delay in posting up this guide. I know I said I’d do it some time ago
NOTE TO MN OWNERS: See also this excellent post for the missing link you will need to complete the work described above:http://www.newtriton.net/phpbb/viewtopic.php?f=23&t=3330&start=25#p356256