Hi daryn
I will try to explain this the best I can you have to understand it was one of those suck it and see moment's.
When I removed the bottle i looked for the easiest spot to cut not the amount of water I was going to get, I think more luck then judgment for the amount I got.
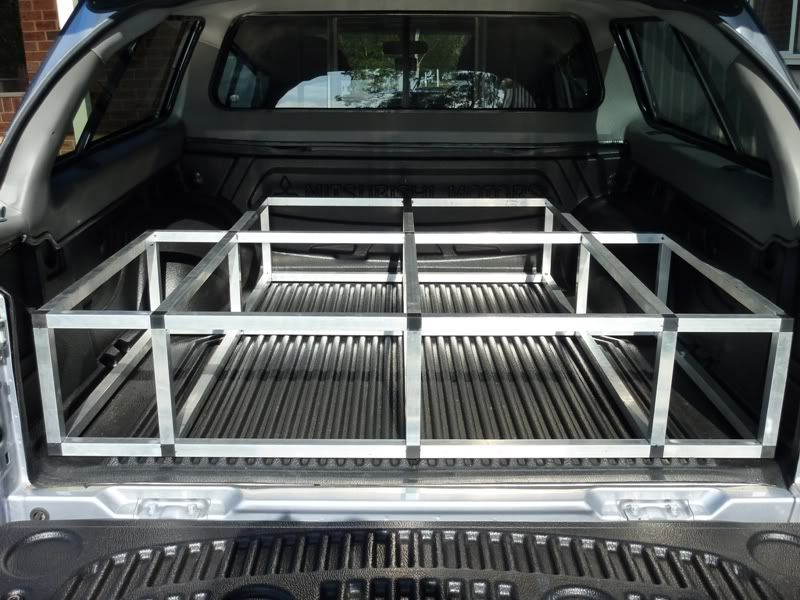
I cut as shown on the red line in the pic once I had done that there was no turning back.

(I have used jops pic as I have none in its complete form didn't think about pic's until it was together )
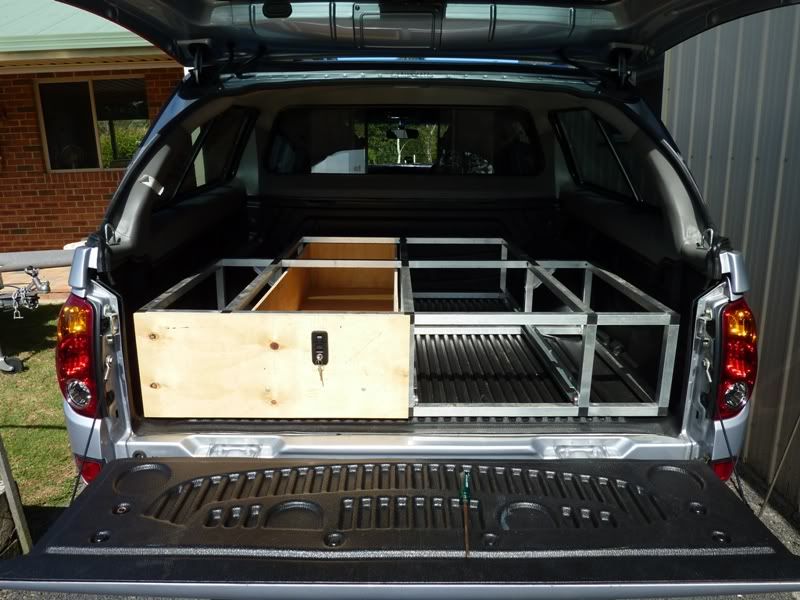
And ended up with this.

(Borrowed another pic from ag9111 thanks just found his thread on his washer bottle upgrade.)
Now I wasn't sure if I could get enough flat plastic out of the remaining part of the bottle so I just moved it about on the part of the bottle that I wasn't keeping traced a line around it an then cut it out .

It still left a little gap so I just add a small piece

Then I started with the soldering iron I used it like i was gas welding I had cut some strips of the bottle up into some 3mm strip's so it was like a welding rod.
I tacked the piece to the bottom of the bottle with just the heat of the iron then after I tacked it started to weld it by heating both piece's at the same time then adding the plastic that i had cut melting it into the join.
Again this was the suck and see method

as I hadn't welded plastic before.
Checked the bottle for leak's had a couple of small ones re welded and all was good.
I had to move the pump to the front as it hit the inner guard again only had after shot's

I hope this help's mate, I might have explained it bad and it's sound's hard to do but it wasn't bad to do and I am really happy the way it turned out .

Tim